Hello everybody!
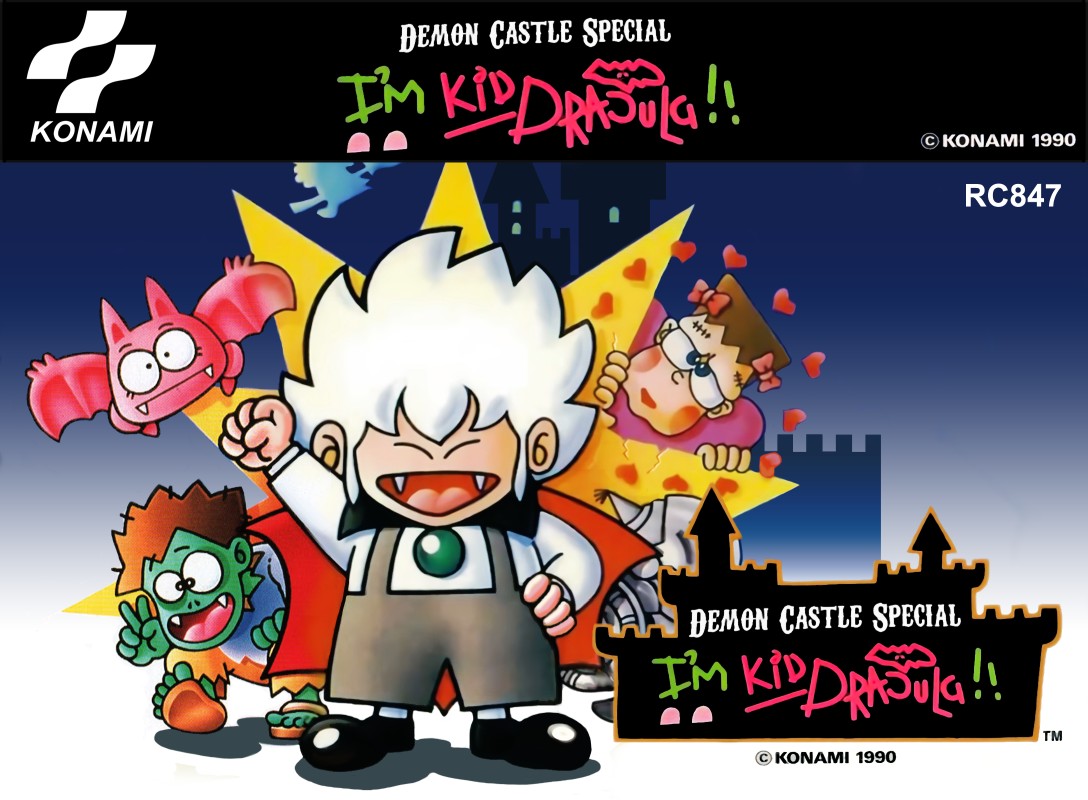
I just did a repro of Akumajō Special: Boku Dracula-kun and documented the process. To make things easier for me I’ll call the game “Kid Dracula” in the following article 😉
Donor module
The best donor for Kid Dracula is Tiny Toon Adventures タイニートゥーンアドベンチャーズ .
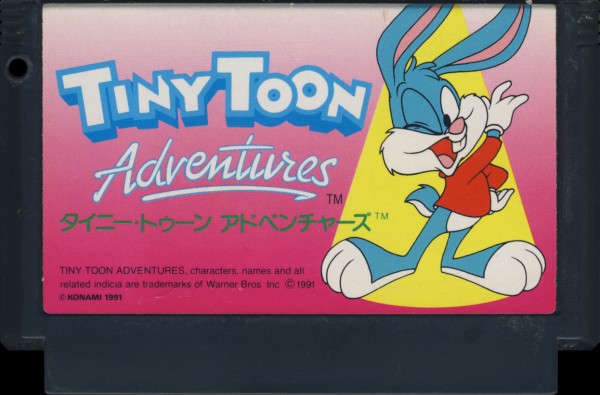
It got the same mapper as Kid Dracula and needs just some minor rewiring.
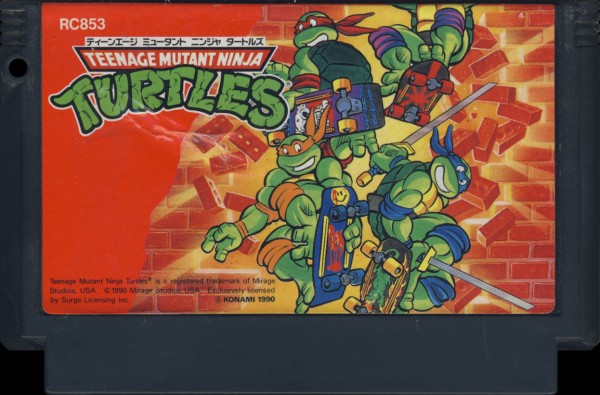
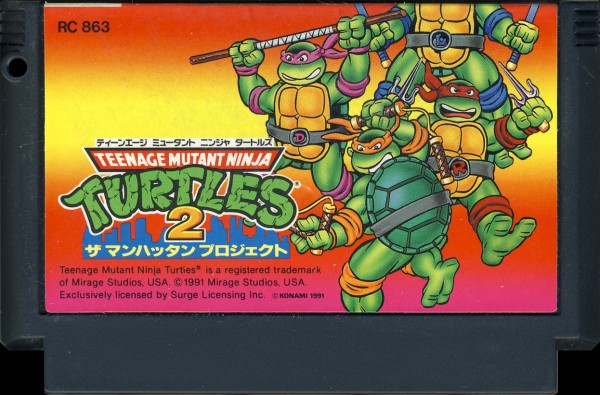
You can use Teenage Mutant Ninja Turtles チイーネーソ ミュータント ニンジャ タートルス oder Teenage Mutant Ninja Turtles 2: The Manhattan Project チイーネーソ ミュータント ニンジャ タートルス ザマンハッタンプロジェクト, but you’ll face some more modification of the donor with these.
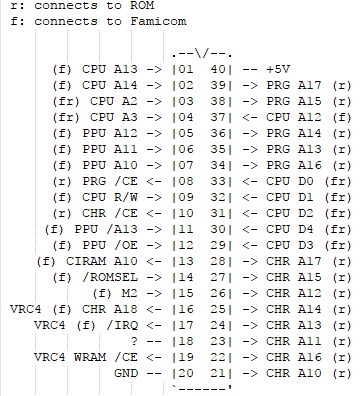
Alll games are based on Konami’s mapper “VRC IV”.
You can use a Parodius Da! パロディウスだ!or Crisis Force クライシスフォース as well, but these games are pricey 🙂
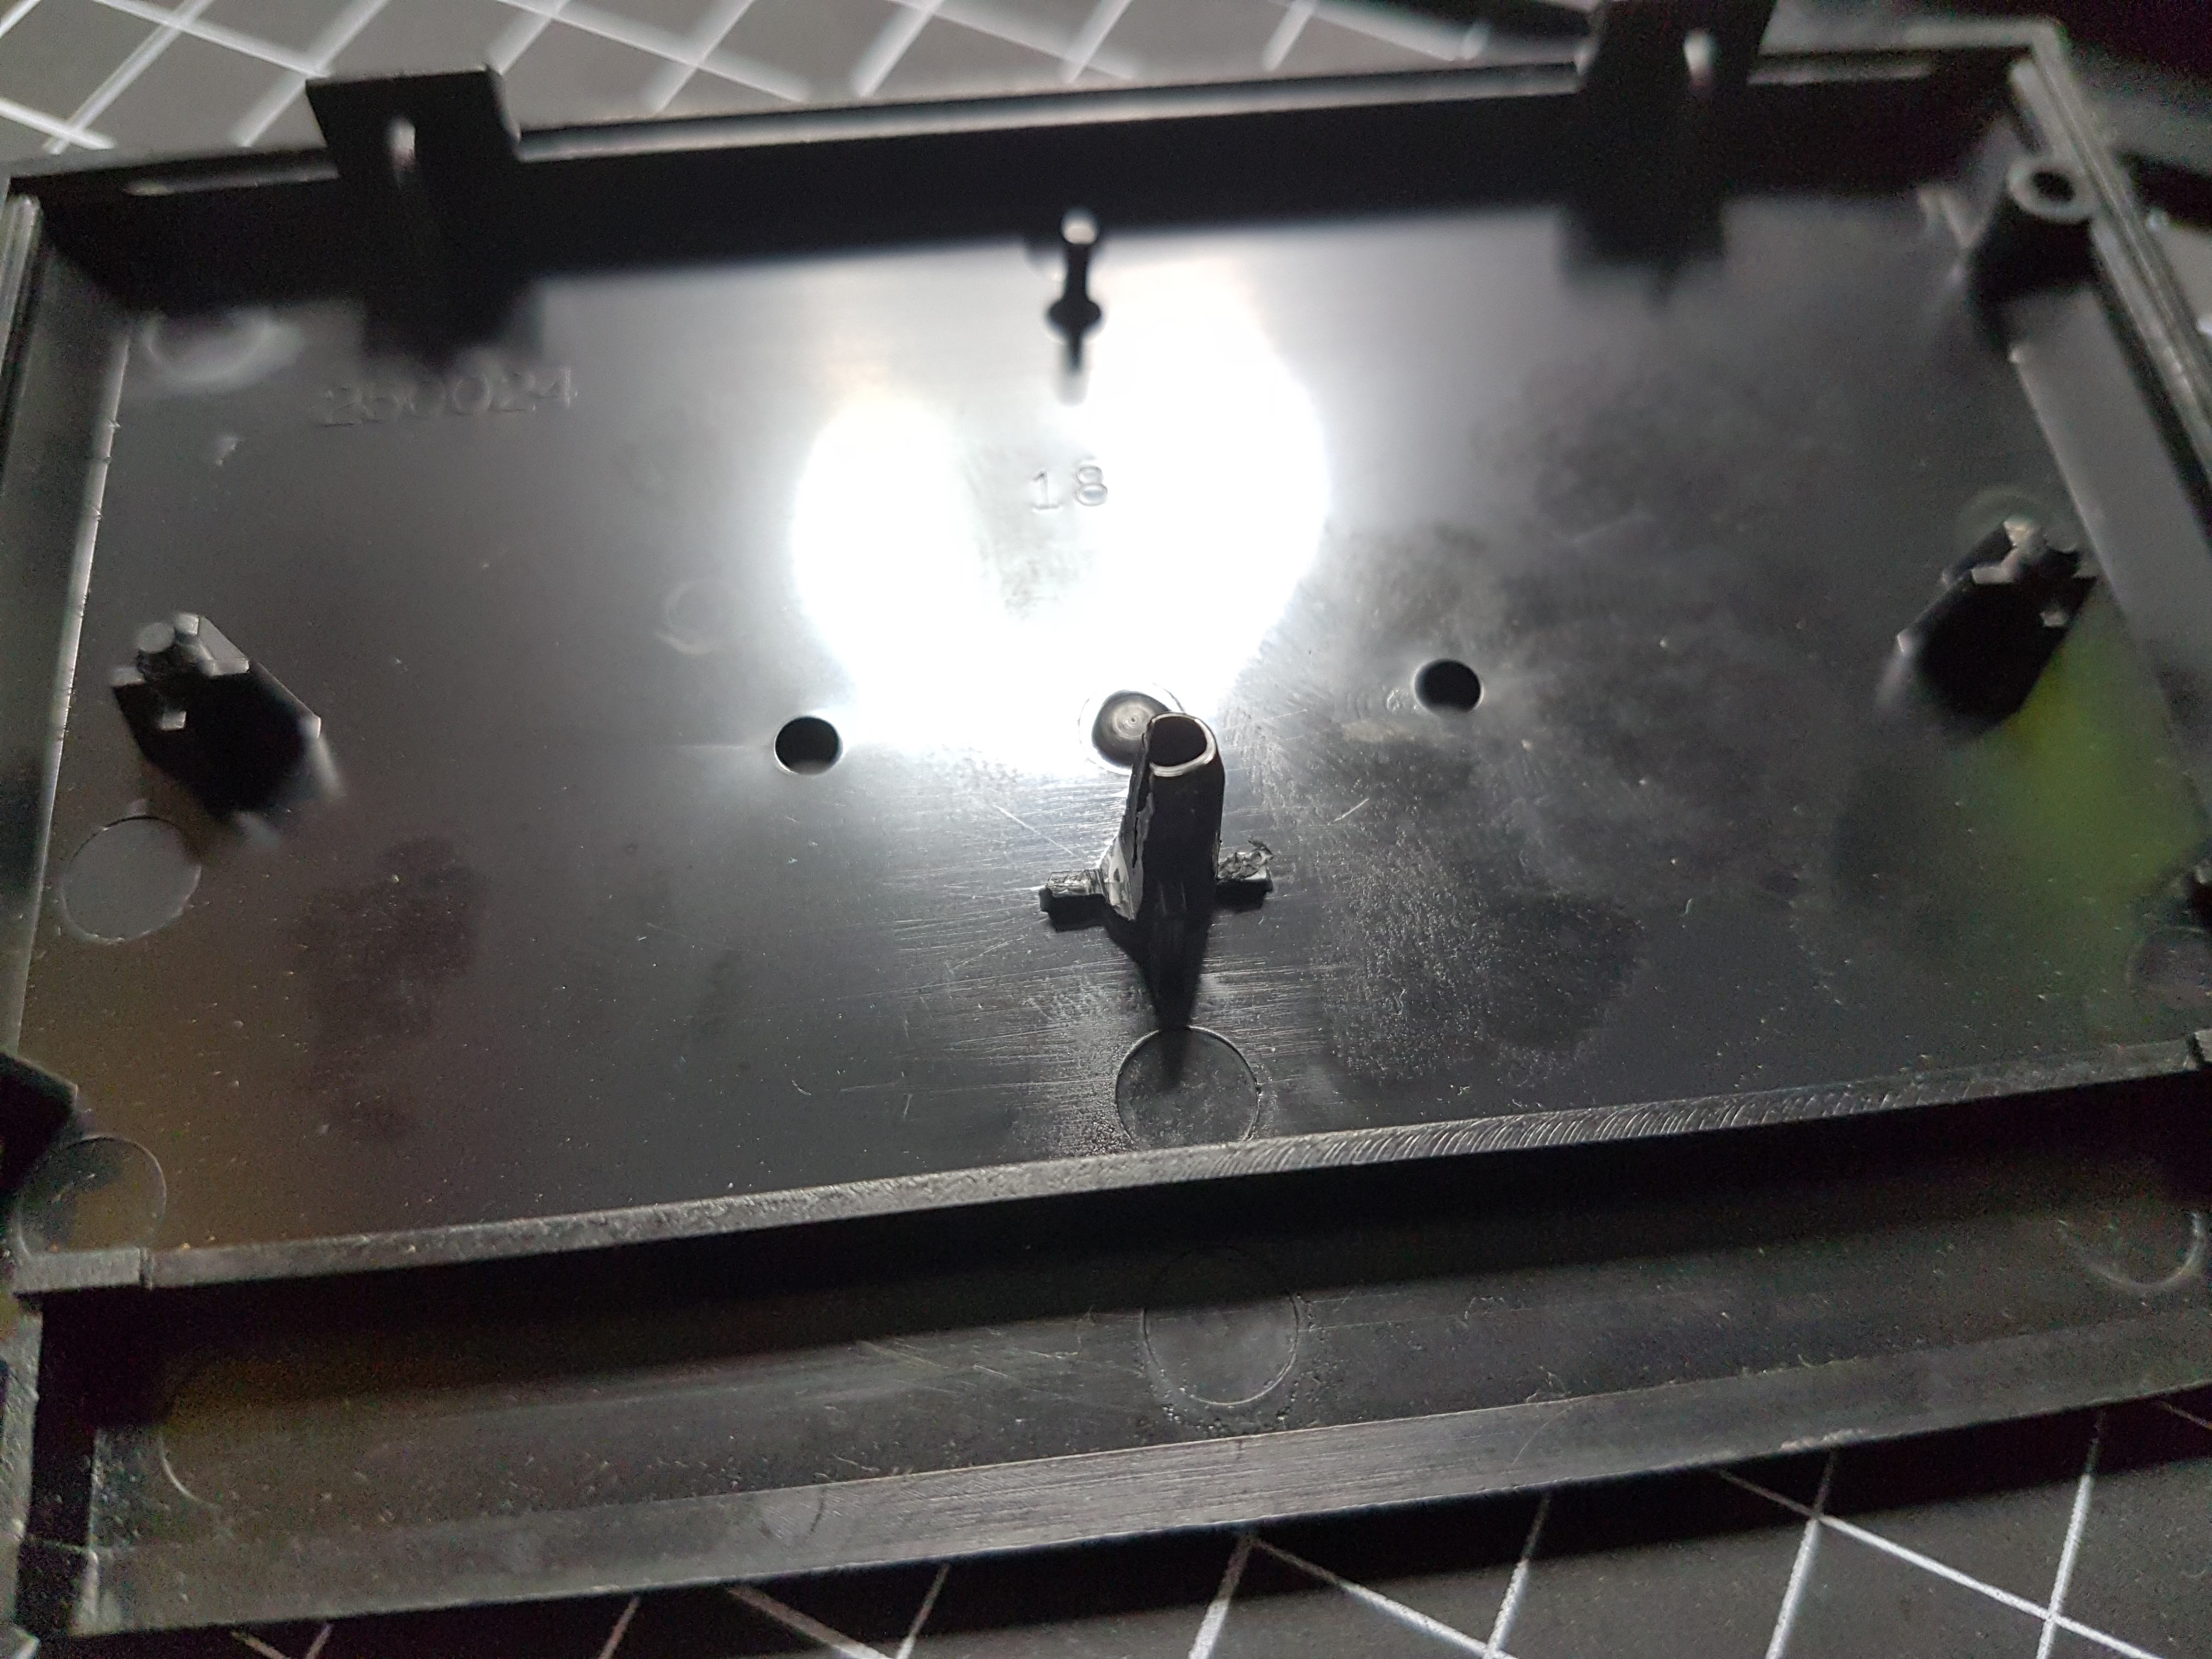
Analysing the traces
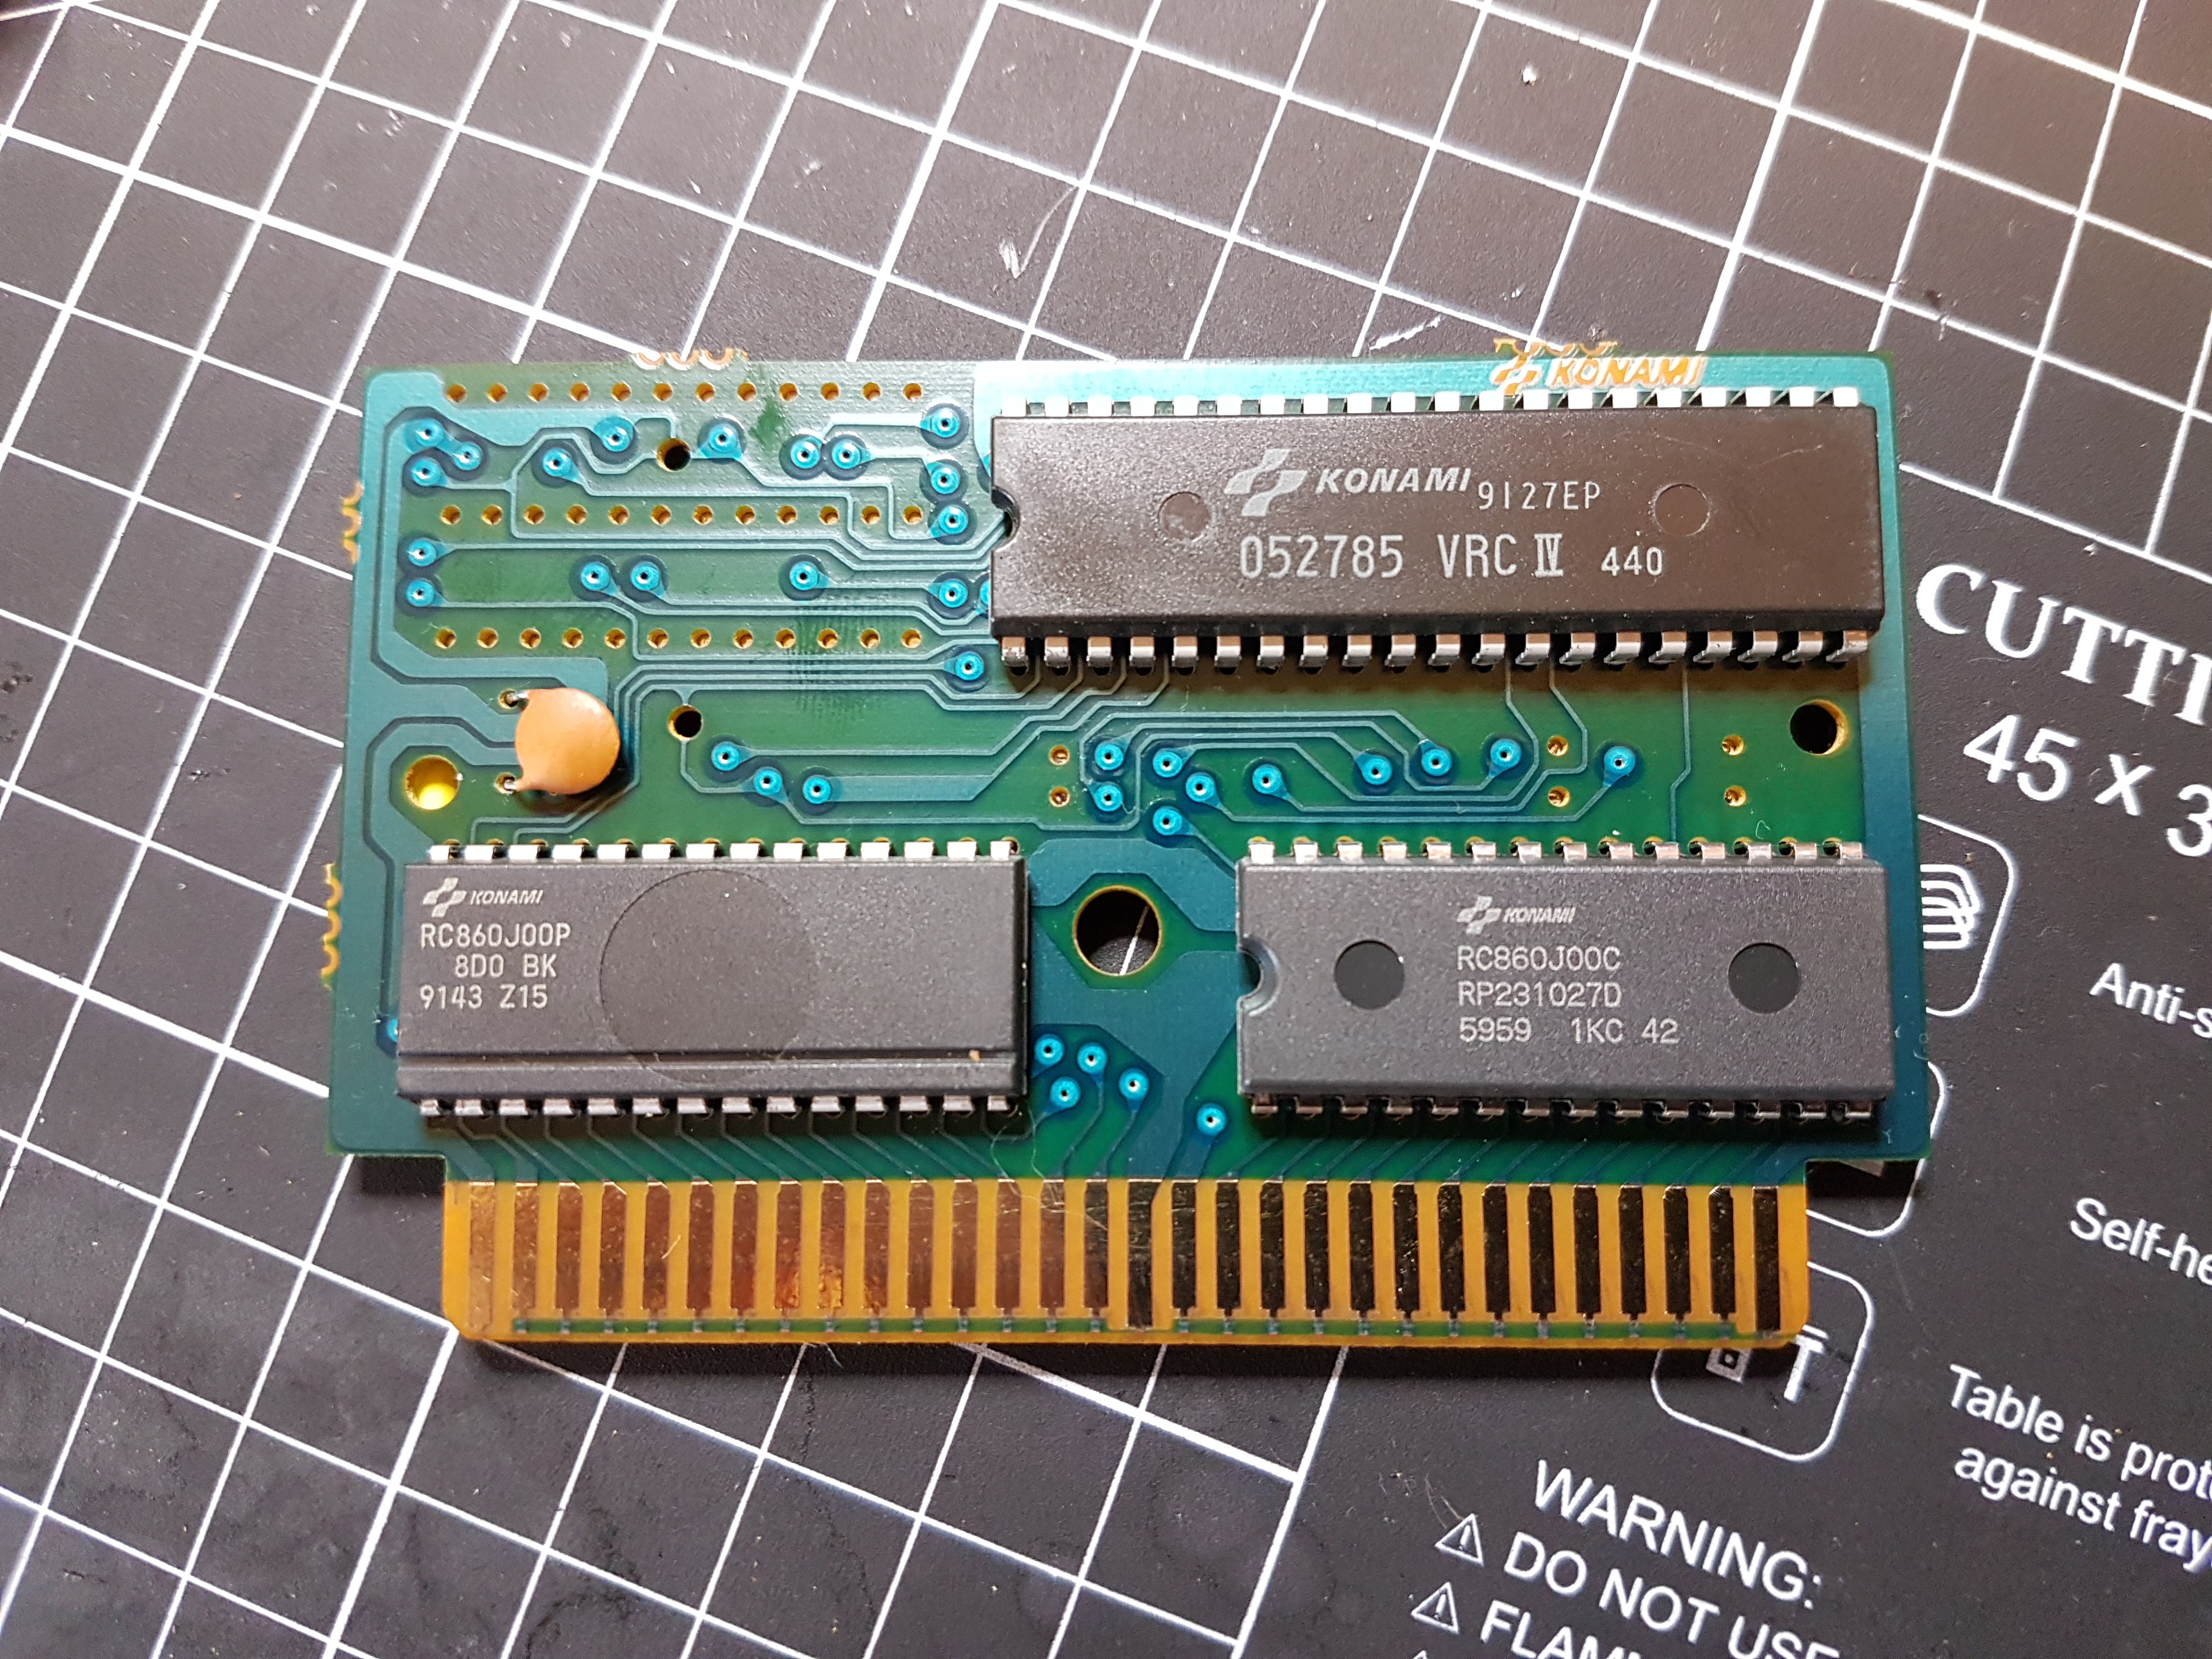
The pcb got a caramic cap, two maskroms and the mapper, whose wiring I’ll analyse.The footprint in the upper left is empty.
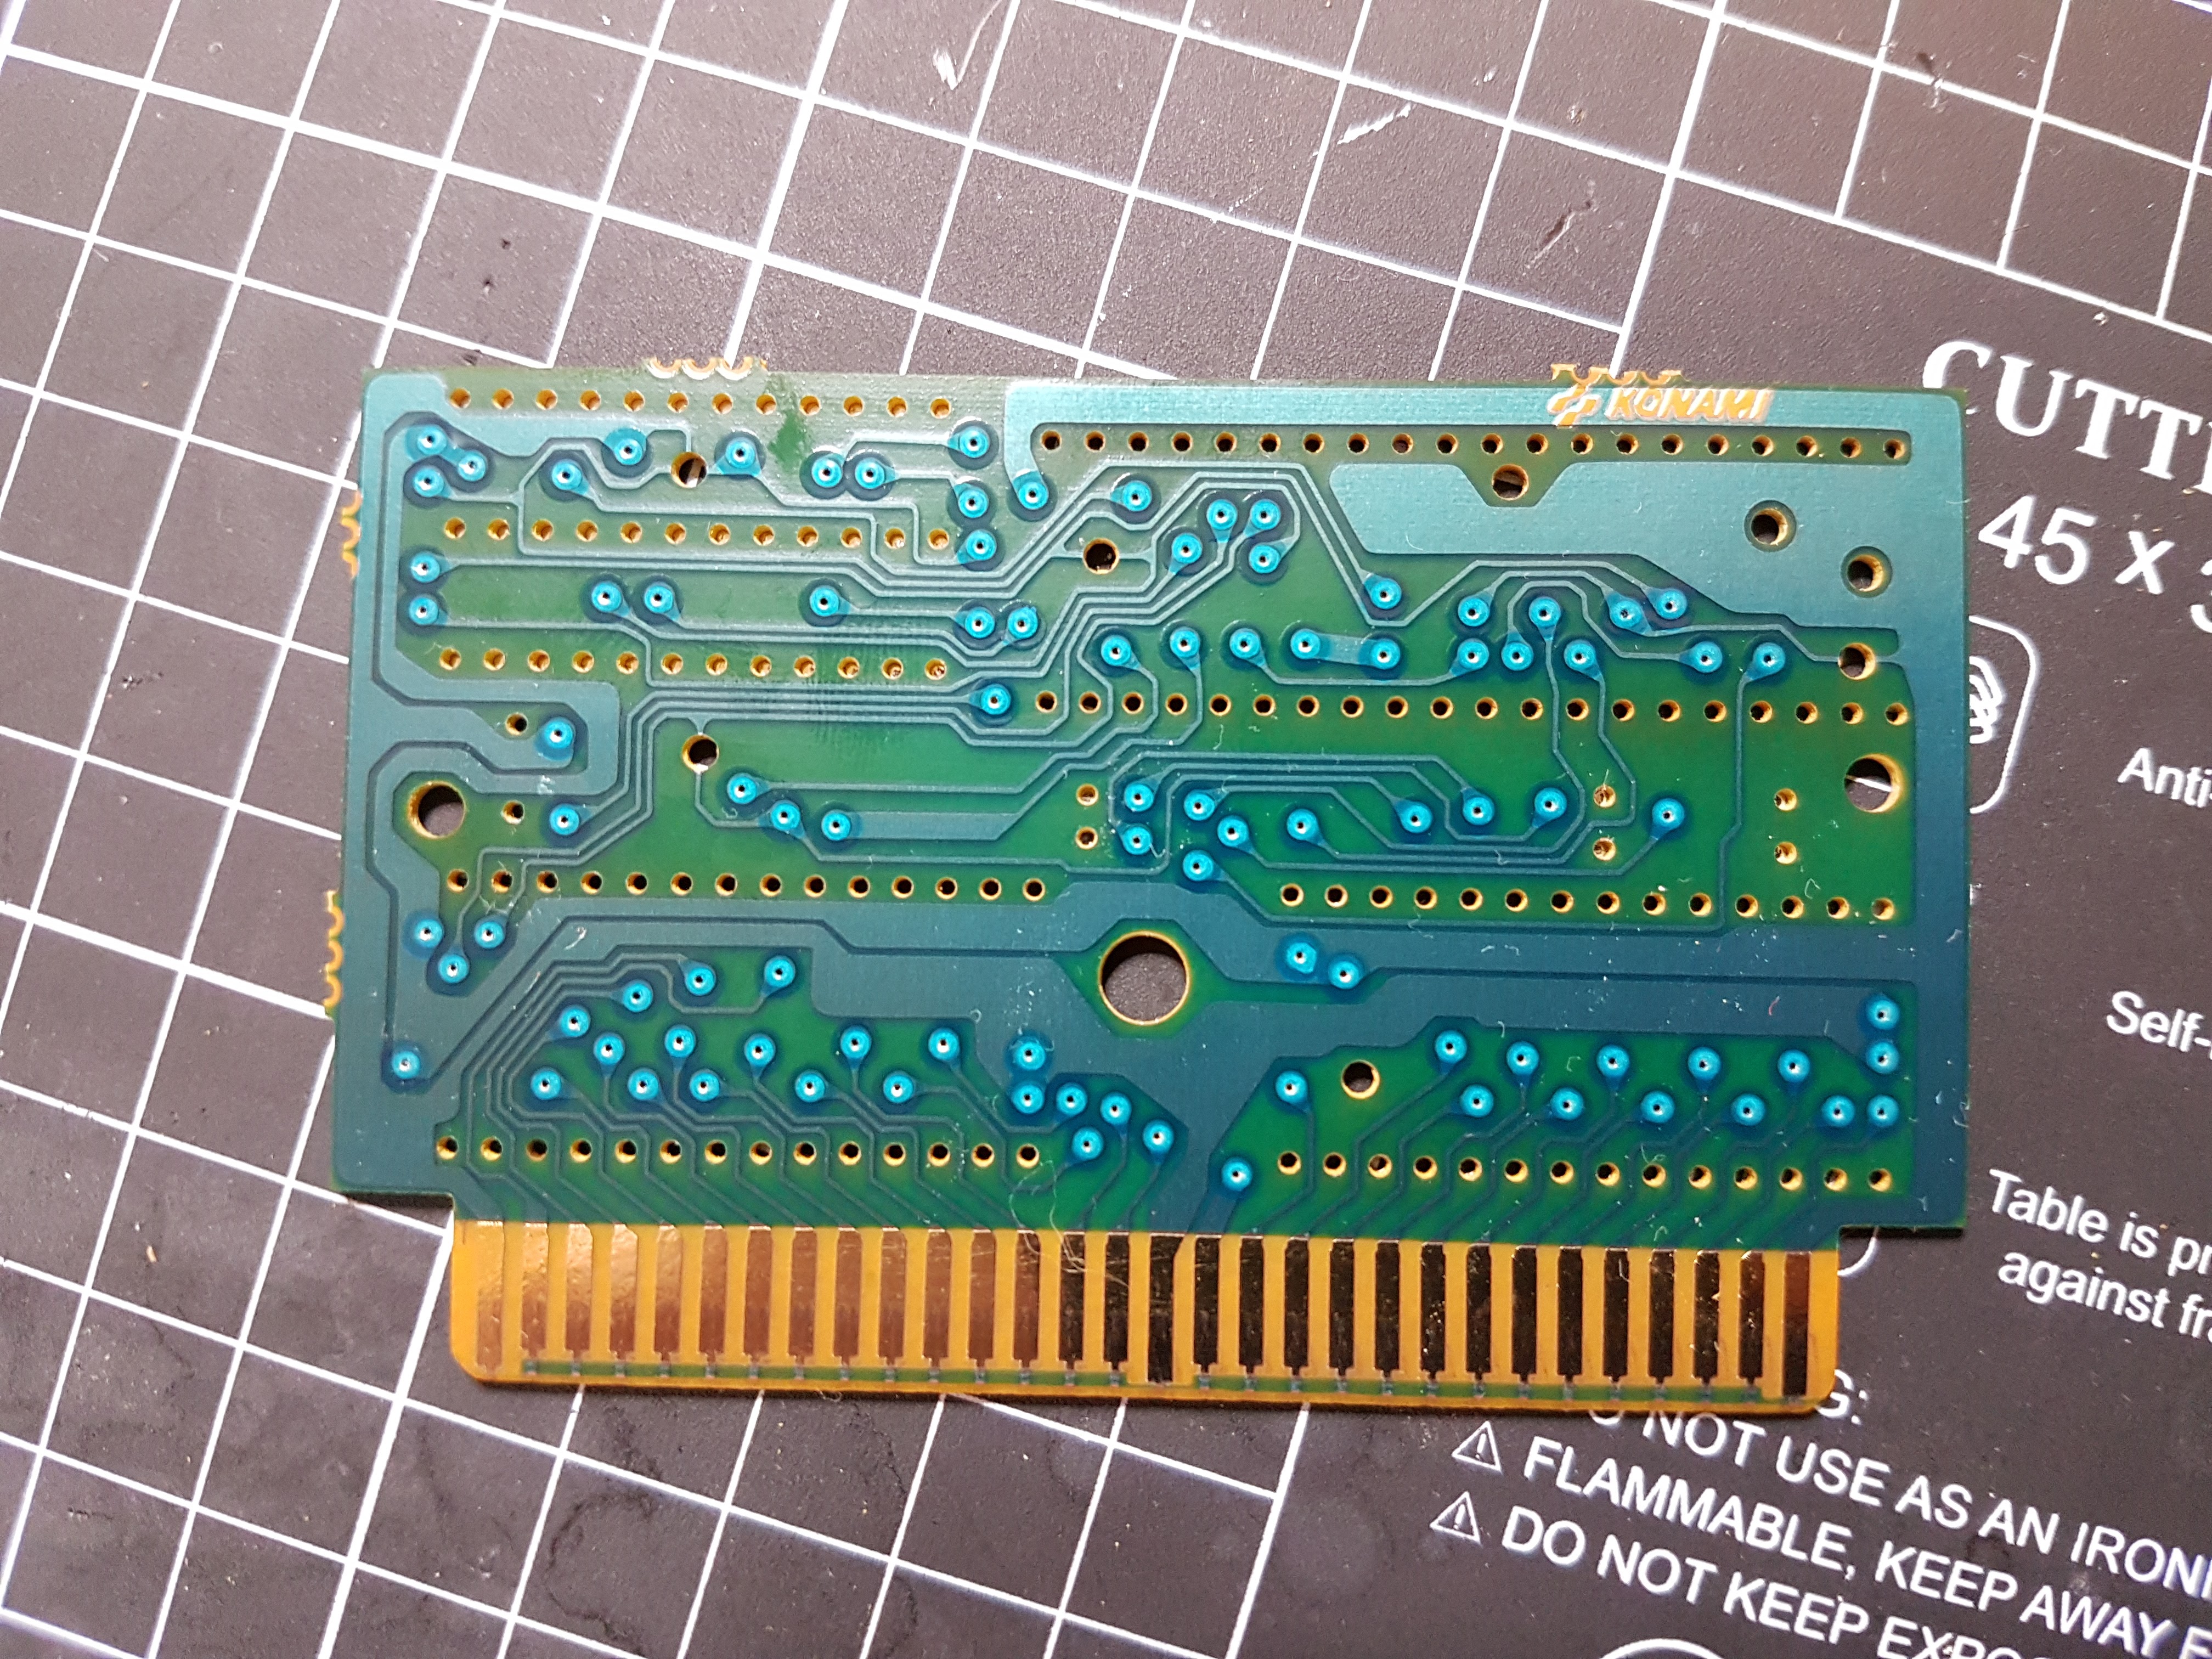
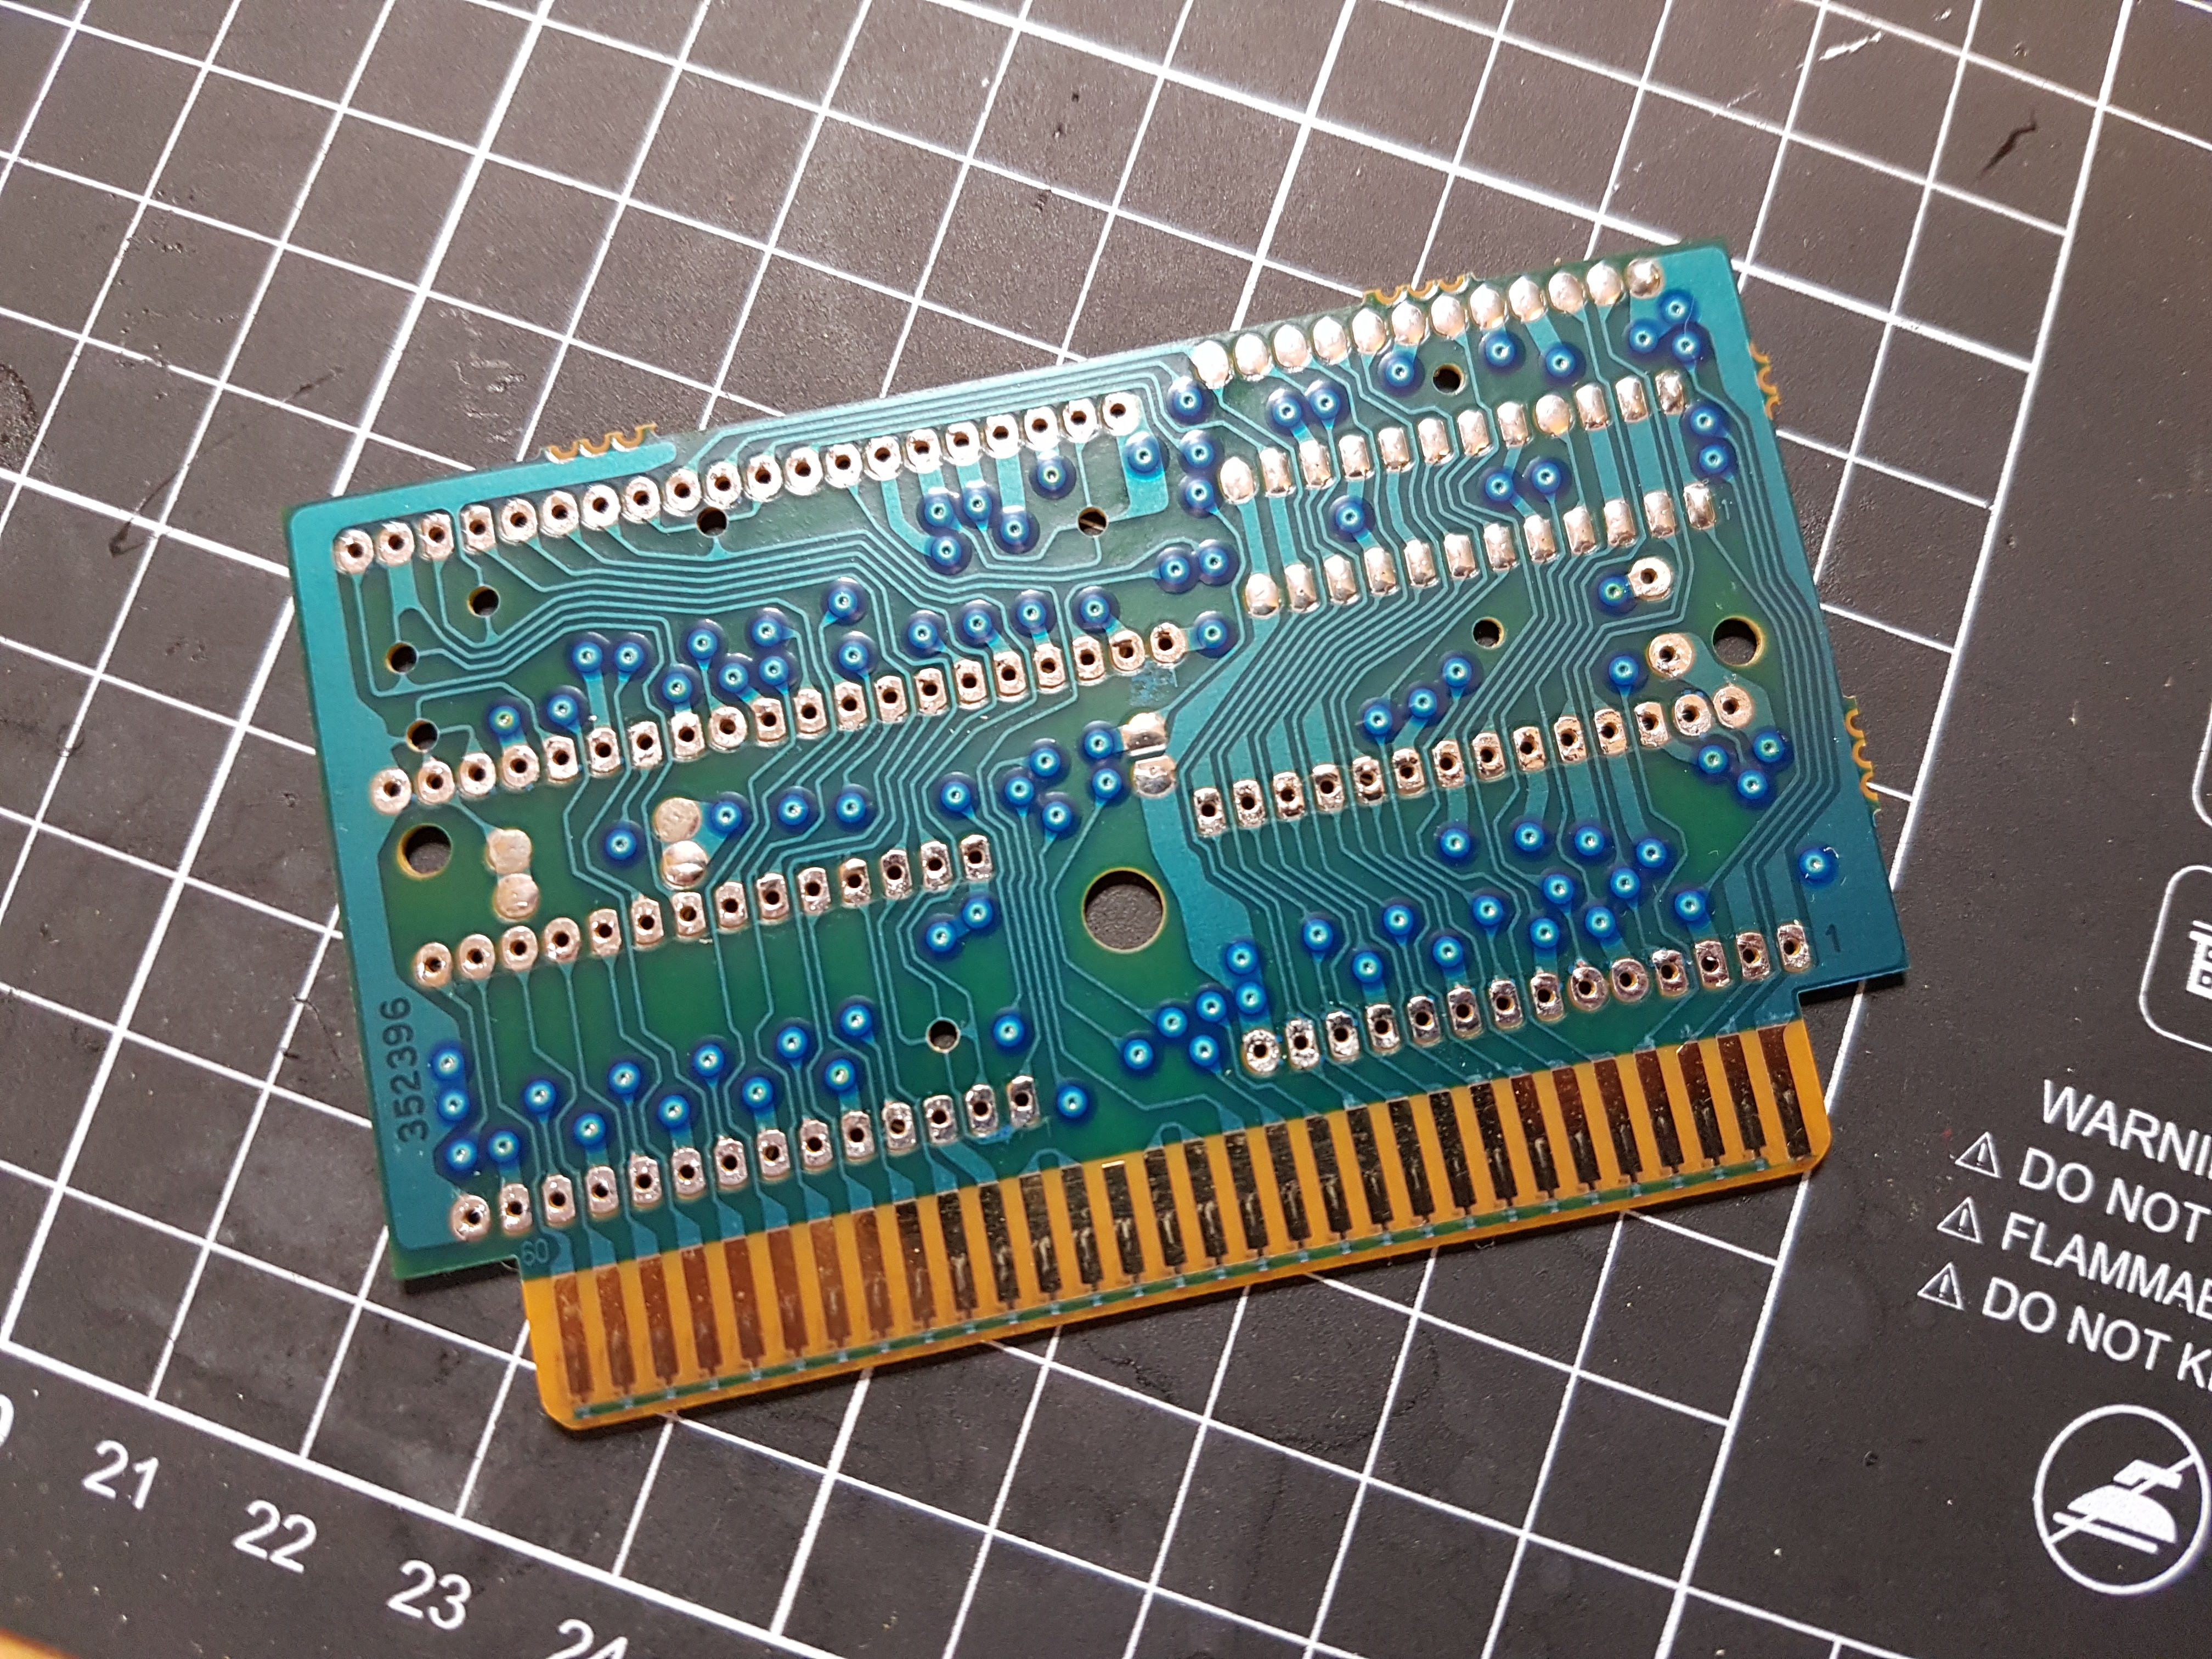
To make things easier I pop the bare pcb in my scanner and do the analysis at the computer.
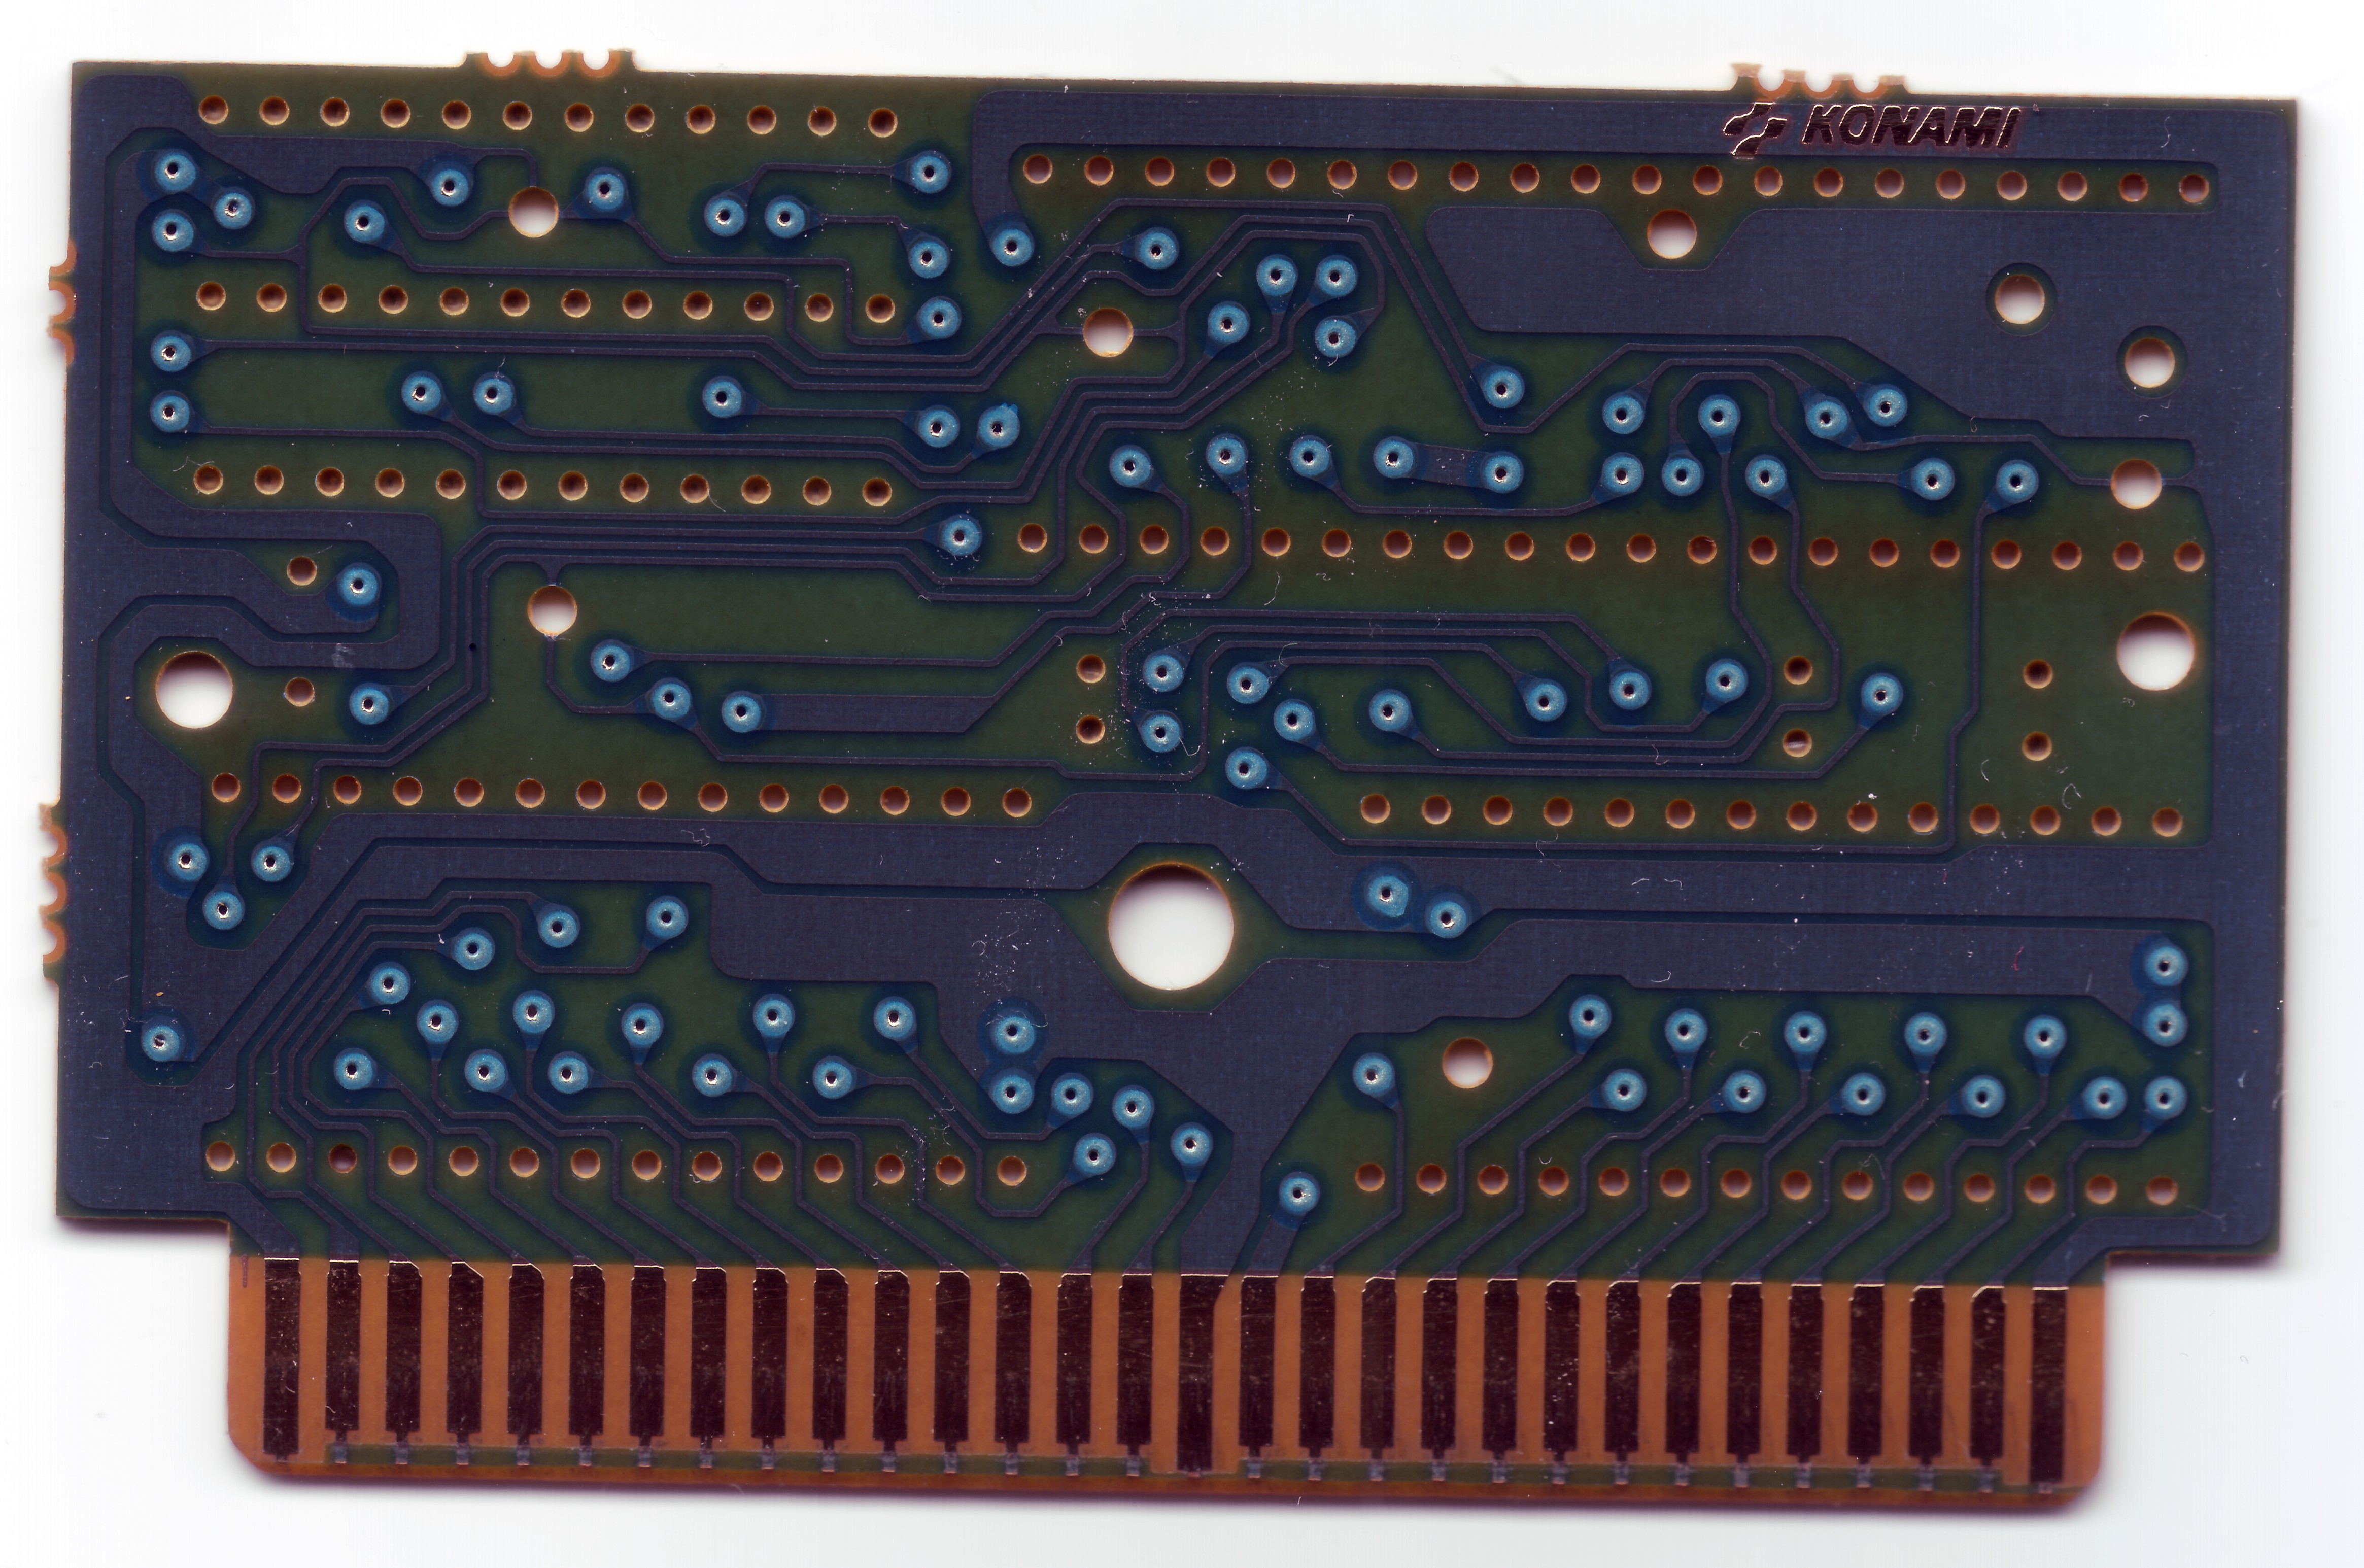
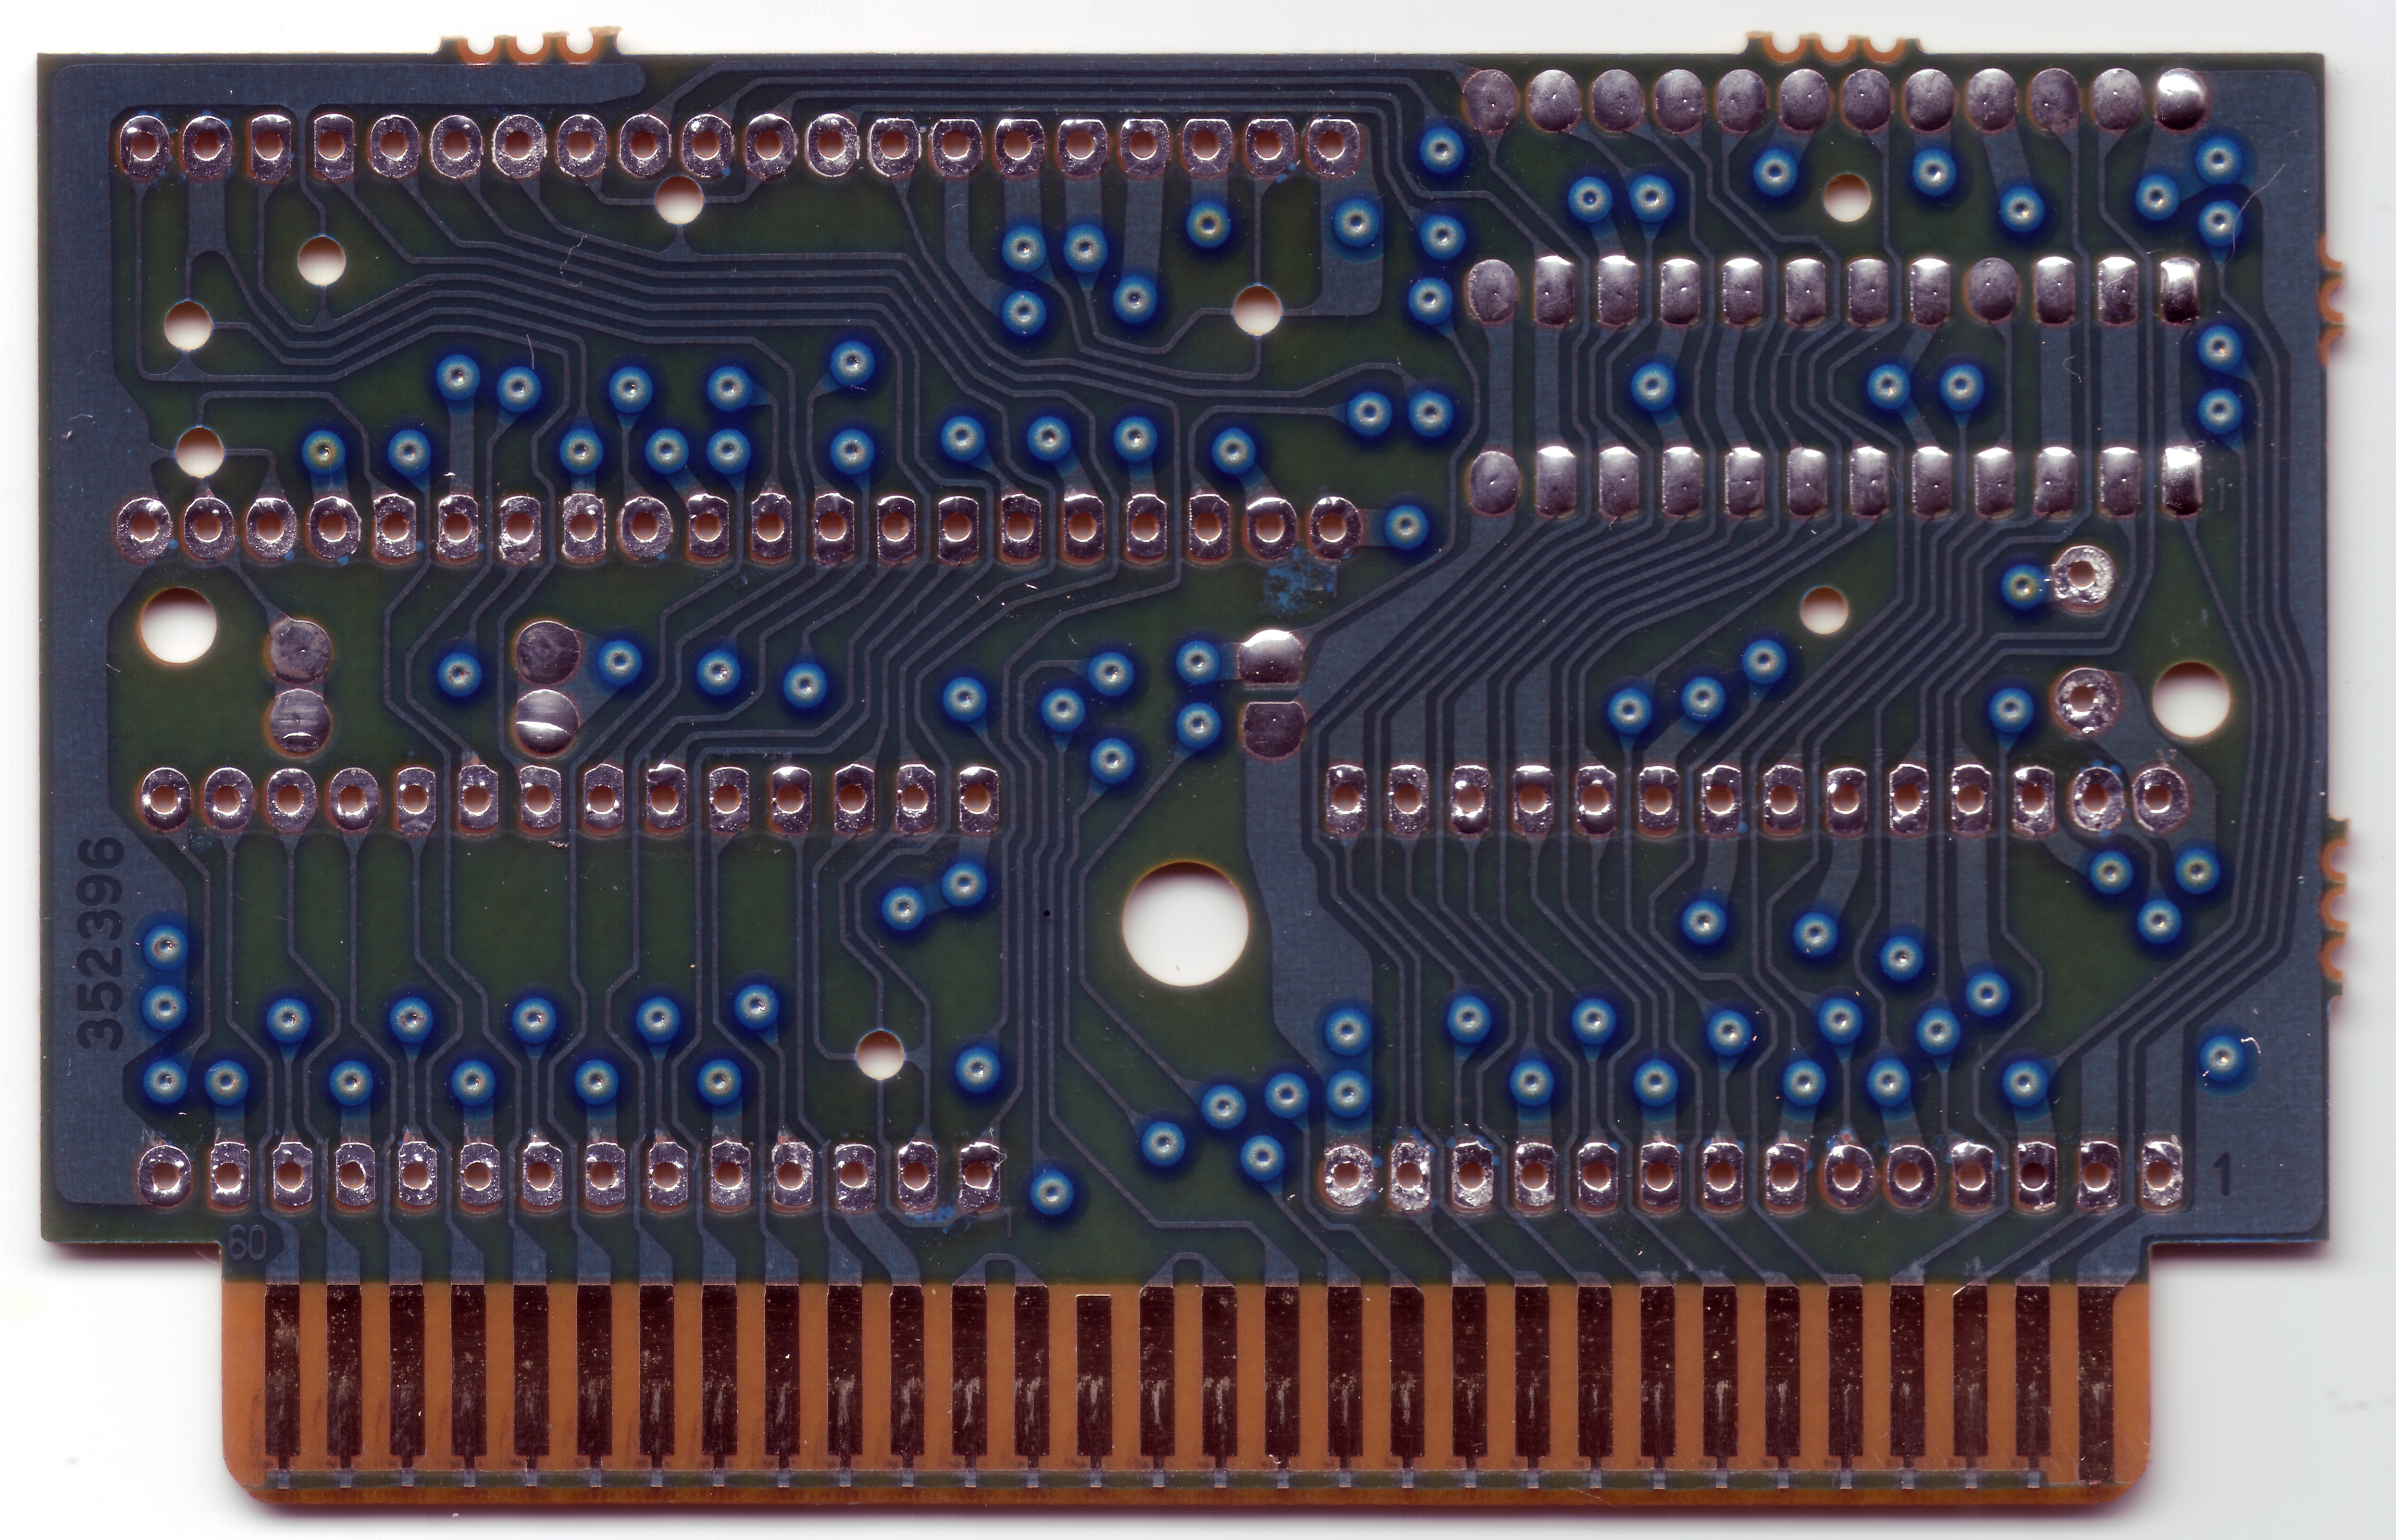
Next step is to overlay the pinouts of the future EPROMs and the VRC on top of the footprints. This way I can tell which pins have to be rewired:
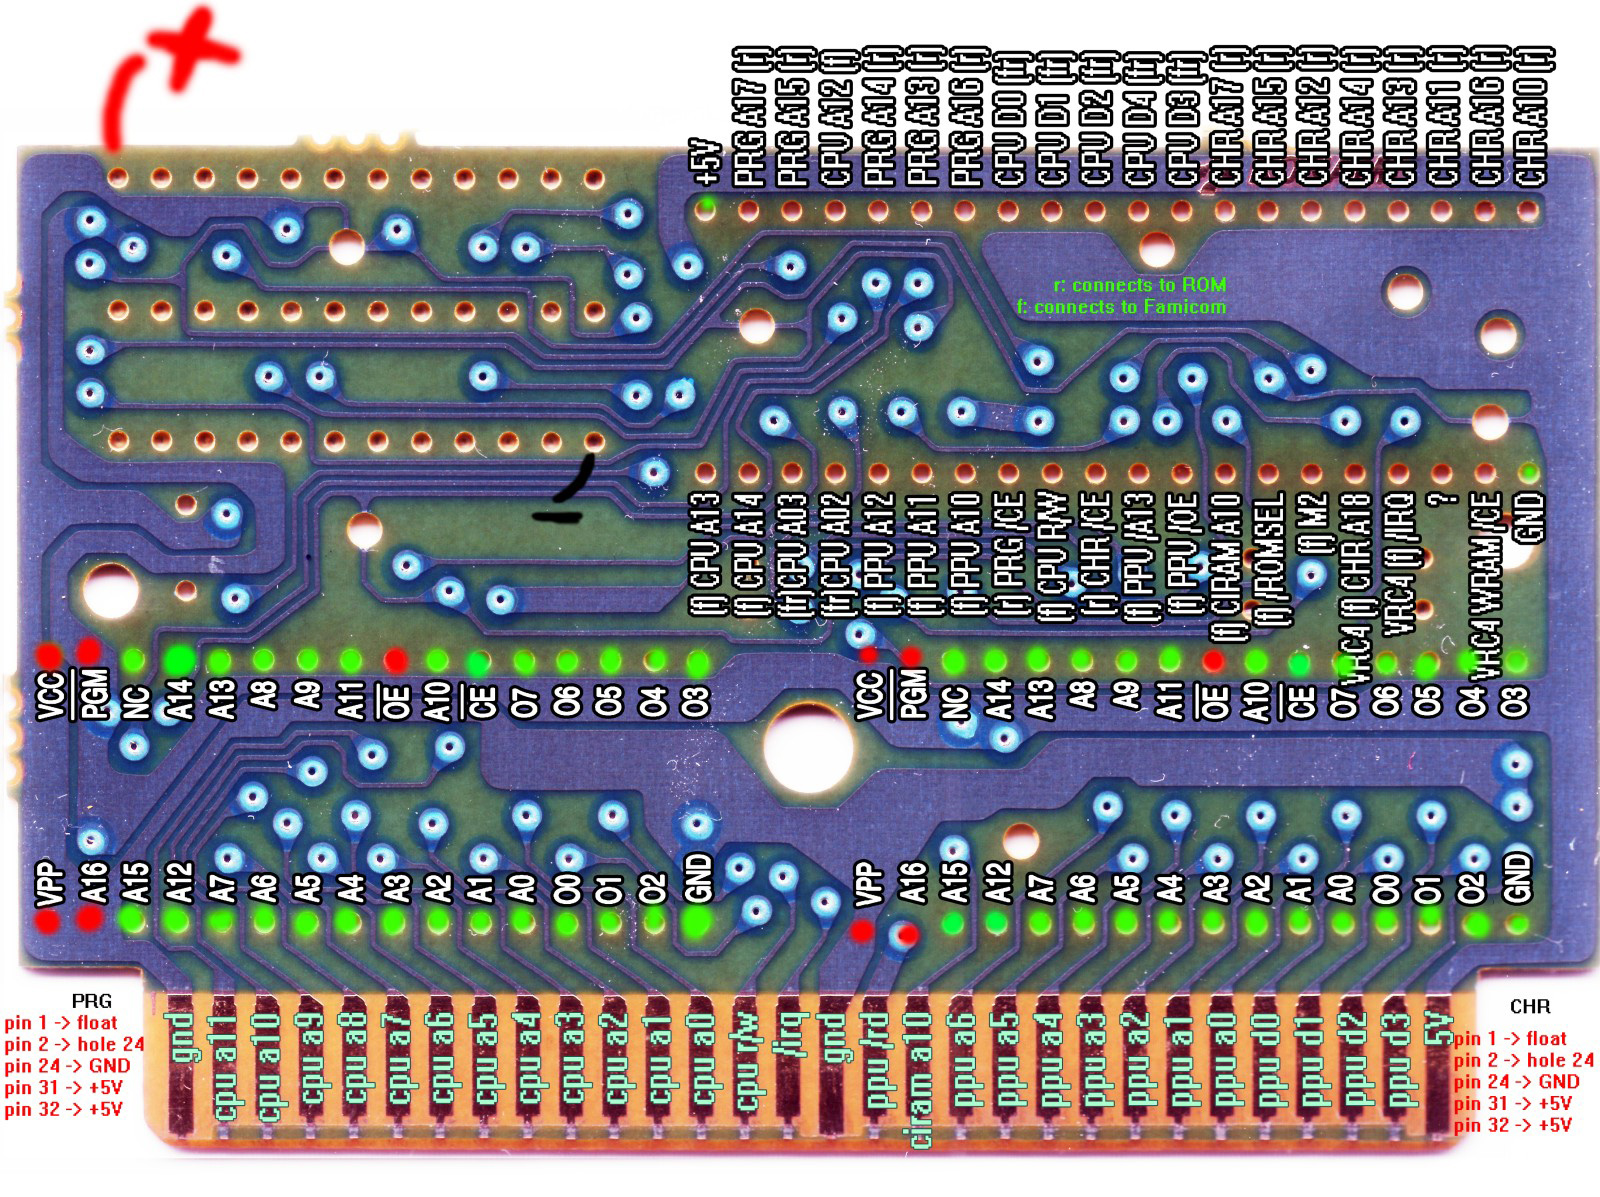
A green dot means no rewiring, a red dot means rewiring of the new eproms is necessary.
Have a small explanation of the new wiring:
VPP – Used to program the eprom – can be left floating
A16 – Since the maskroms doesn’t have an /OE-Pin this adress wire has to be relocated.
/OE – Output Enable, active low. Has to be pulled low to activate the eprom’s output.
Pin 31 – /PGM is used to activate programming mode of the eprom. Just pull it high to disable reprogramming.
Pin 32 – Supply voltage, needs no explanation 🙂
The CHR is the same, so we get this rewiring:
PRG
pin1 -> lift and leave floating
pin 2 -> hole 24
pin 24 -> GND
pin 31 -> 5V
pin 32 -> 5V
CHR
pin1 -> lift and leave floating
pin 2 -> hole 24
pin 24 -> GND
pin 31 -> 5V
pin 32 -> 5V
But beware, the Turtles donors are different!
The pins 3 & 4 are swapped here! So you need to lift both pins and rewire them. Solder pin 3 to hole 4 and pin 4 to hole 3.
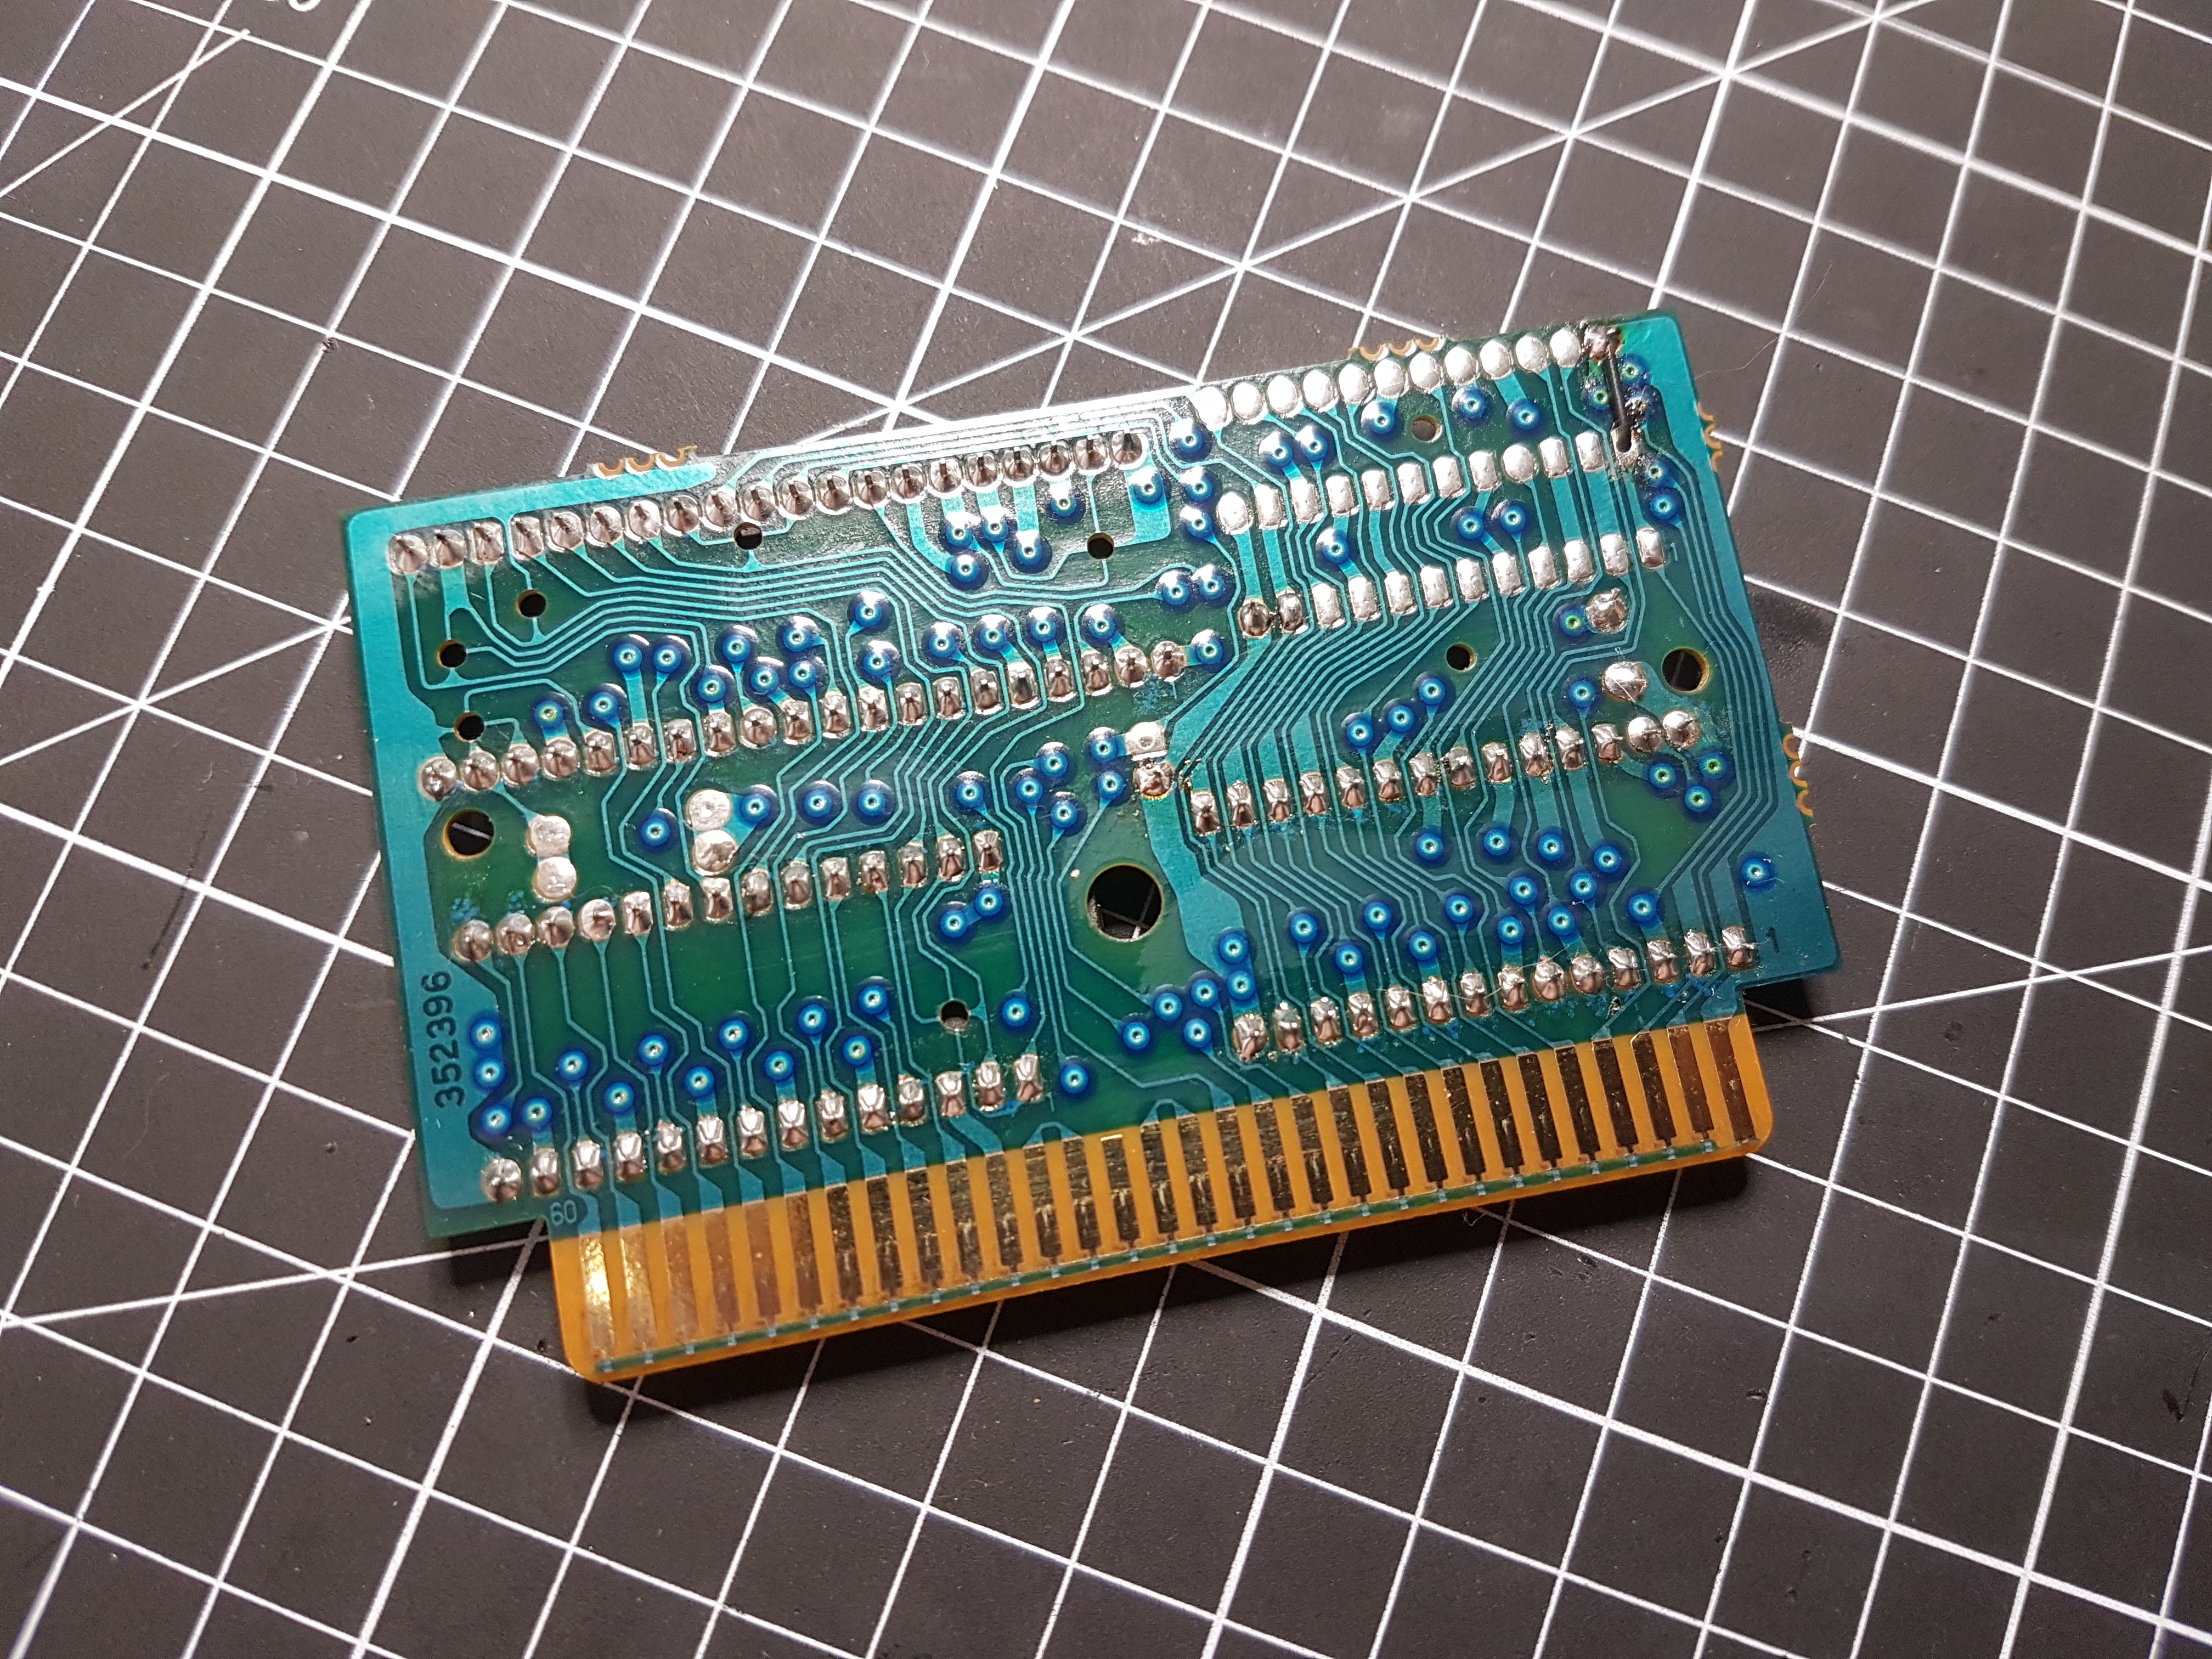
Solder and rewire the eproms
After gathering the info it’s time to complete the repro:
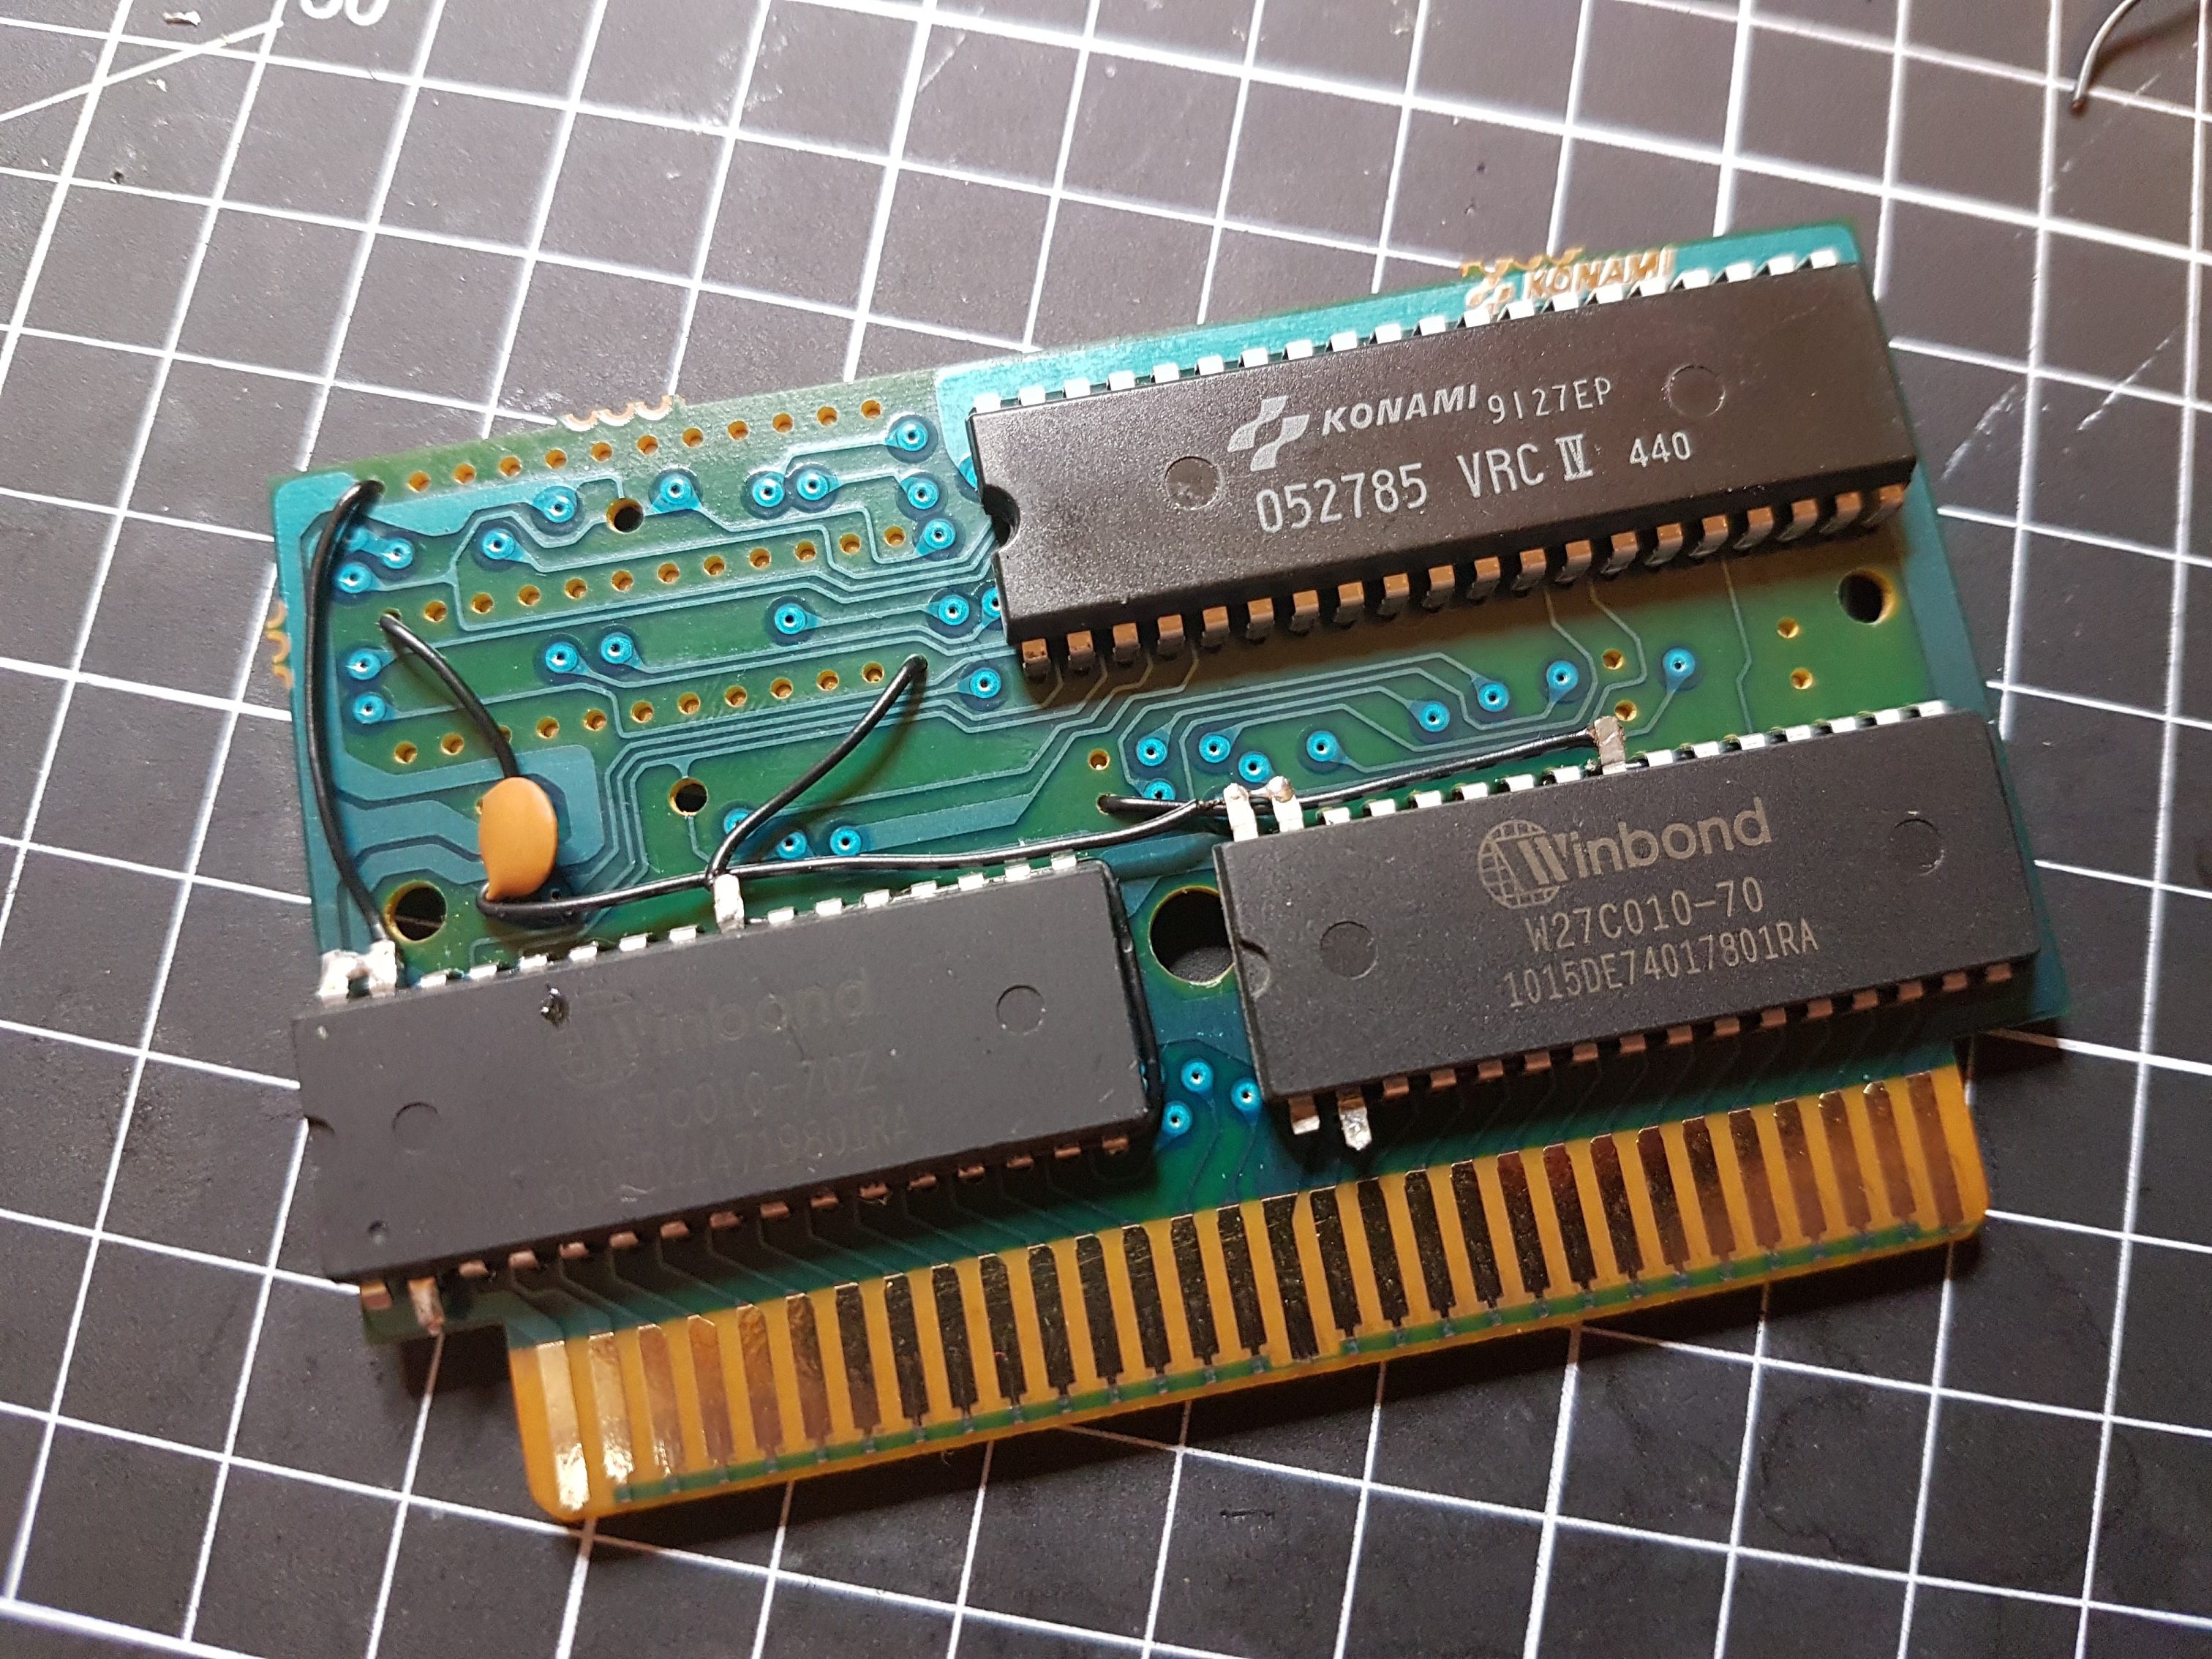
I like things tidy!
Ah, there’s a plastik pole you need to trim so the new – bigger – eproms fit into the case.
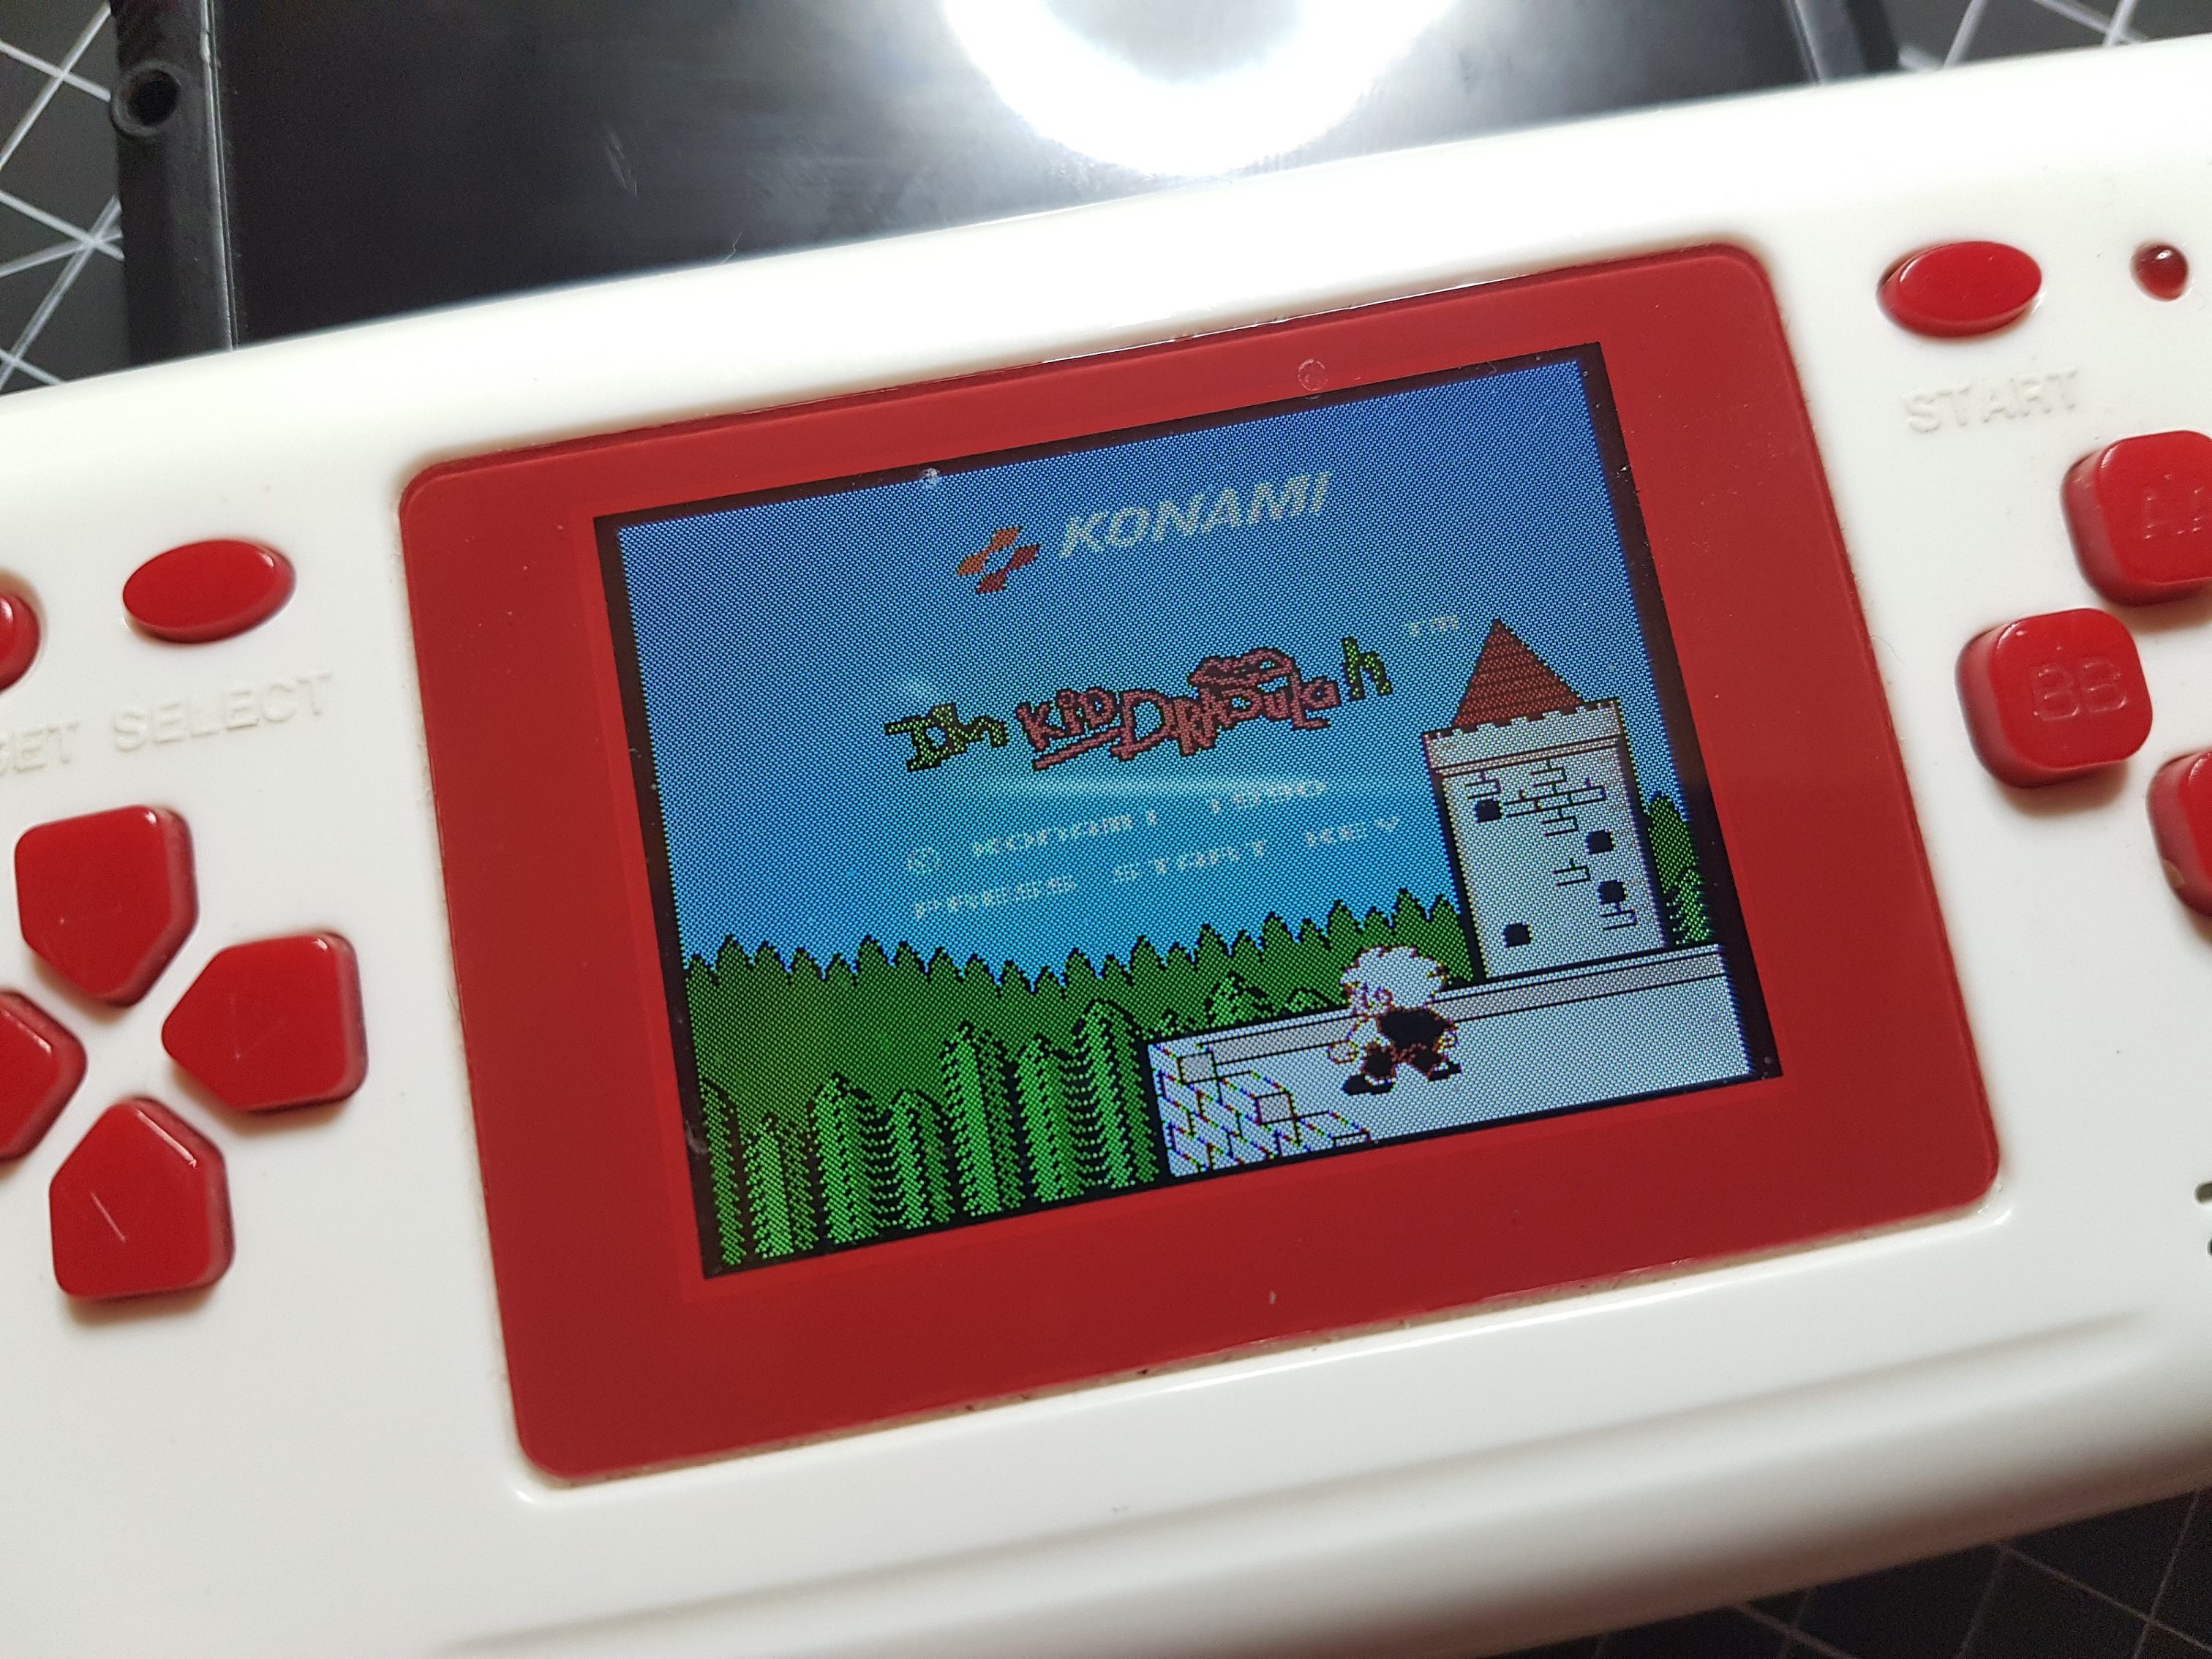
Testing
Tested with the Famiclone – works fine 🙂
Label
I peeled off the old label, glued it onto some cardboard and scanned it with some rulers to get it’s dimensions:

It’s about 9,2cm * 6,77cm. After that I designed a new label:
If you like you can download the label (*.psd) in full size right here: Click!
… have fun!
Hi, is there a way to use an american PCB?
Hey there! I’m not sure what you mean by American pcb 🙁 The pcb needs to have a vrc mapper by Konami, if remember correctly no American game has one.
Thanks for this tutorial and the general VRC info post. I was able to make a Kid Dracula repro using Racer Mini Yonku as a donor. Got it working after realizing that the pins that needed rewiring were referencing EPROM chip numbers, not PCB hole numbers. Also skipped wiring pin 31 to +5v as this was a regular old style EPROM.
Nice to hear, have fun playing this little gem!
Hi! Thanks Jenma for all those repro tutorials!
I’m looking to do a Akumajou Dracula and Bio Miracle repro but I’m a bit confuse with the rewiring. Can you help me with that? Thanks!
Sure, just drop me an email to jensma@jensma.de and I’ll see if I can be of any help 🙂