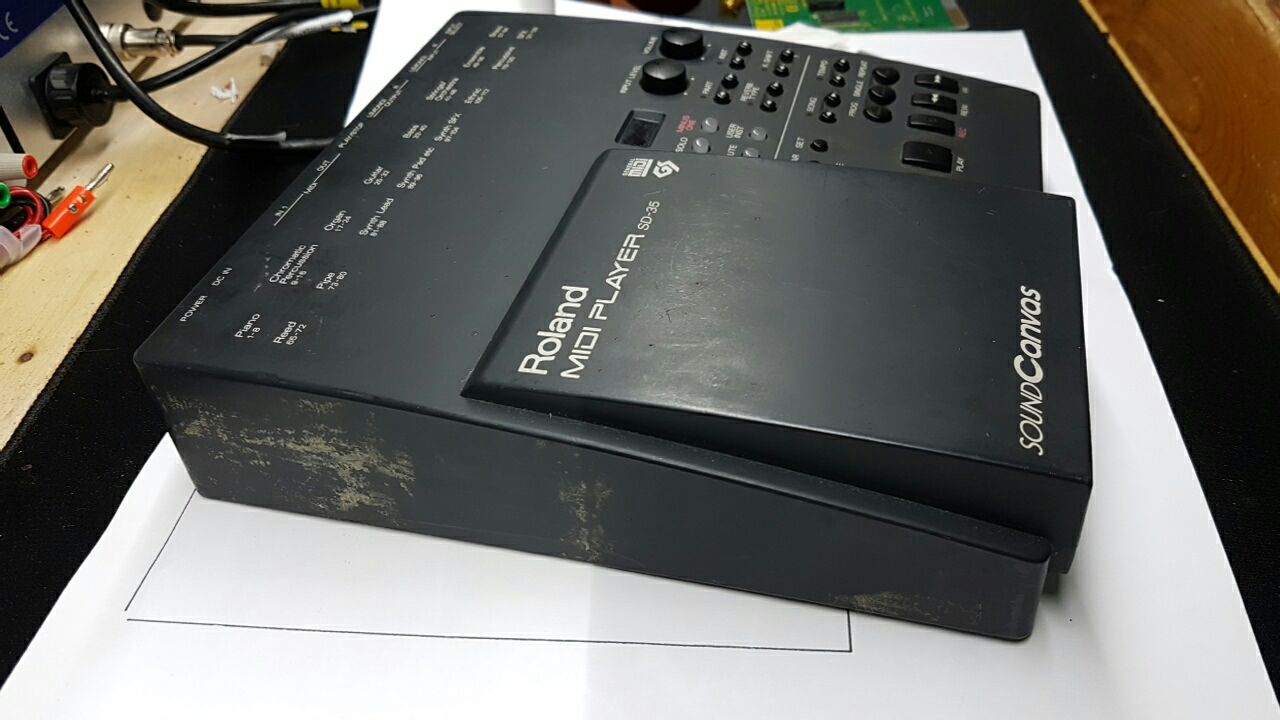
I was able to score a sweet sound canvas for my PC setup. Unfortunatly it arrived in a non working order 🙁 But hey, where’s the fun without a nice little repair?
First off – an outer inspection:
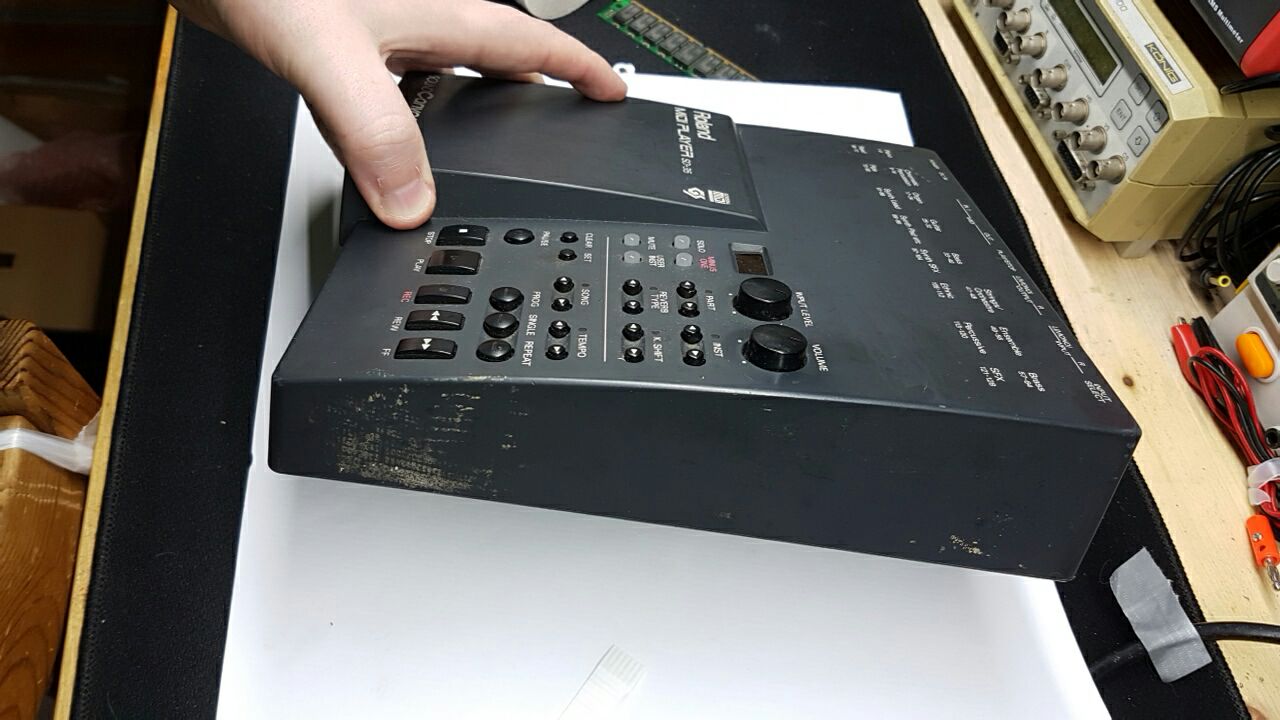
The whole thing seemed to be wrapped in tape sometime in the past. The residue is rock solid. Let’s turn it on it’s back…
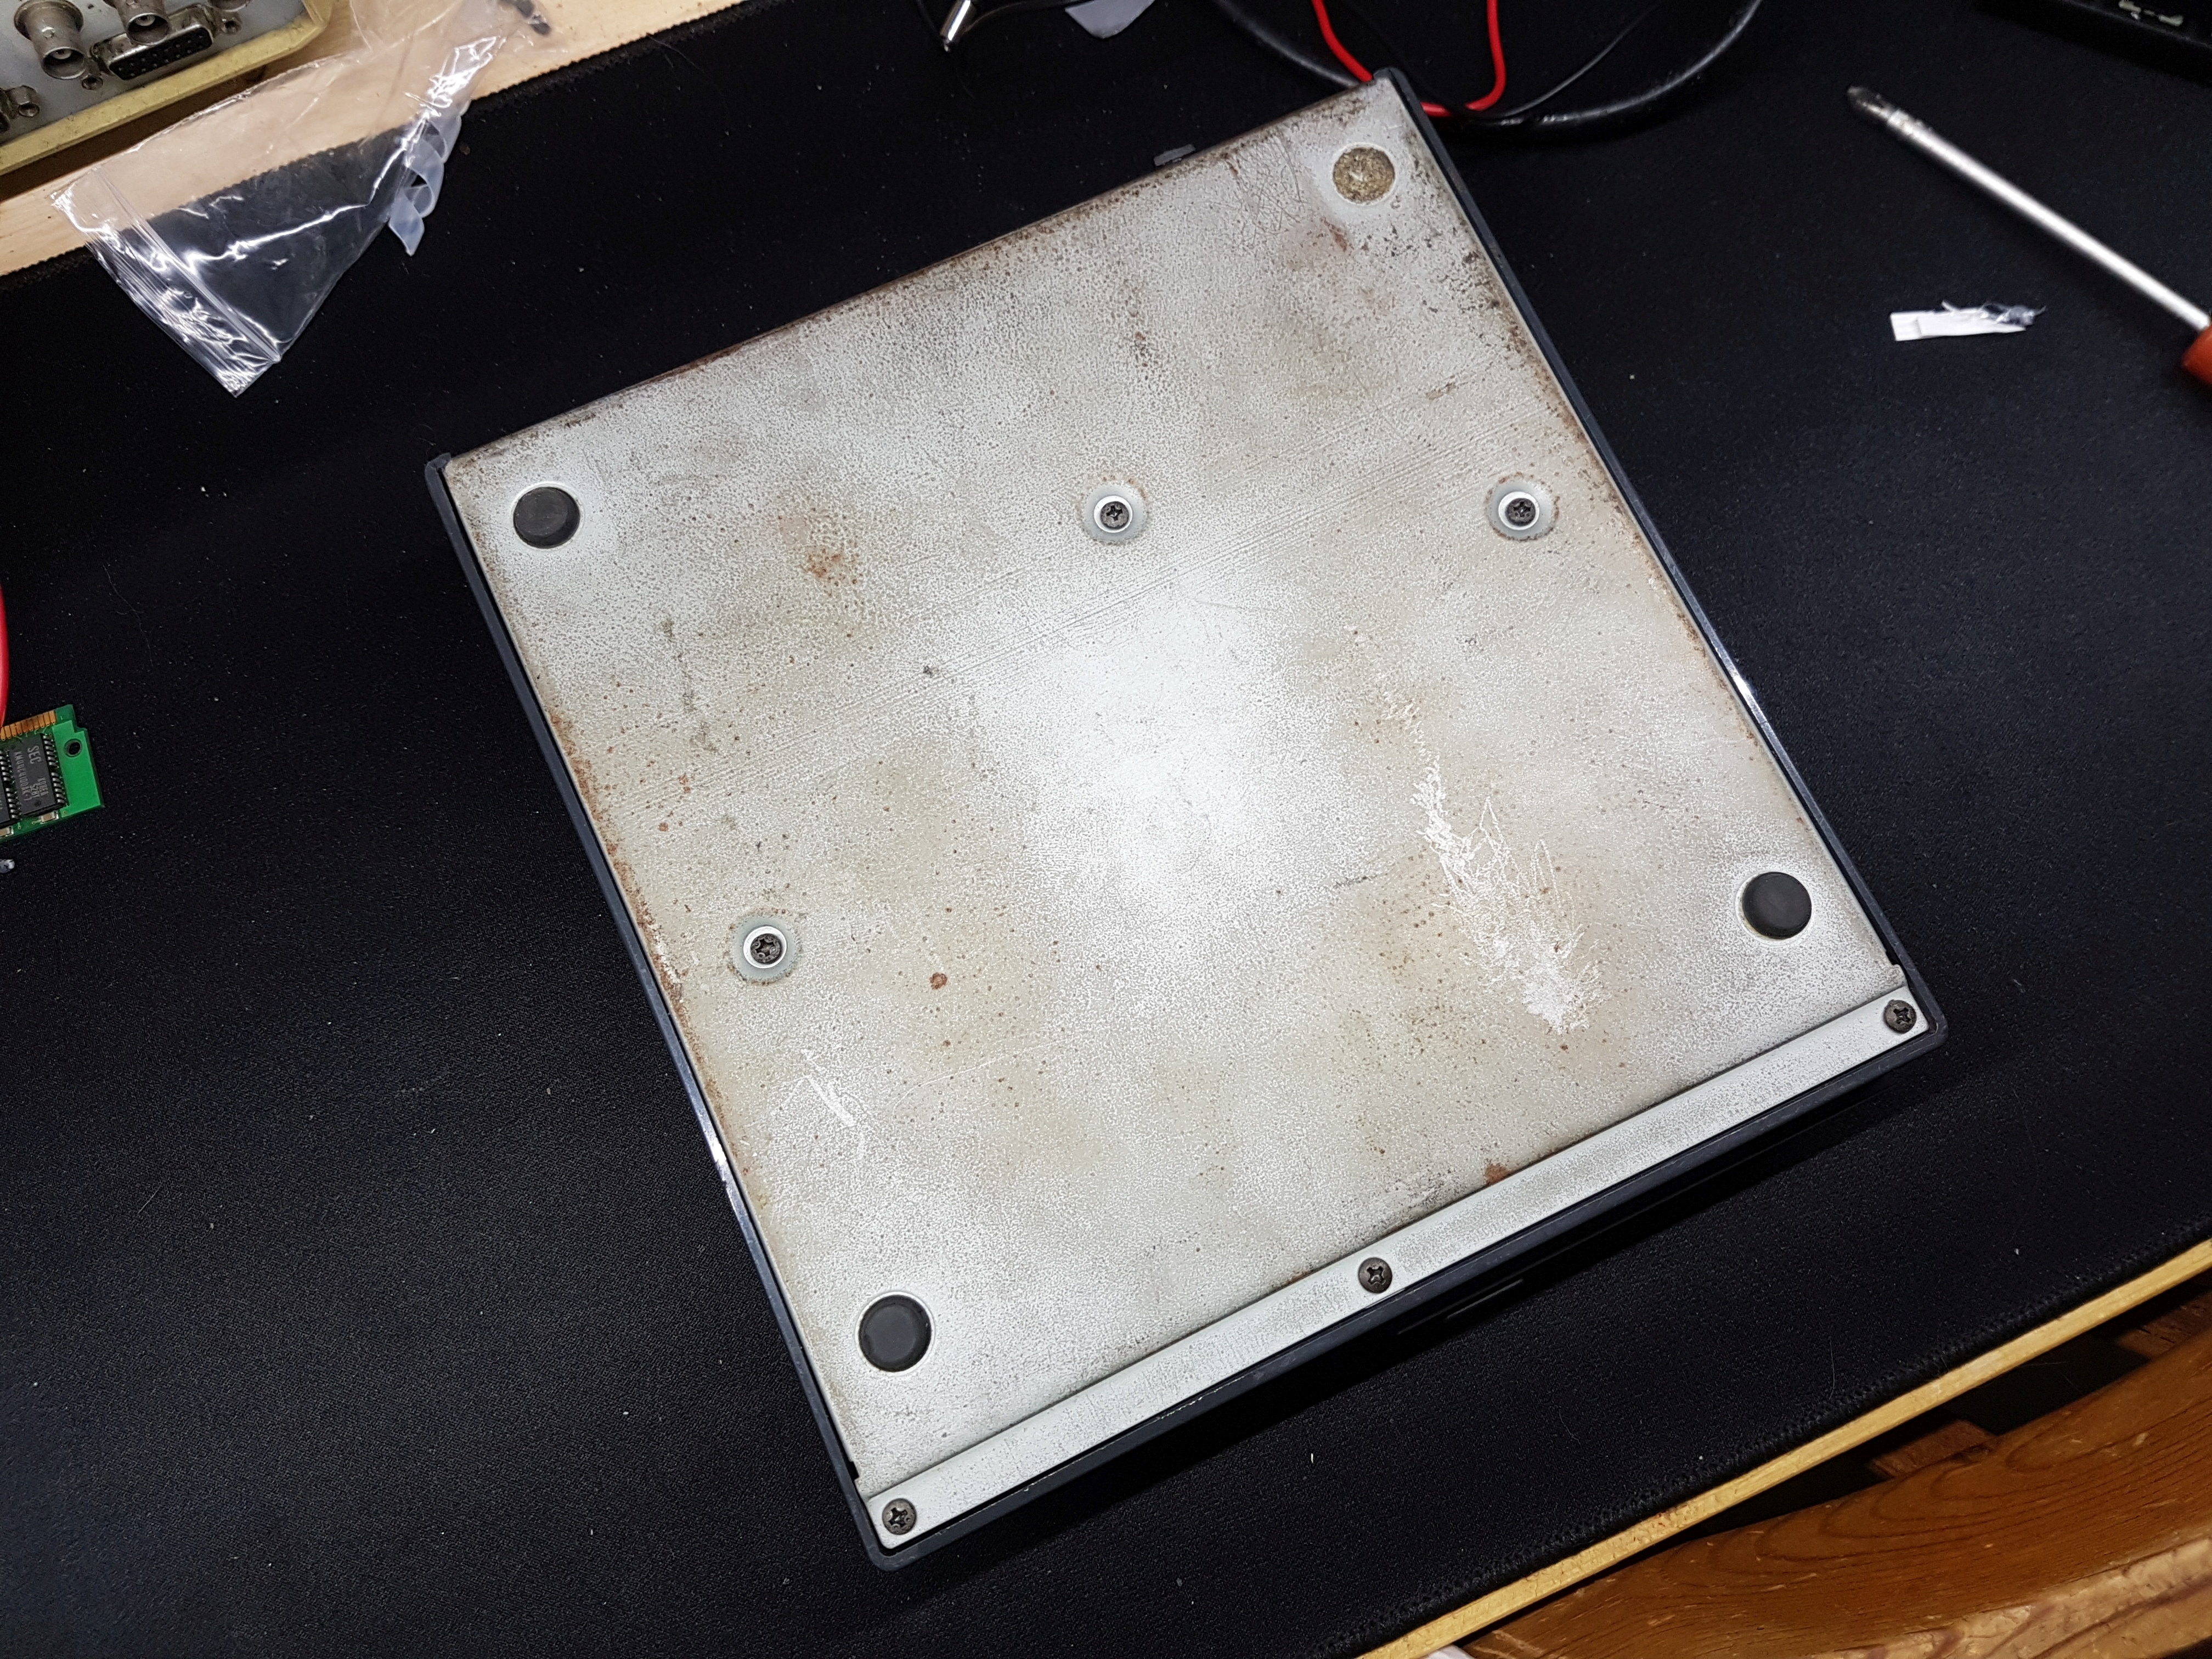
I was a bit shocked – but the rust is just superficial. And one of the rubber feet is missing, no big deal. At this point I tried to power it and switch it on – but to no avail. It’s dead 🙁
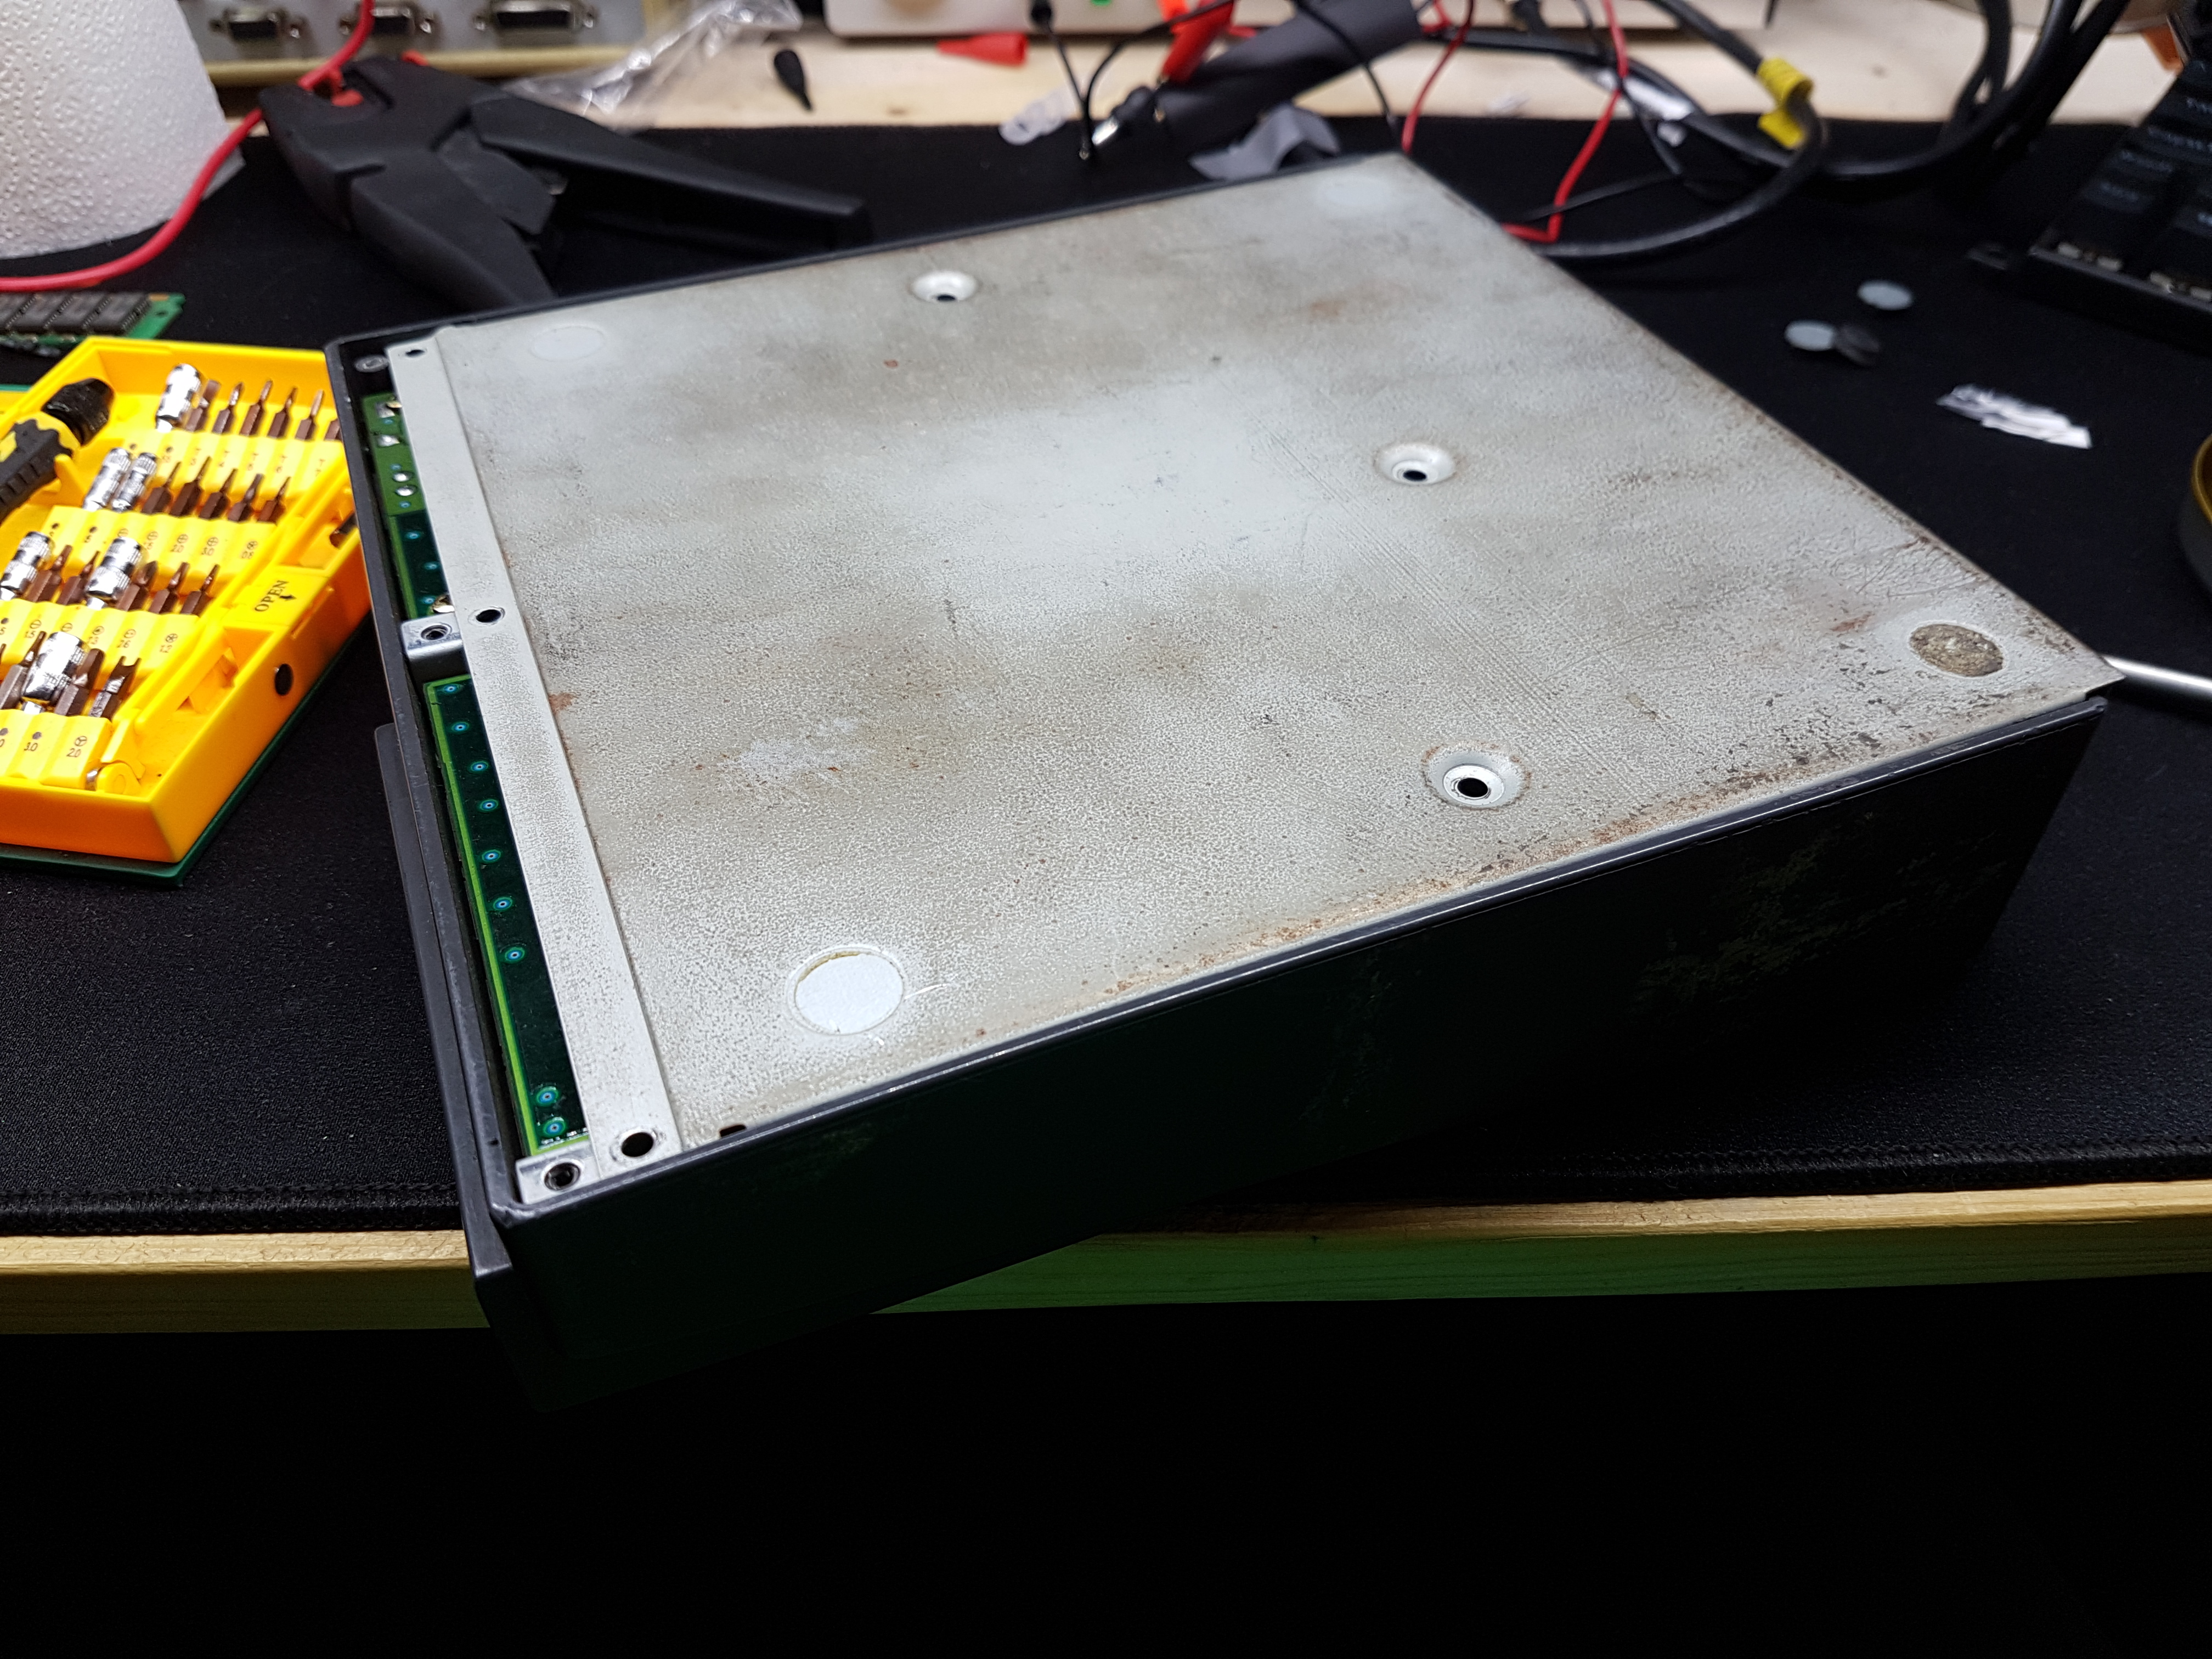
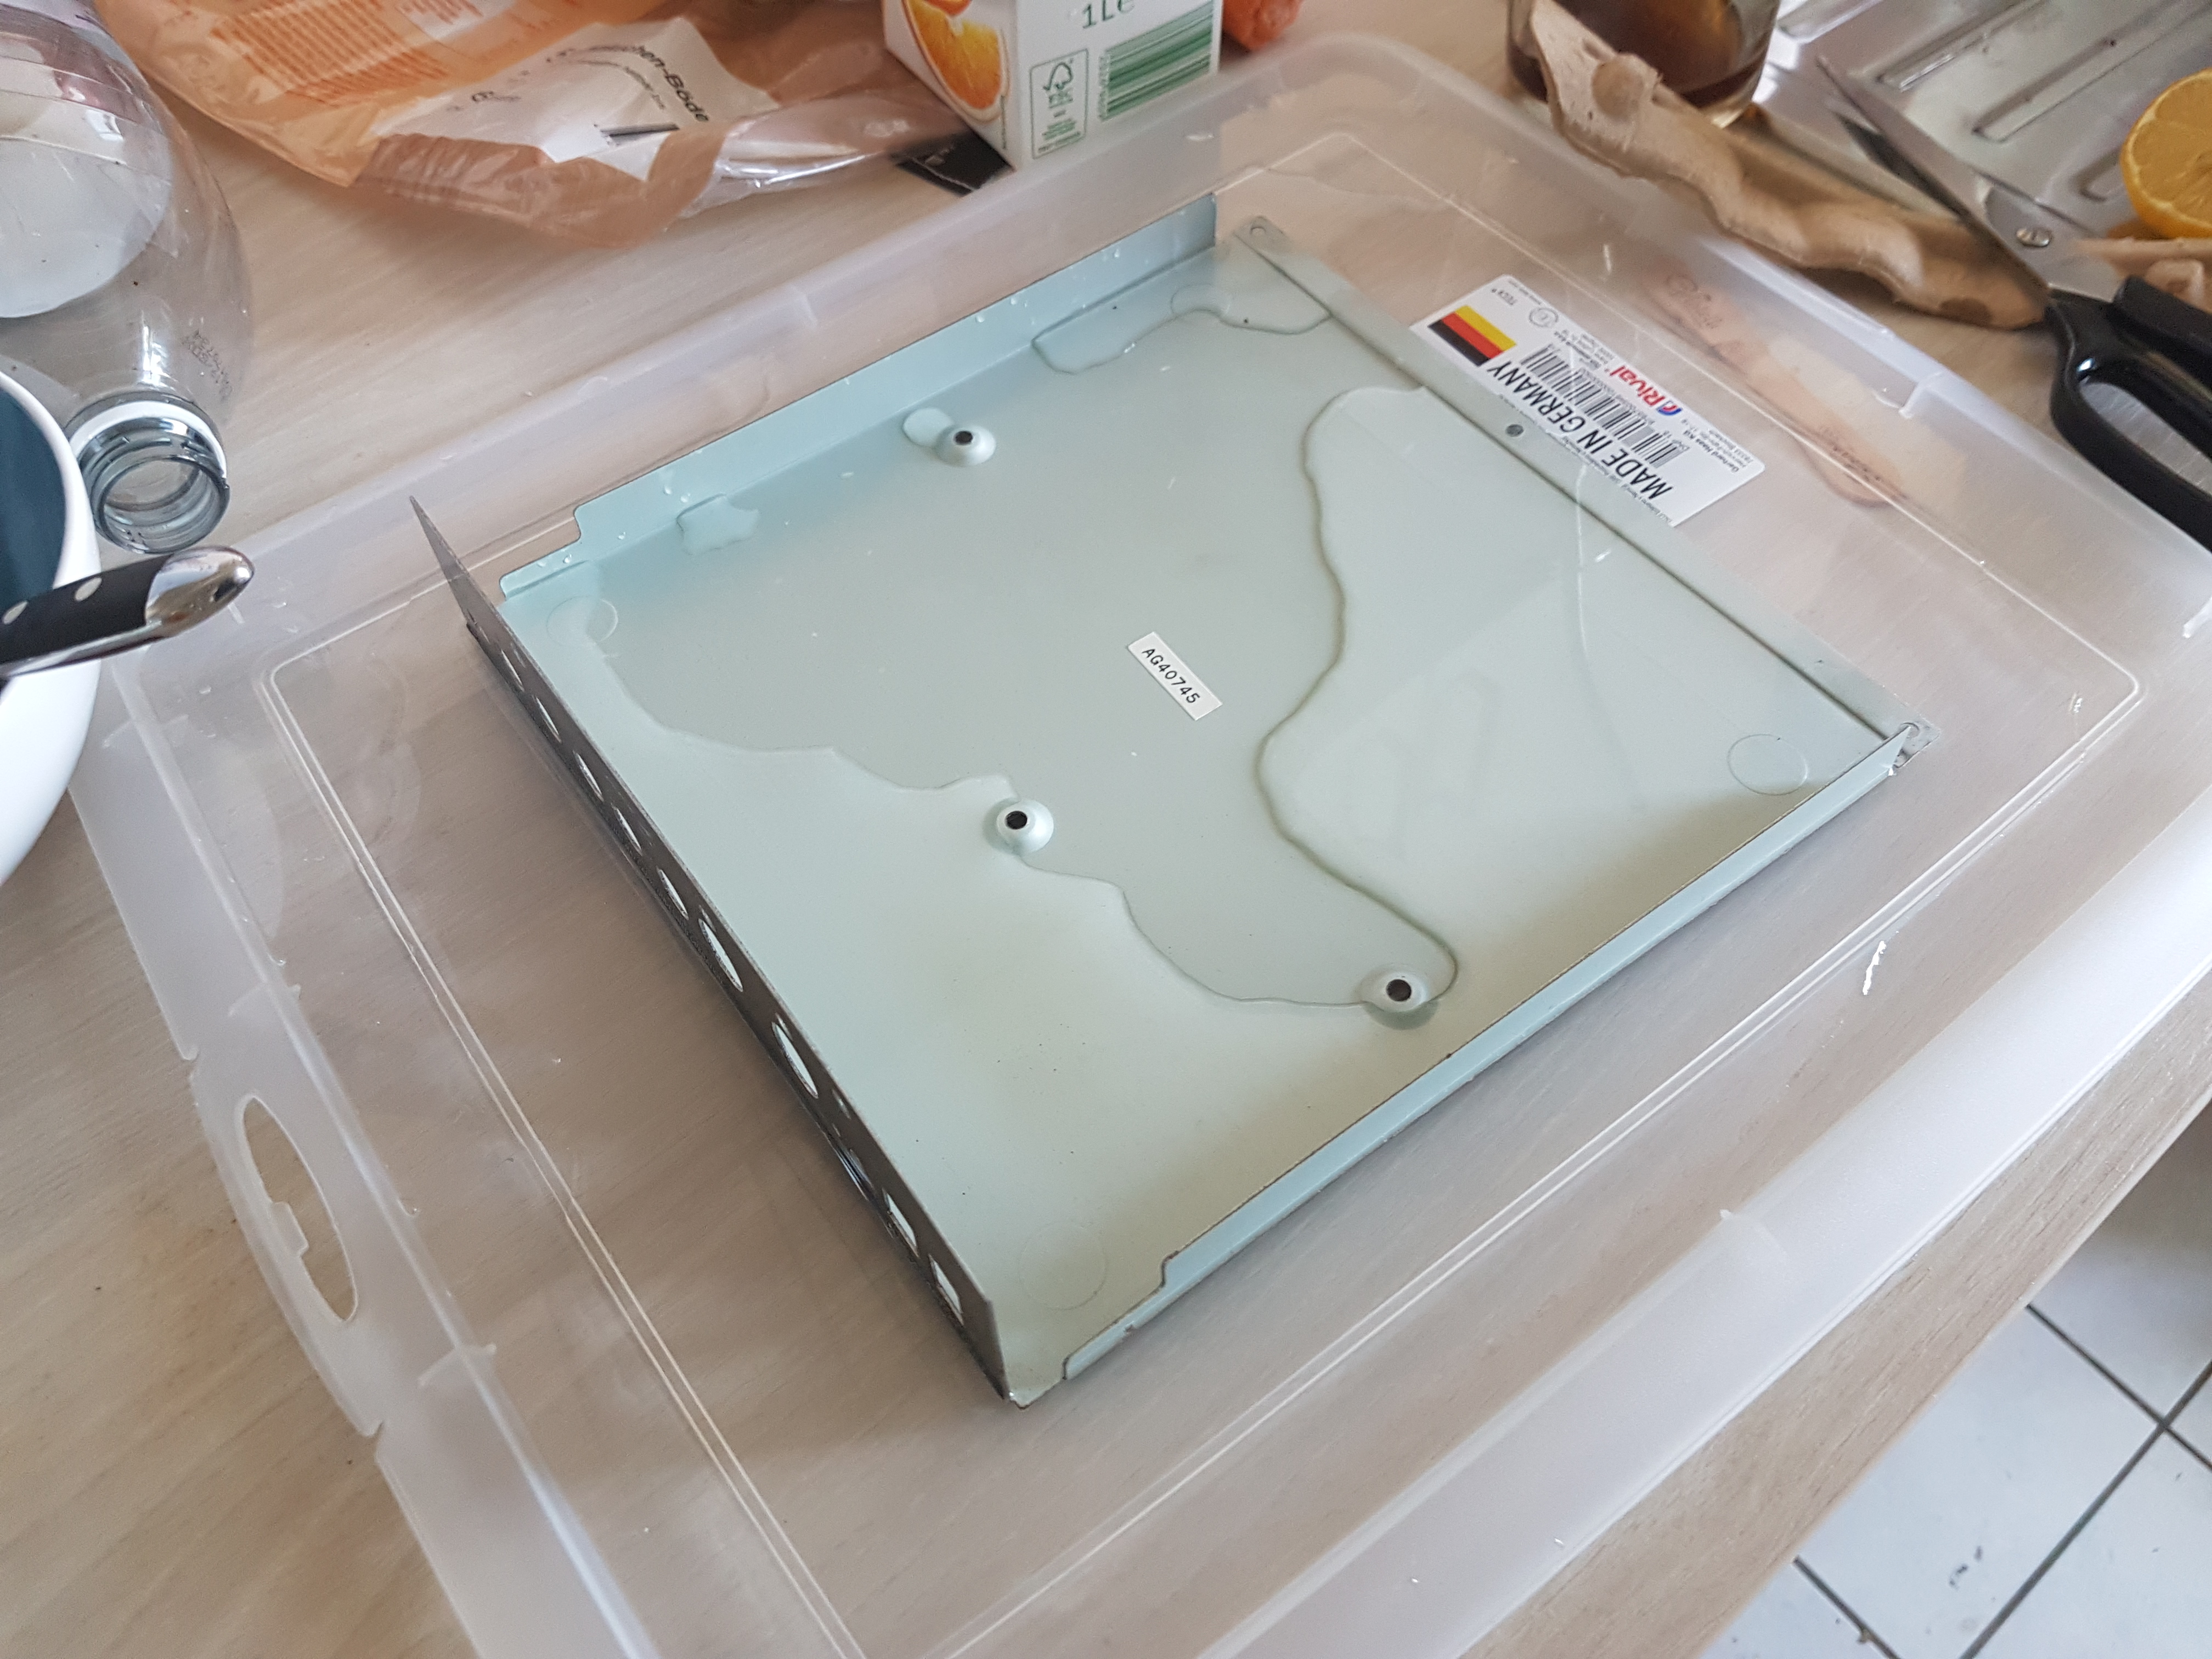
While attempting the repair I let the rusted bottom plate soak in vinegar acid.
Back to the sound cavas!
So, no acid damage on the underside. I’ve read in the manual that the device settings are stored in a battery. So I braced myself for some corrosive damage. Try to pop the hood and take a peek.
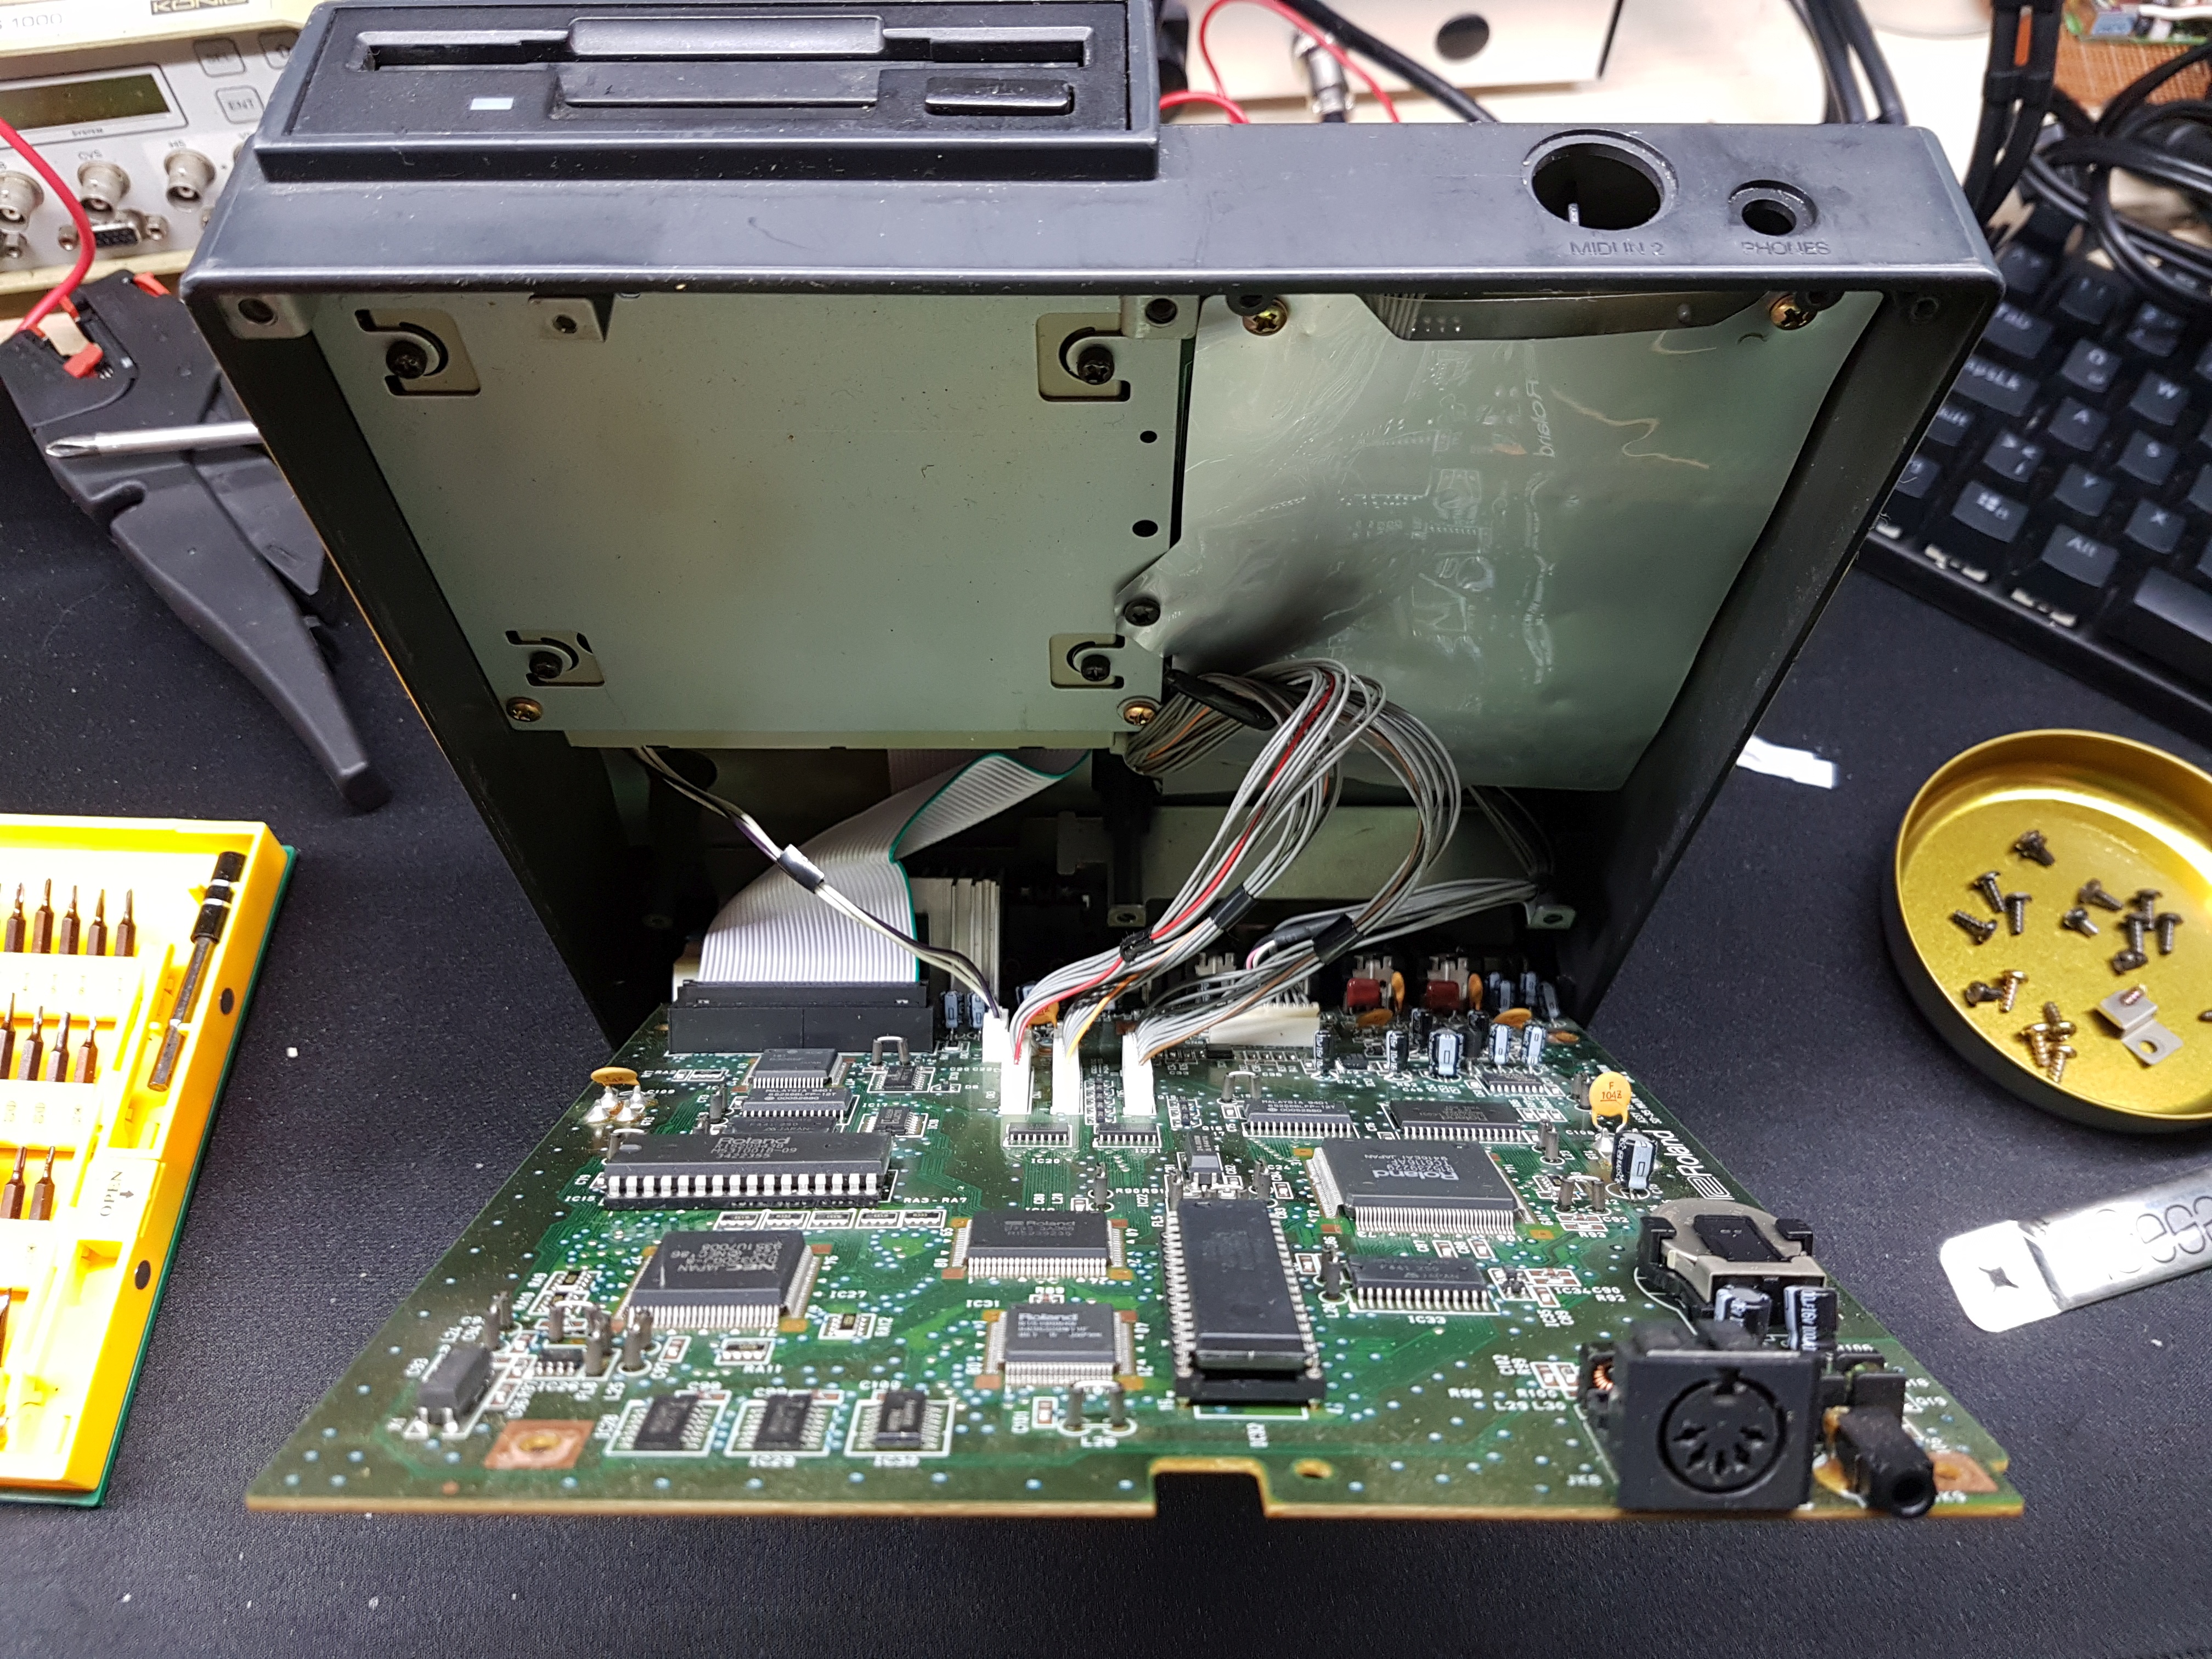
Sweet! The battery backed storage relies on a lithium cell (right hand side, in a nice cell holder) which seems to be fine. I removed it anyway, since its most probably dead.
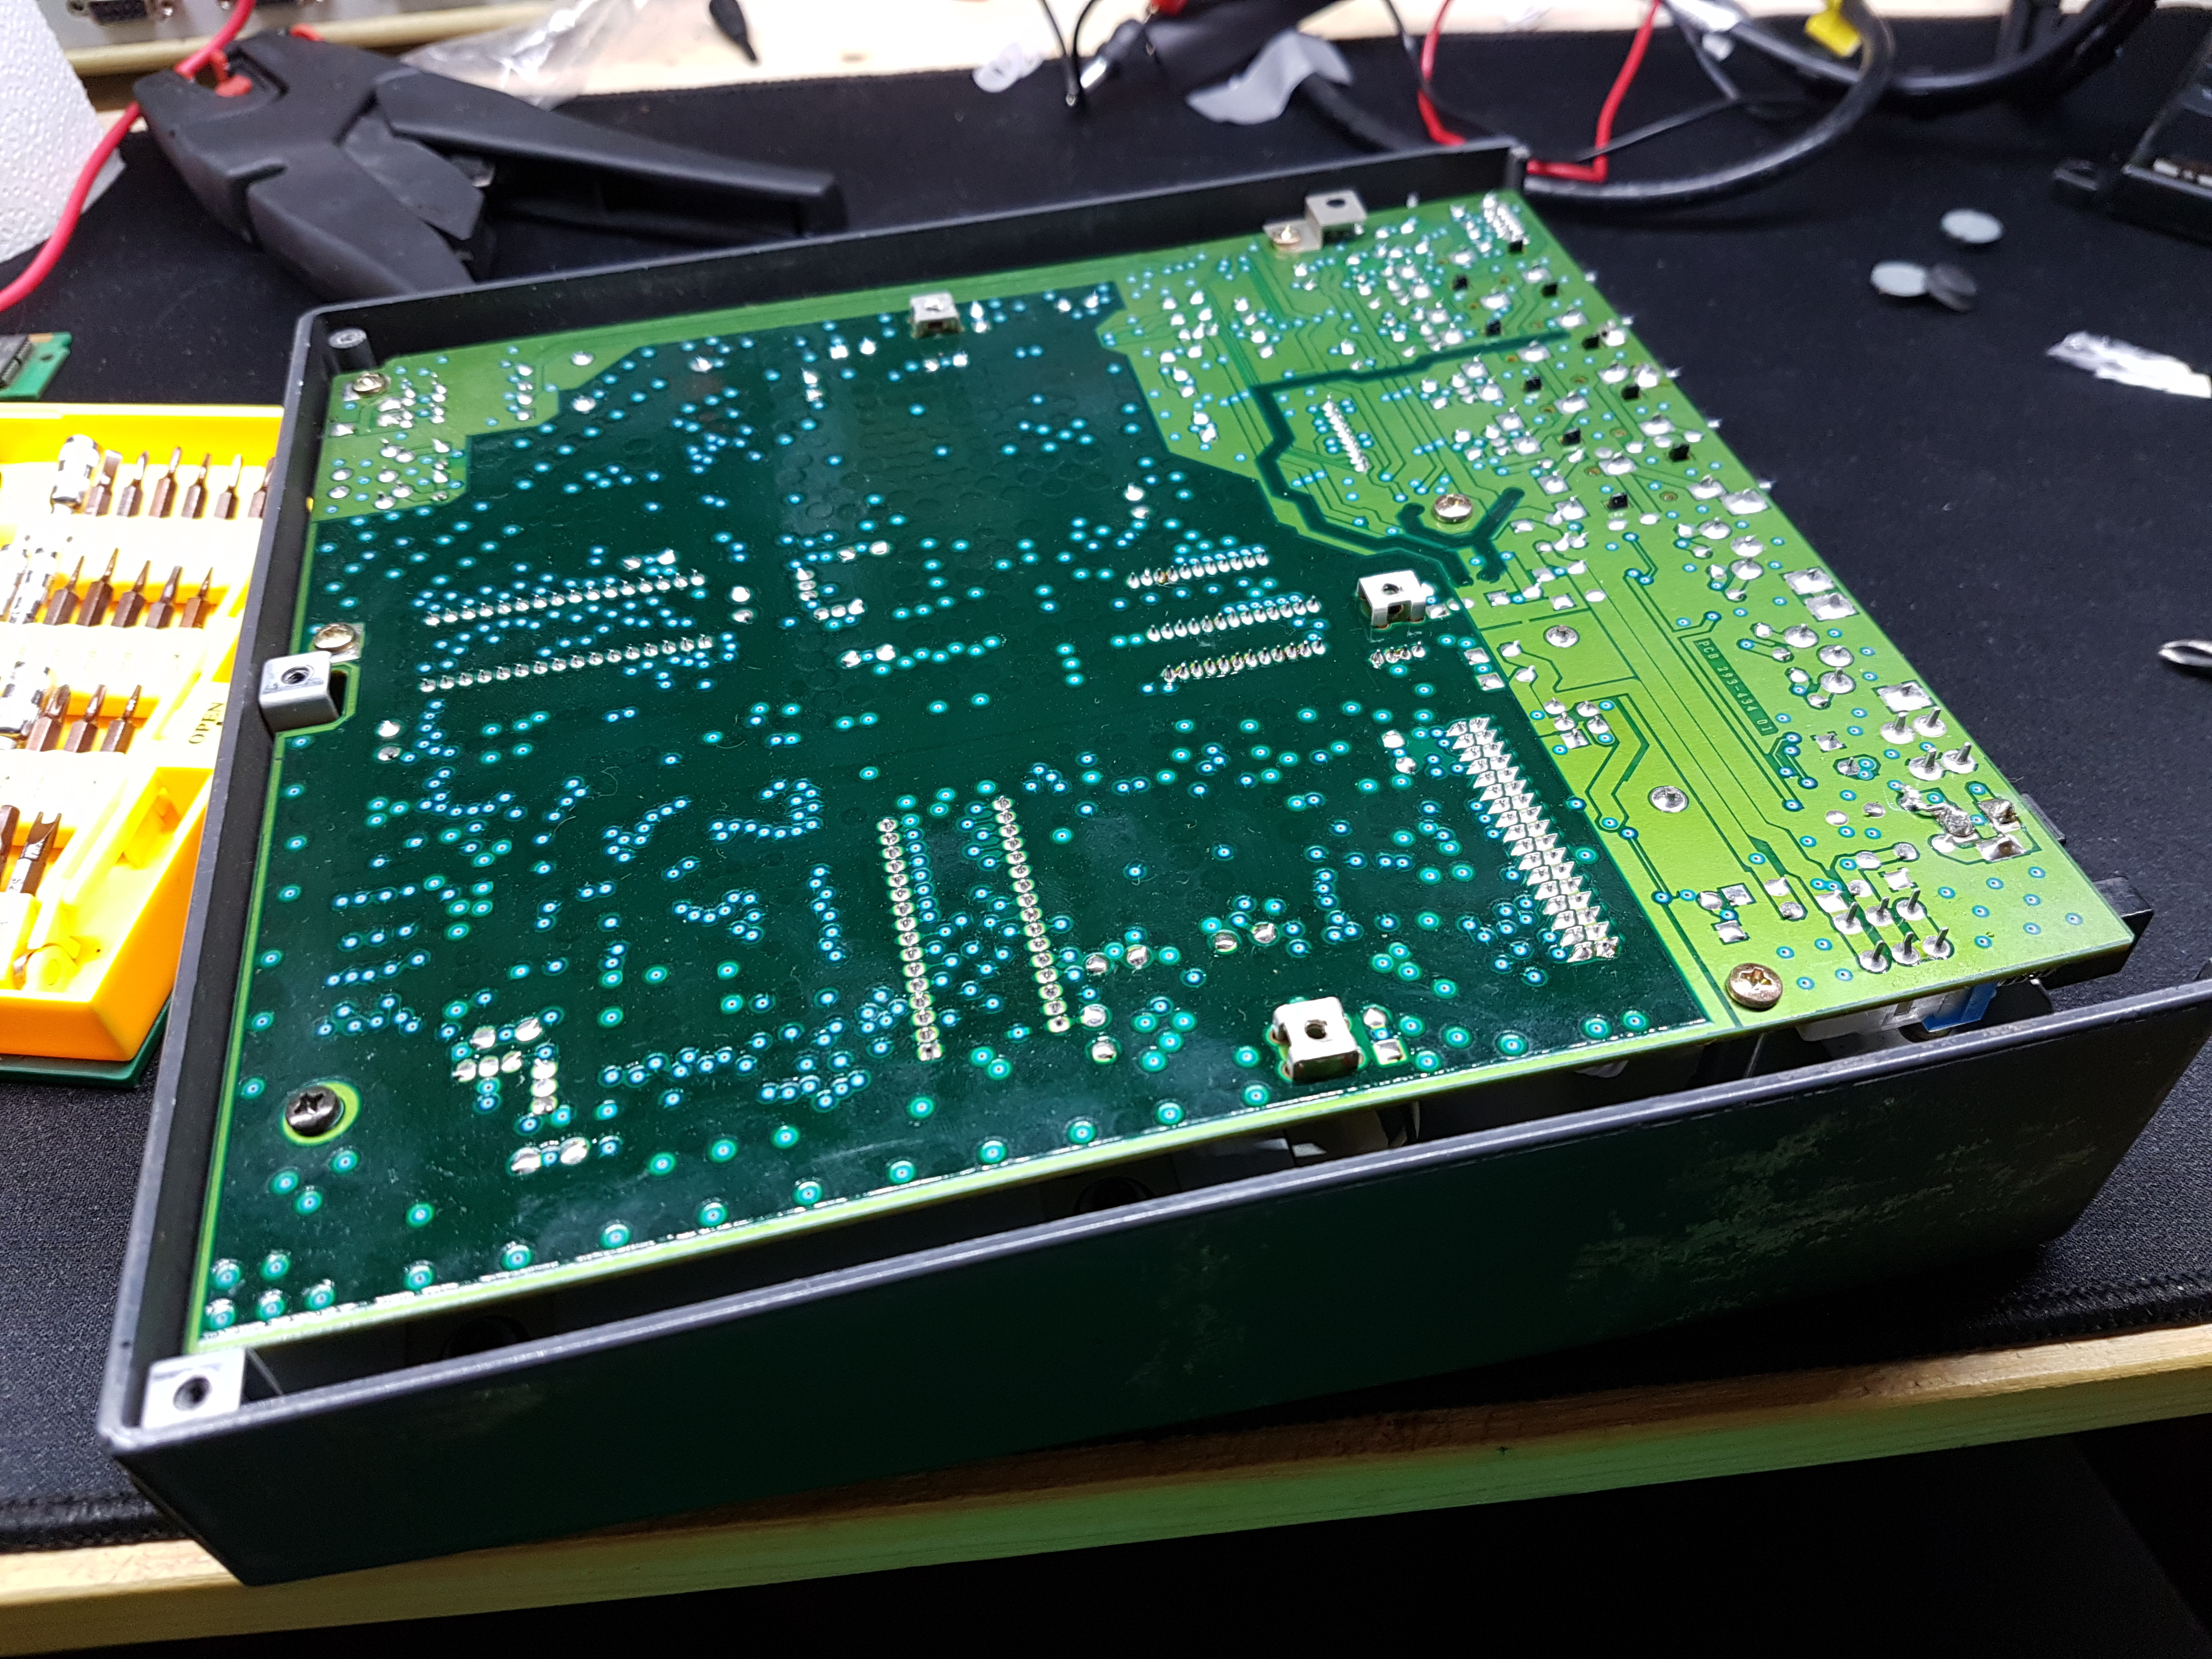
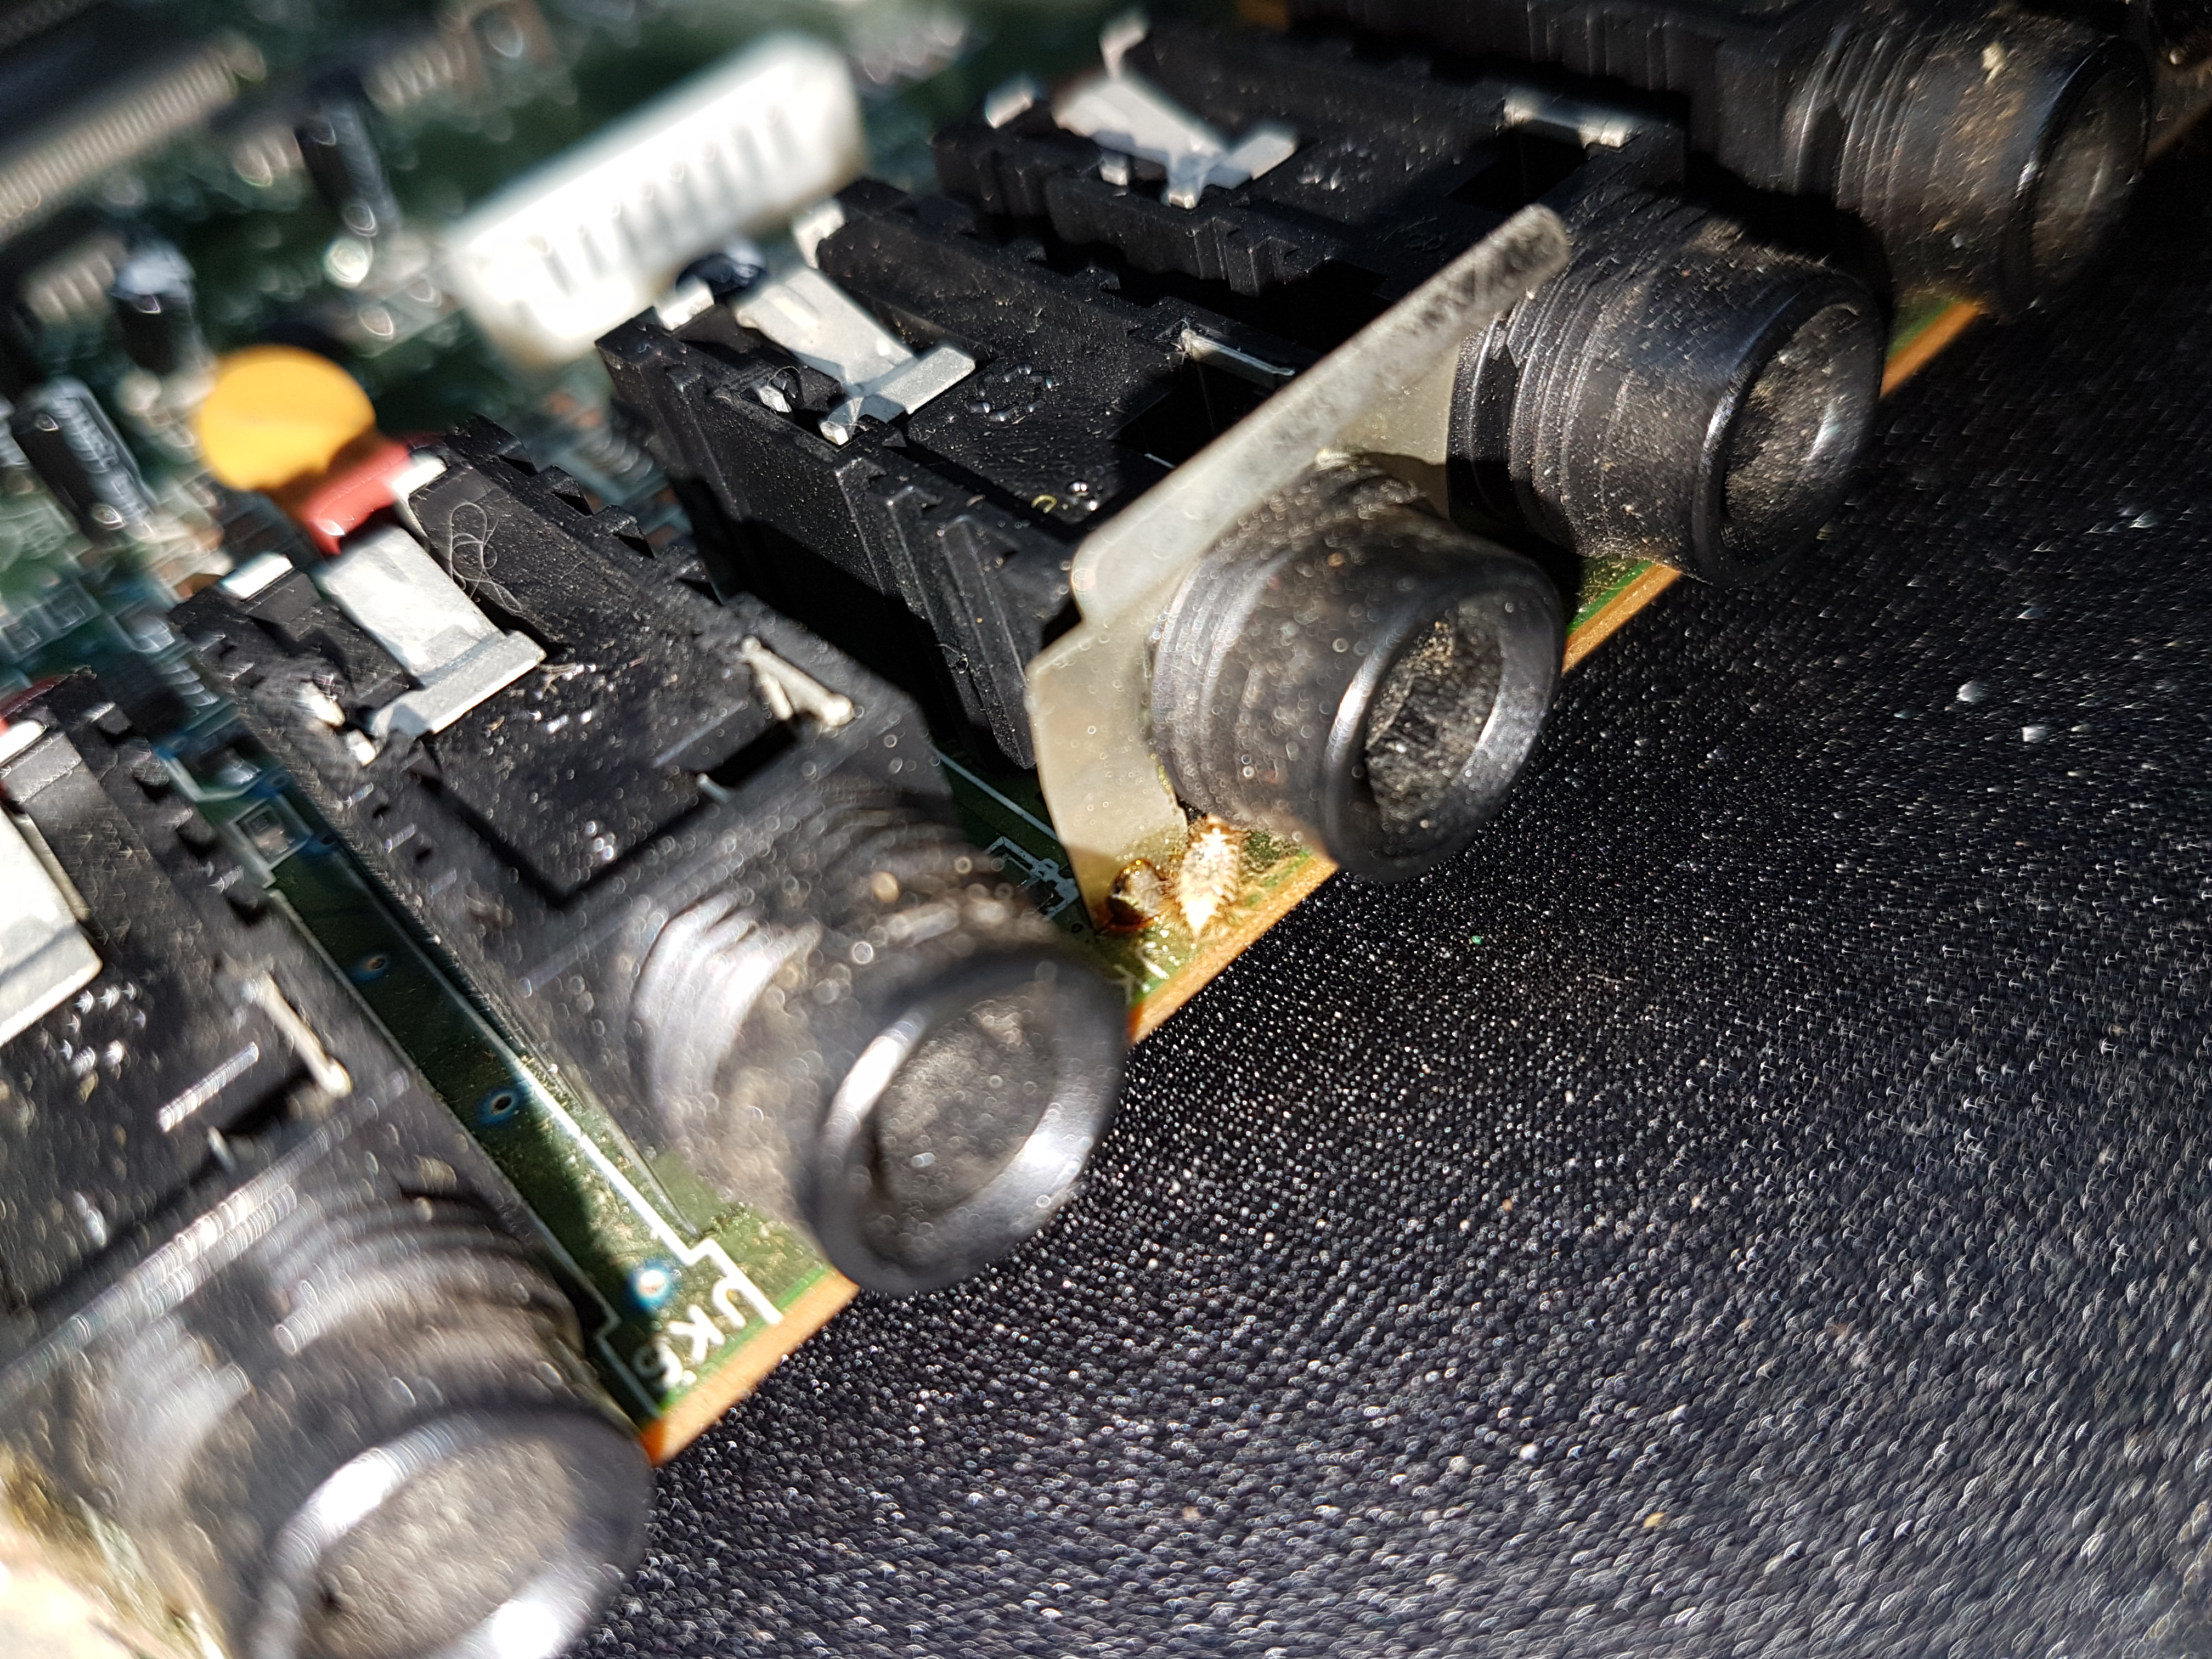
Next up was another visual inspection. So I just unplgged all the plugs and had a look around. Just checking for anything obvious, broken traces, bulging capacitors, all that stuff.
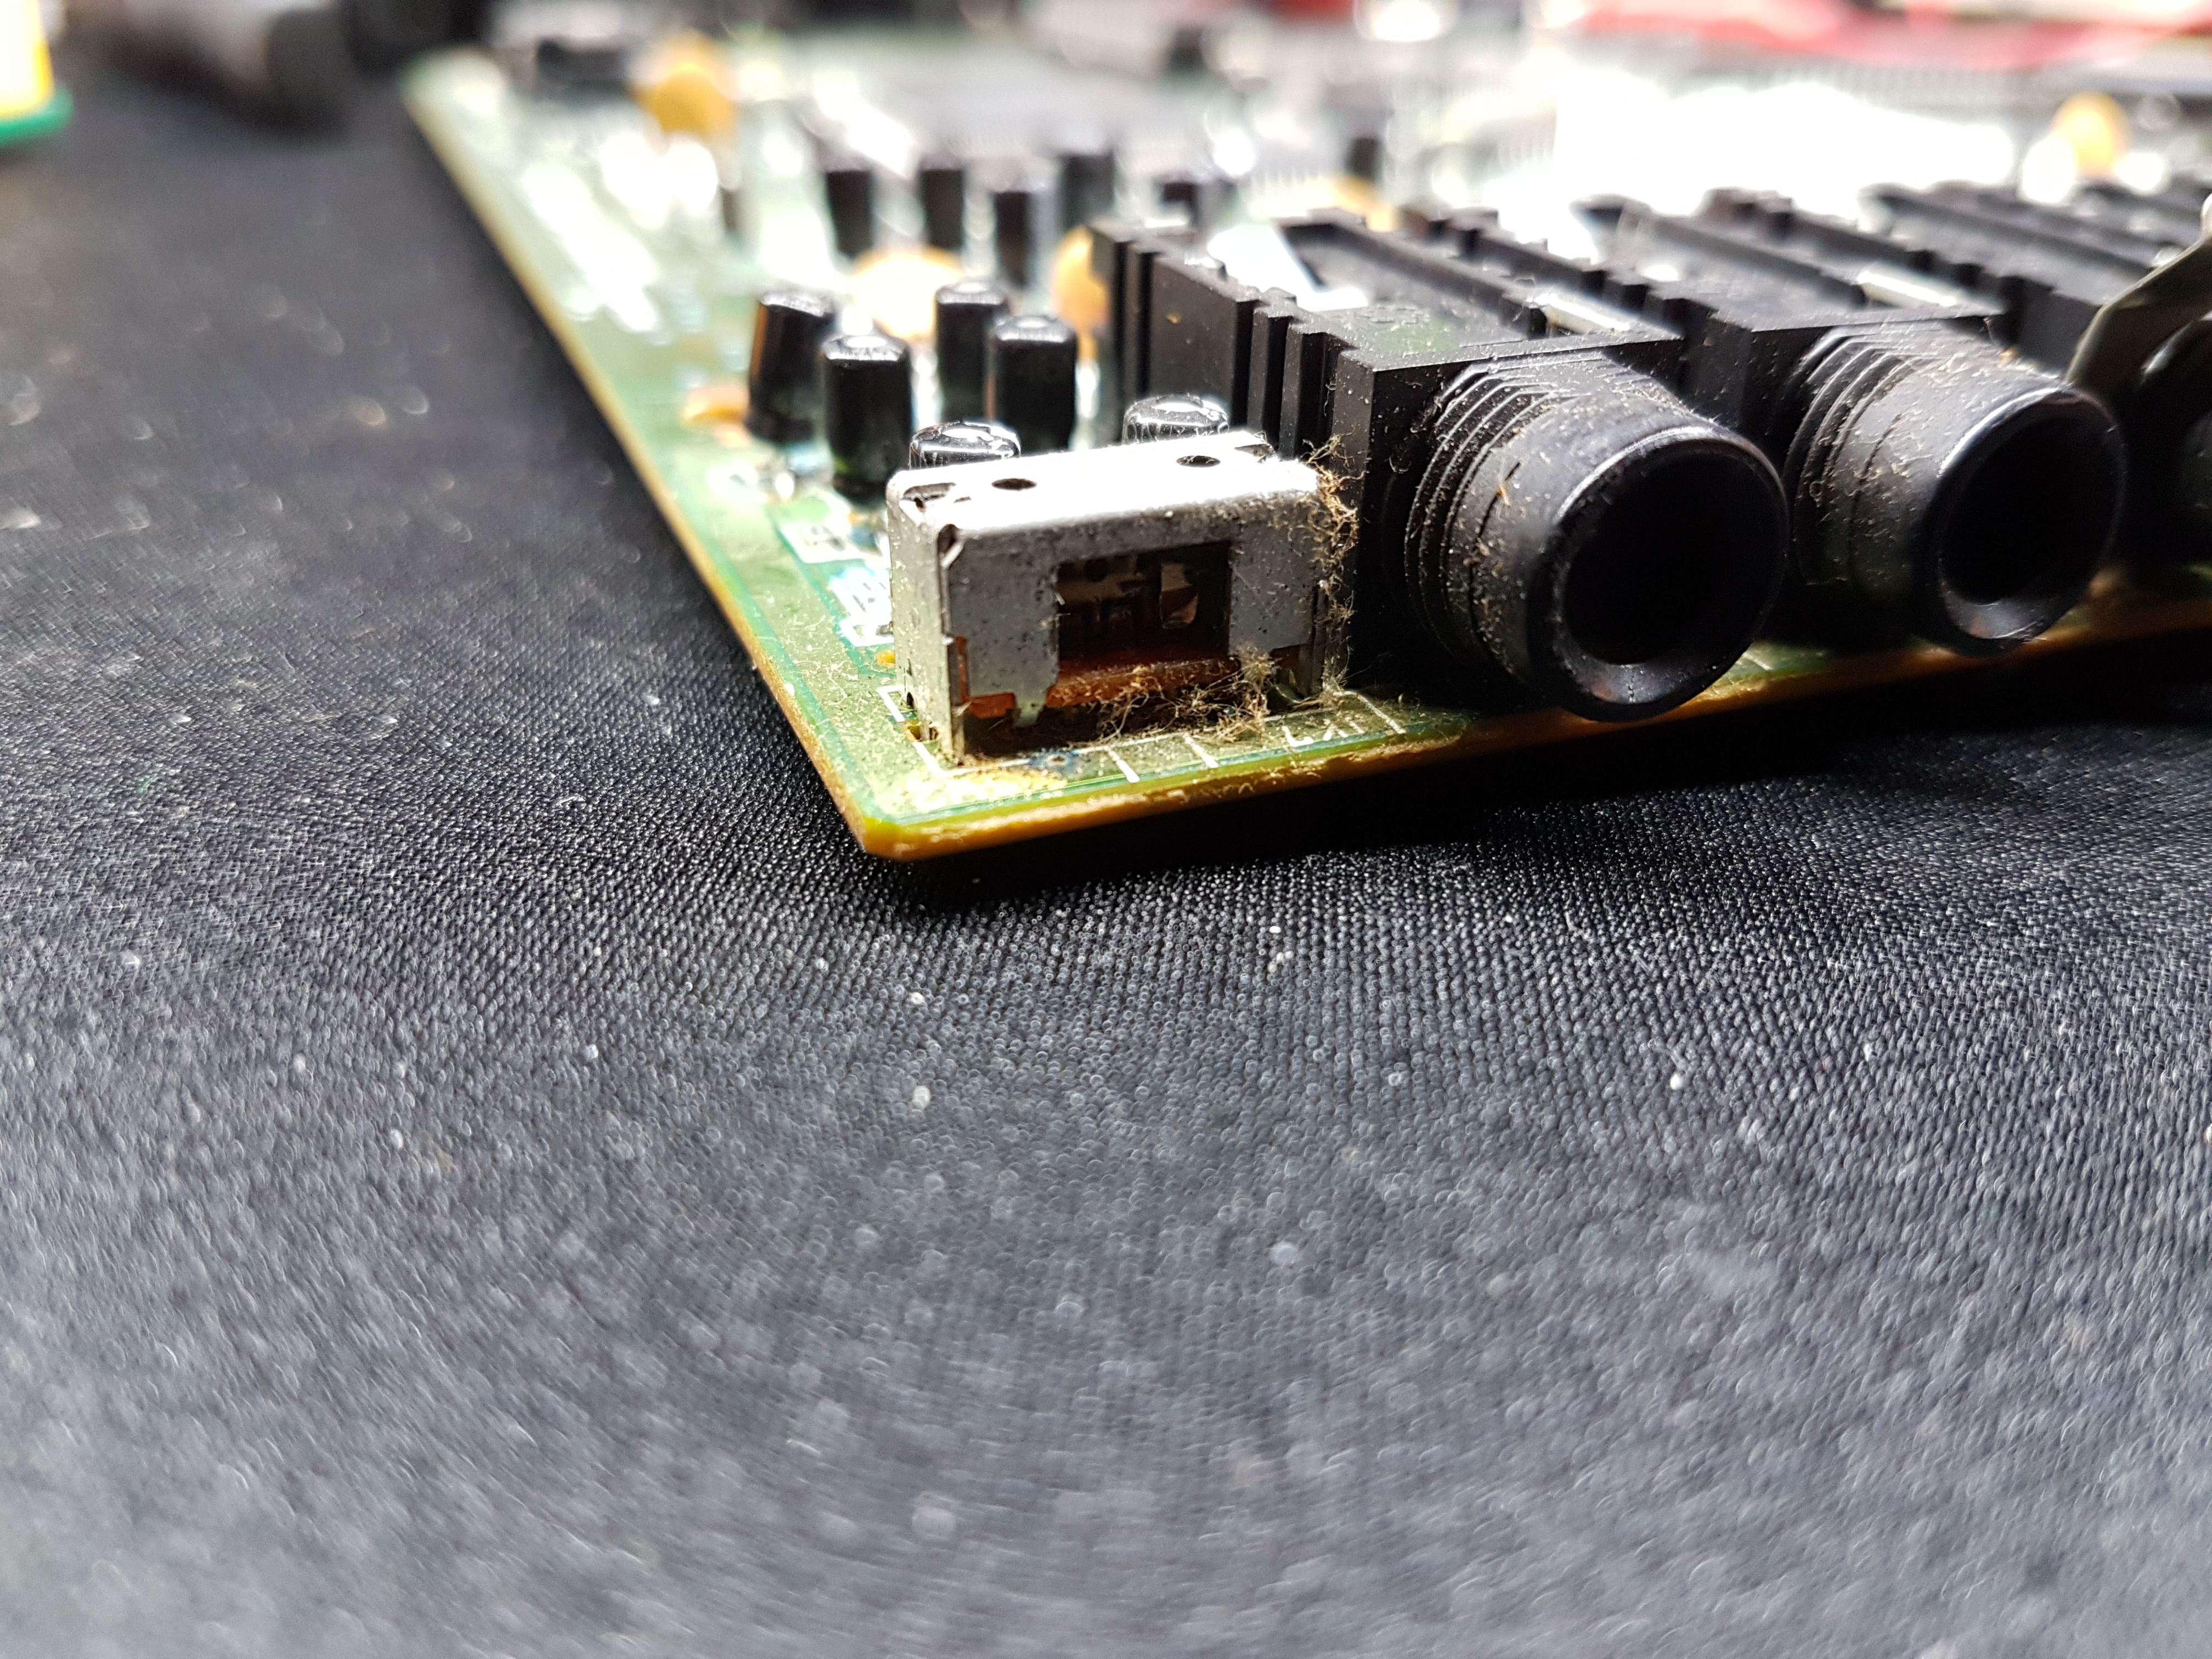
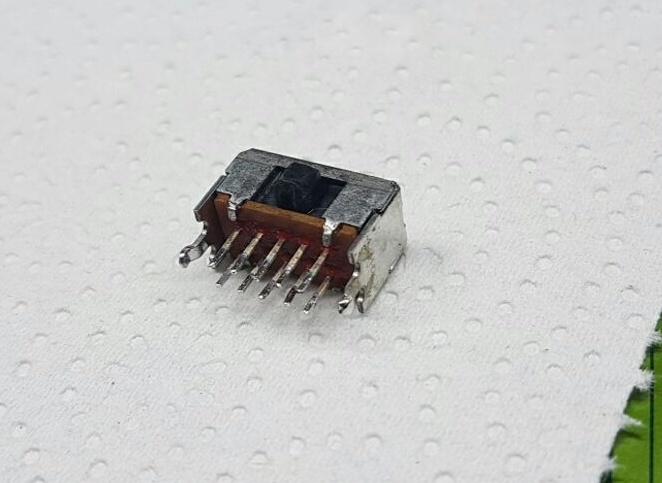
This is the input selection switch. Seems to be dead and hollow. More about that later.
Always funny to find a literal bug! In addition to that I found the power input jack had cold joints and had a bodge wire dangling around.. Unfortunatly I don’t have a picture of that, just took one after removing it and some while the repair.
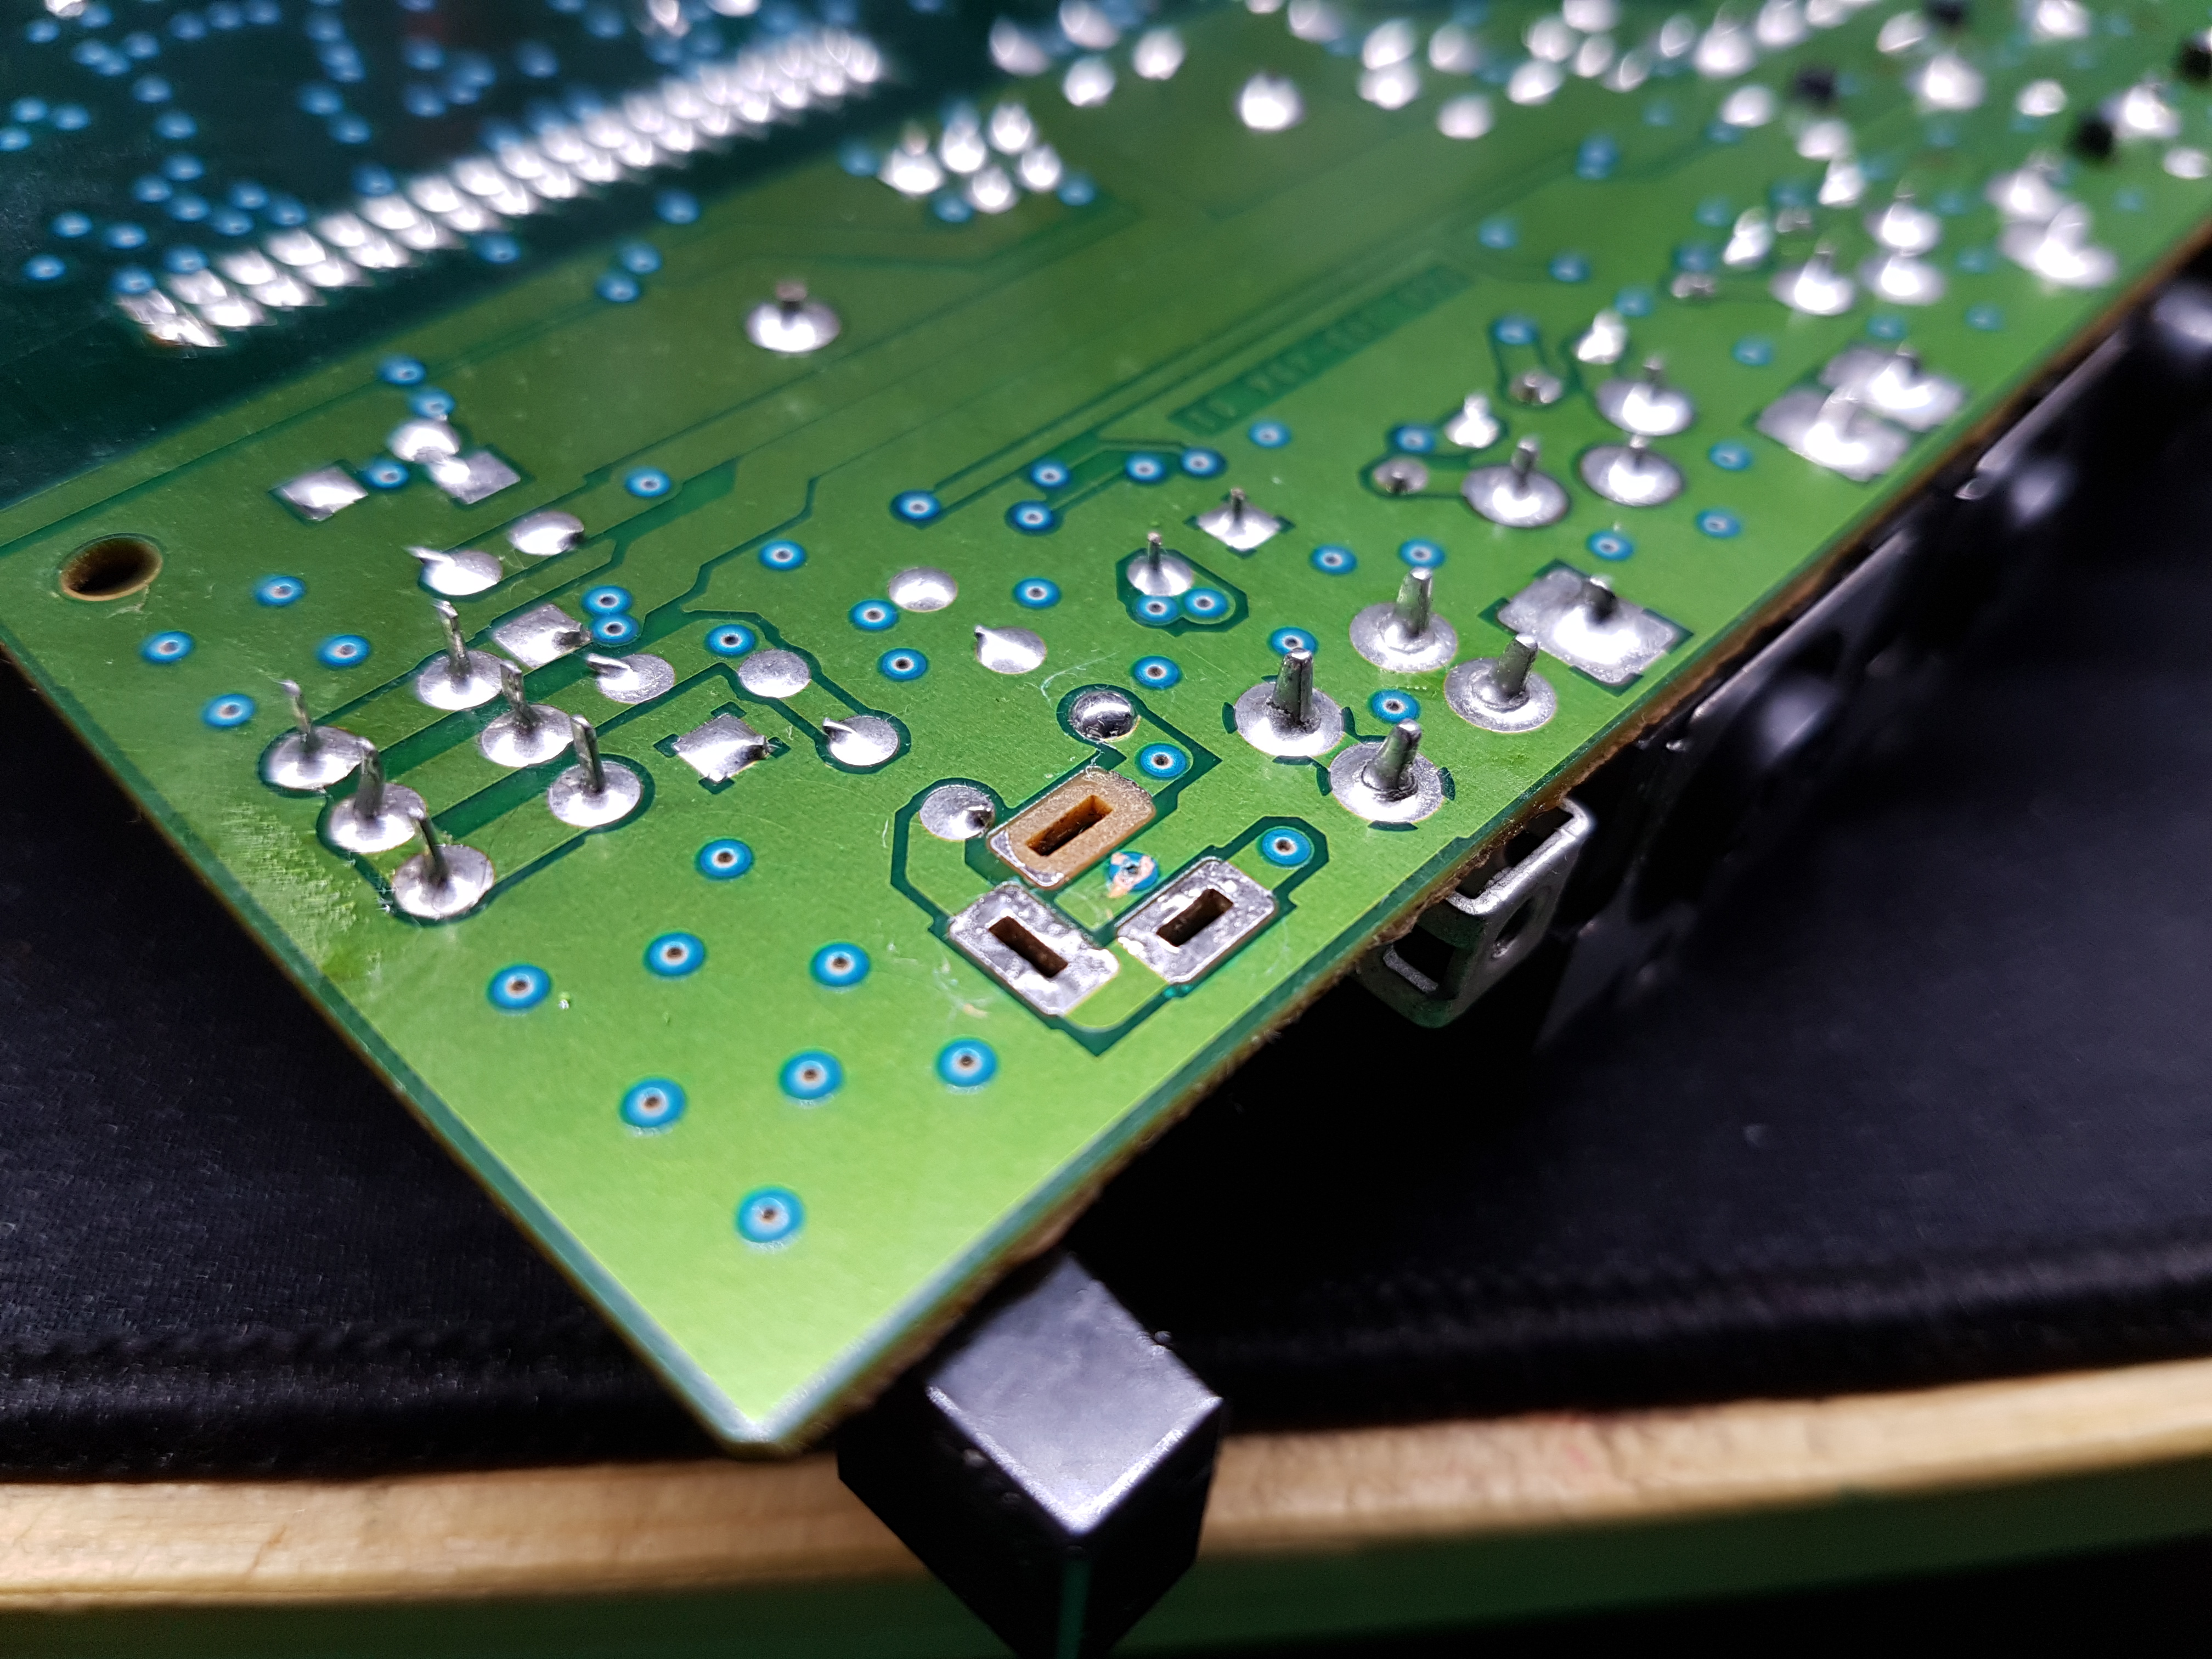
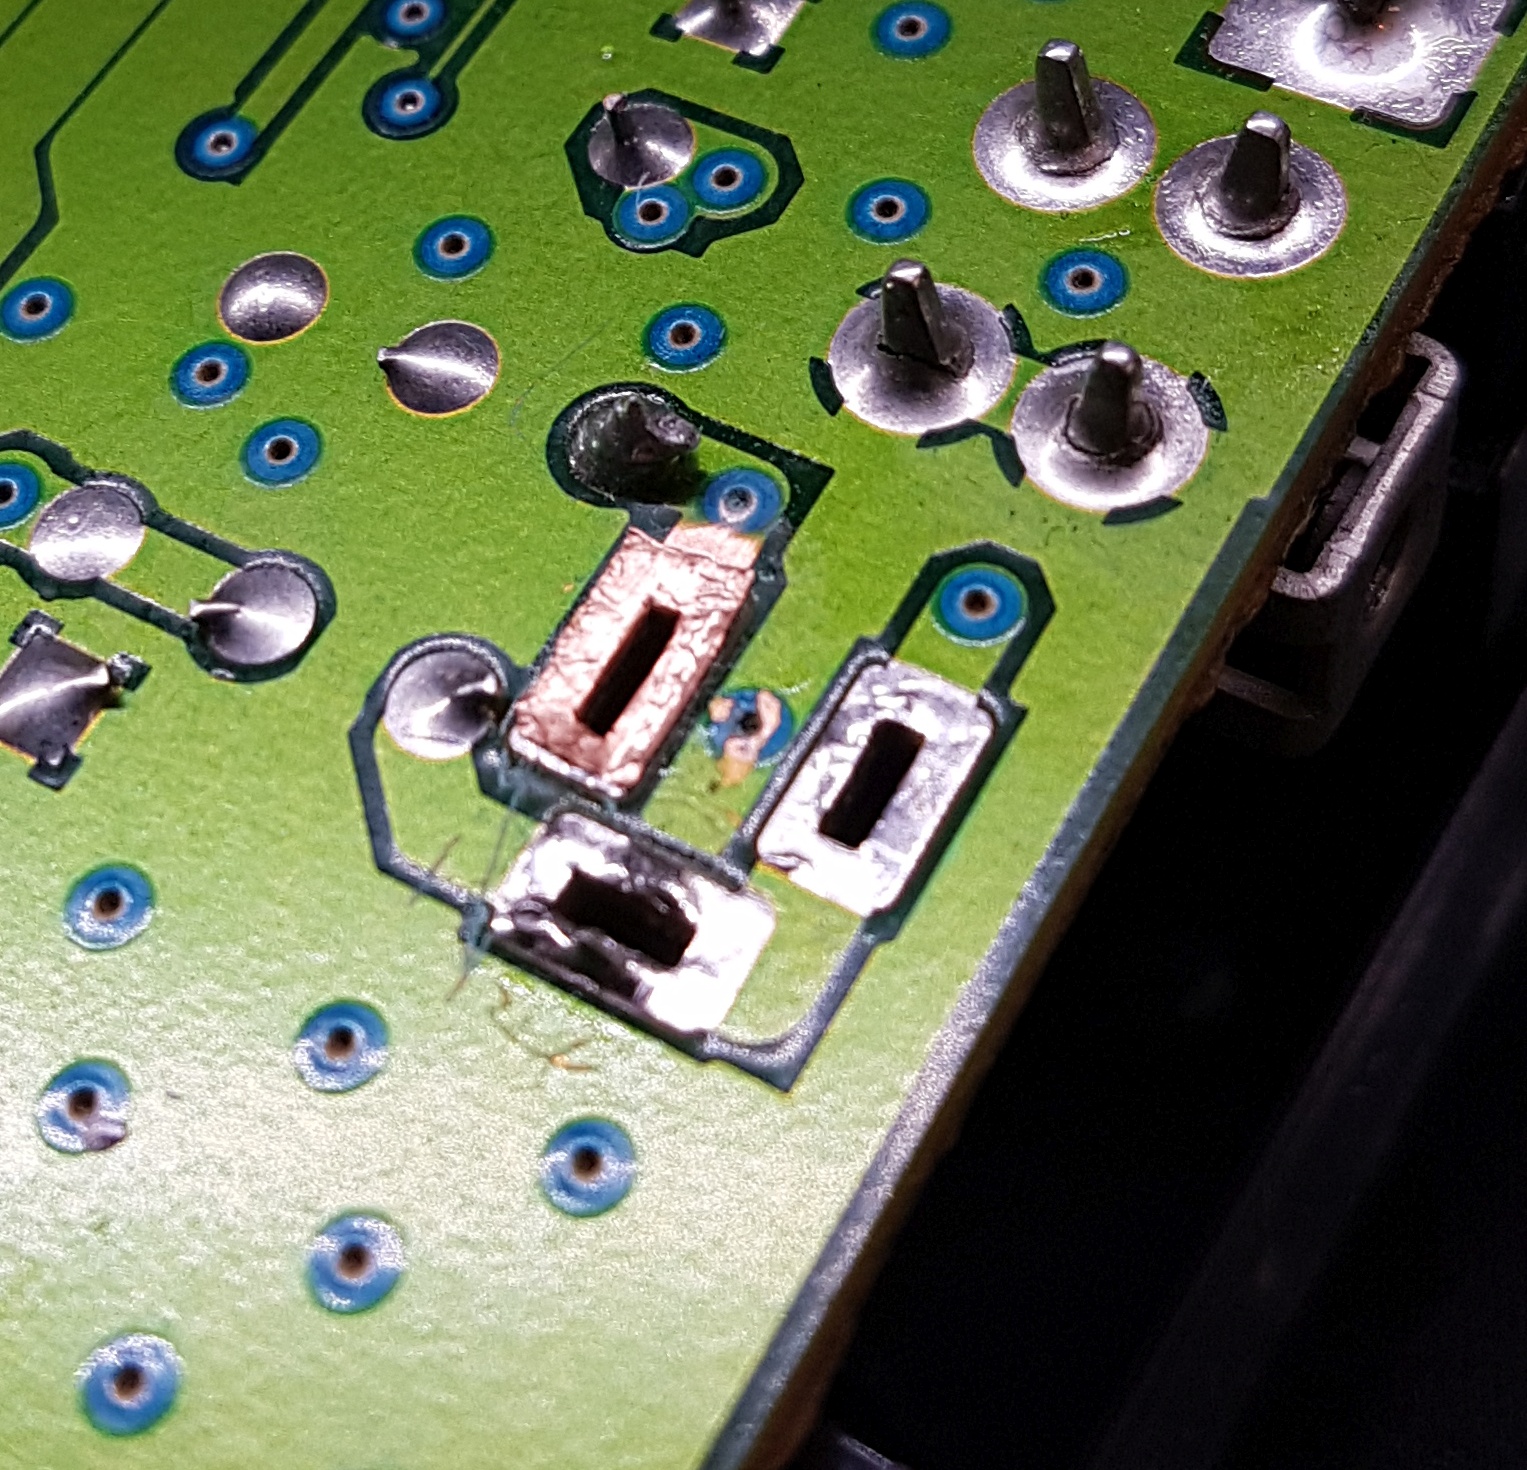
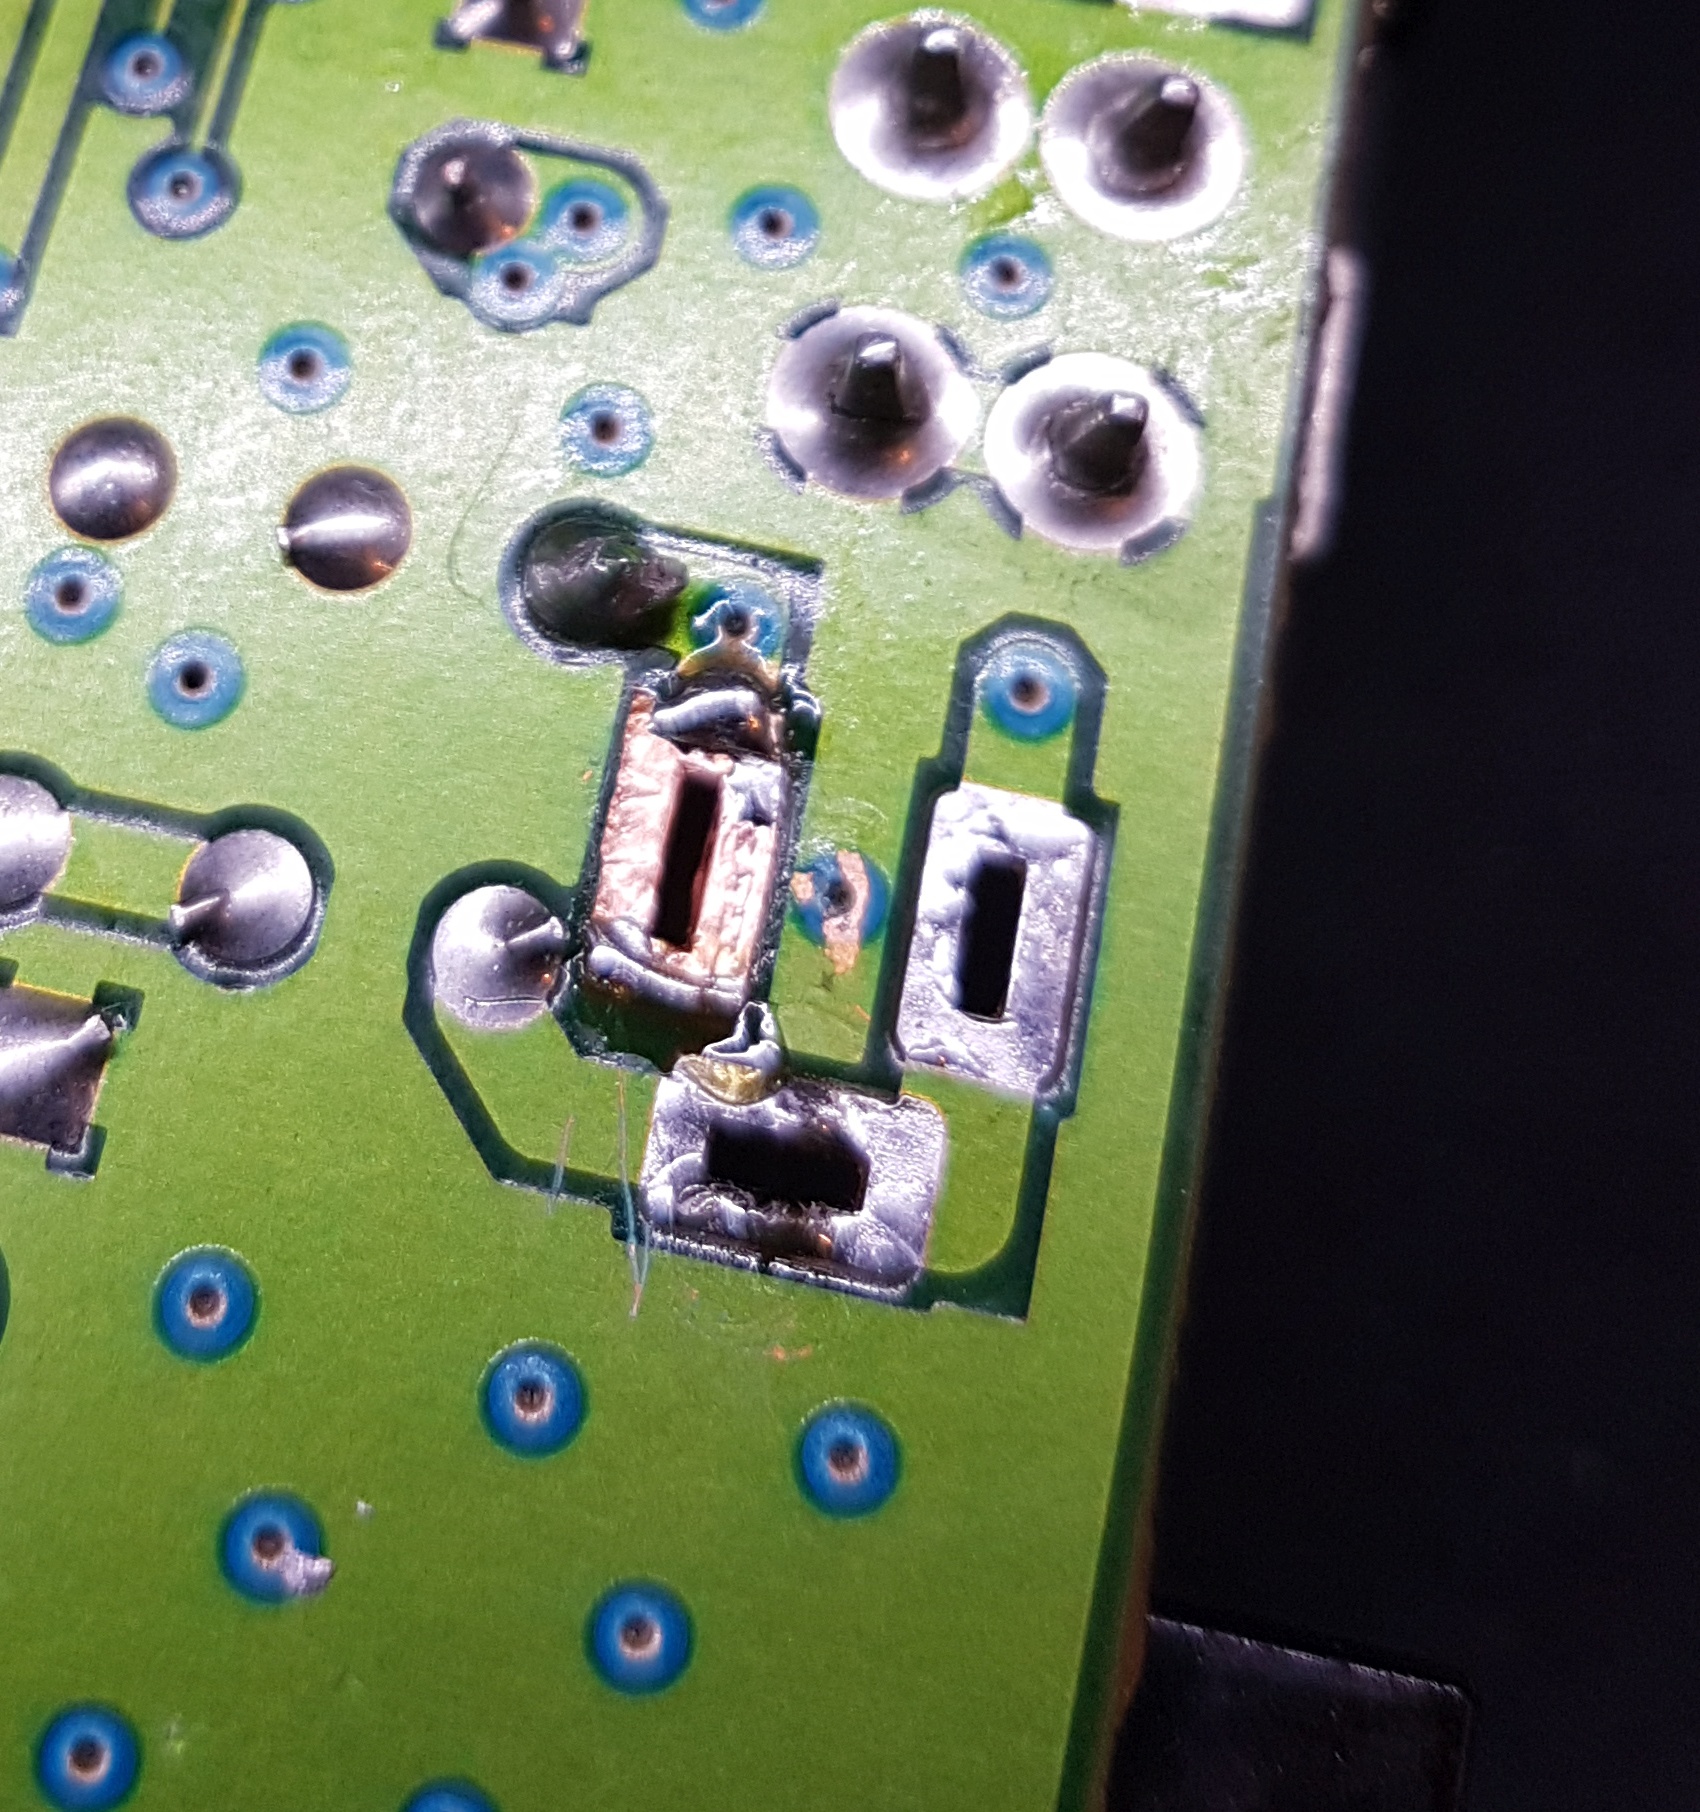

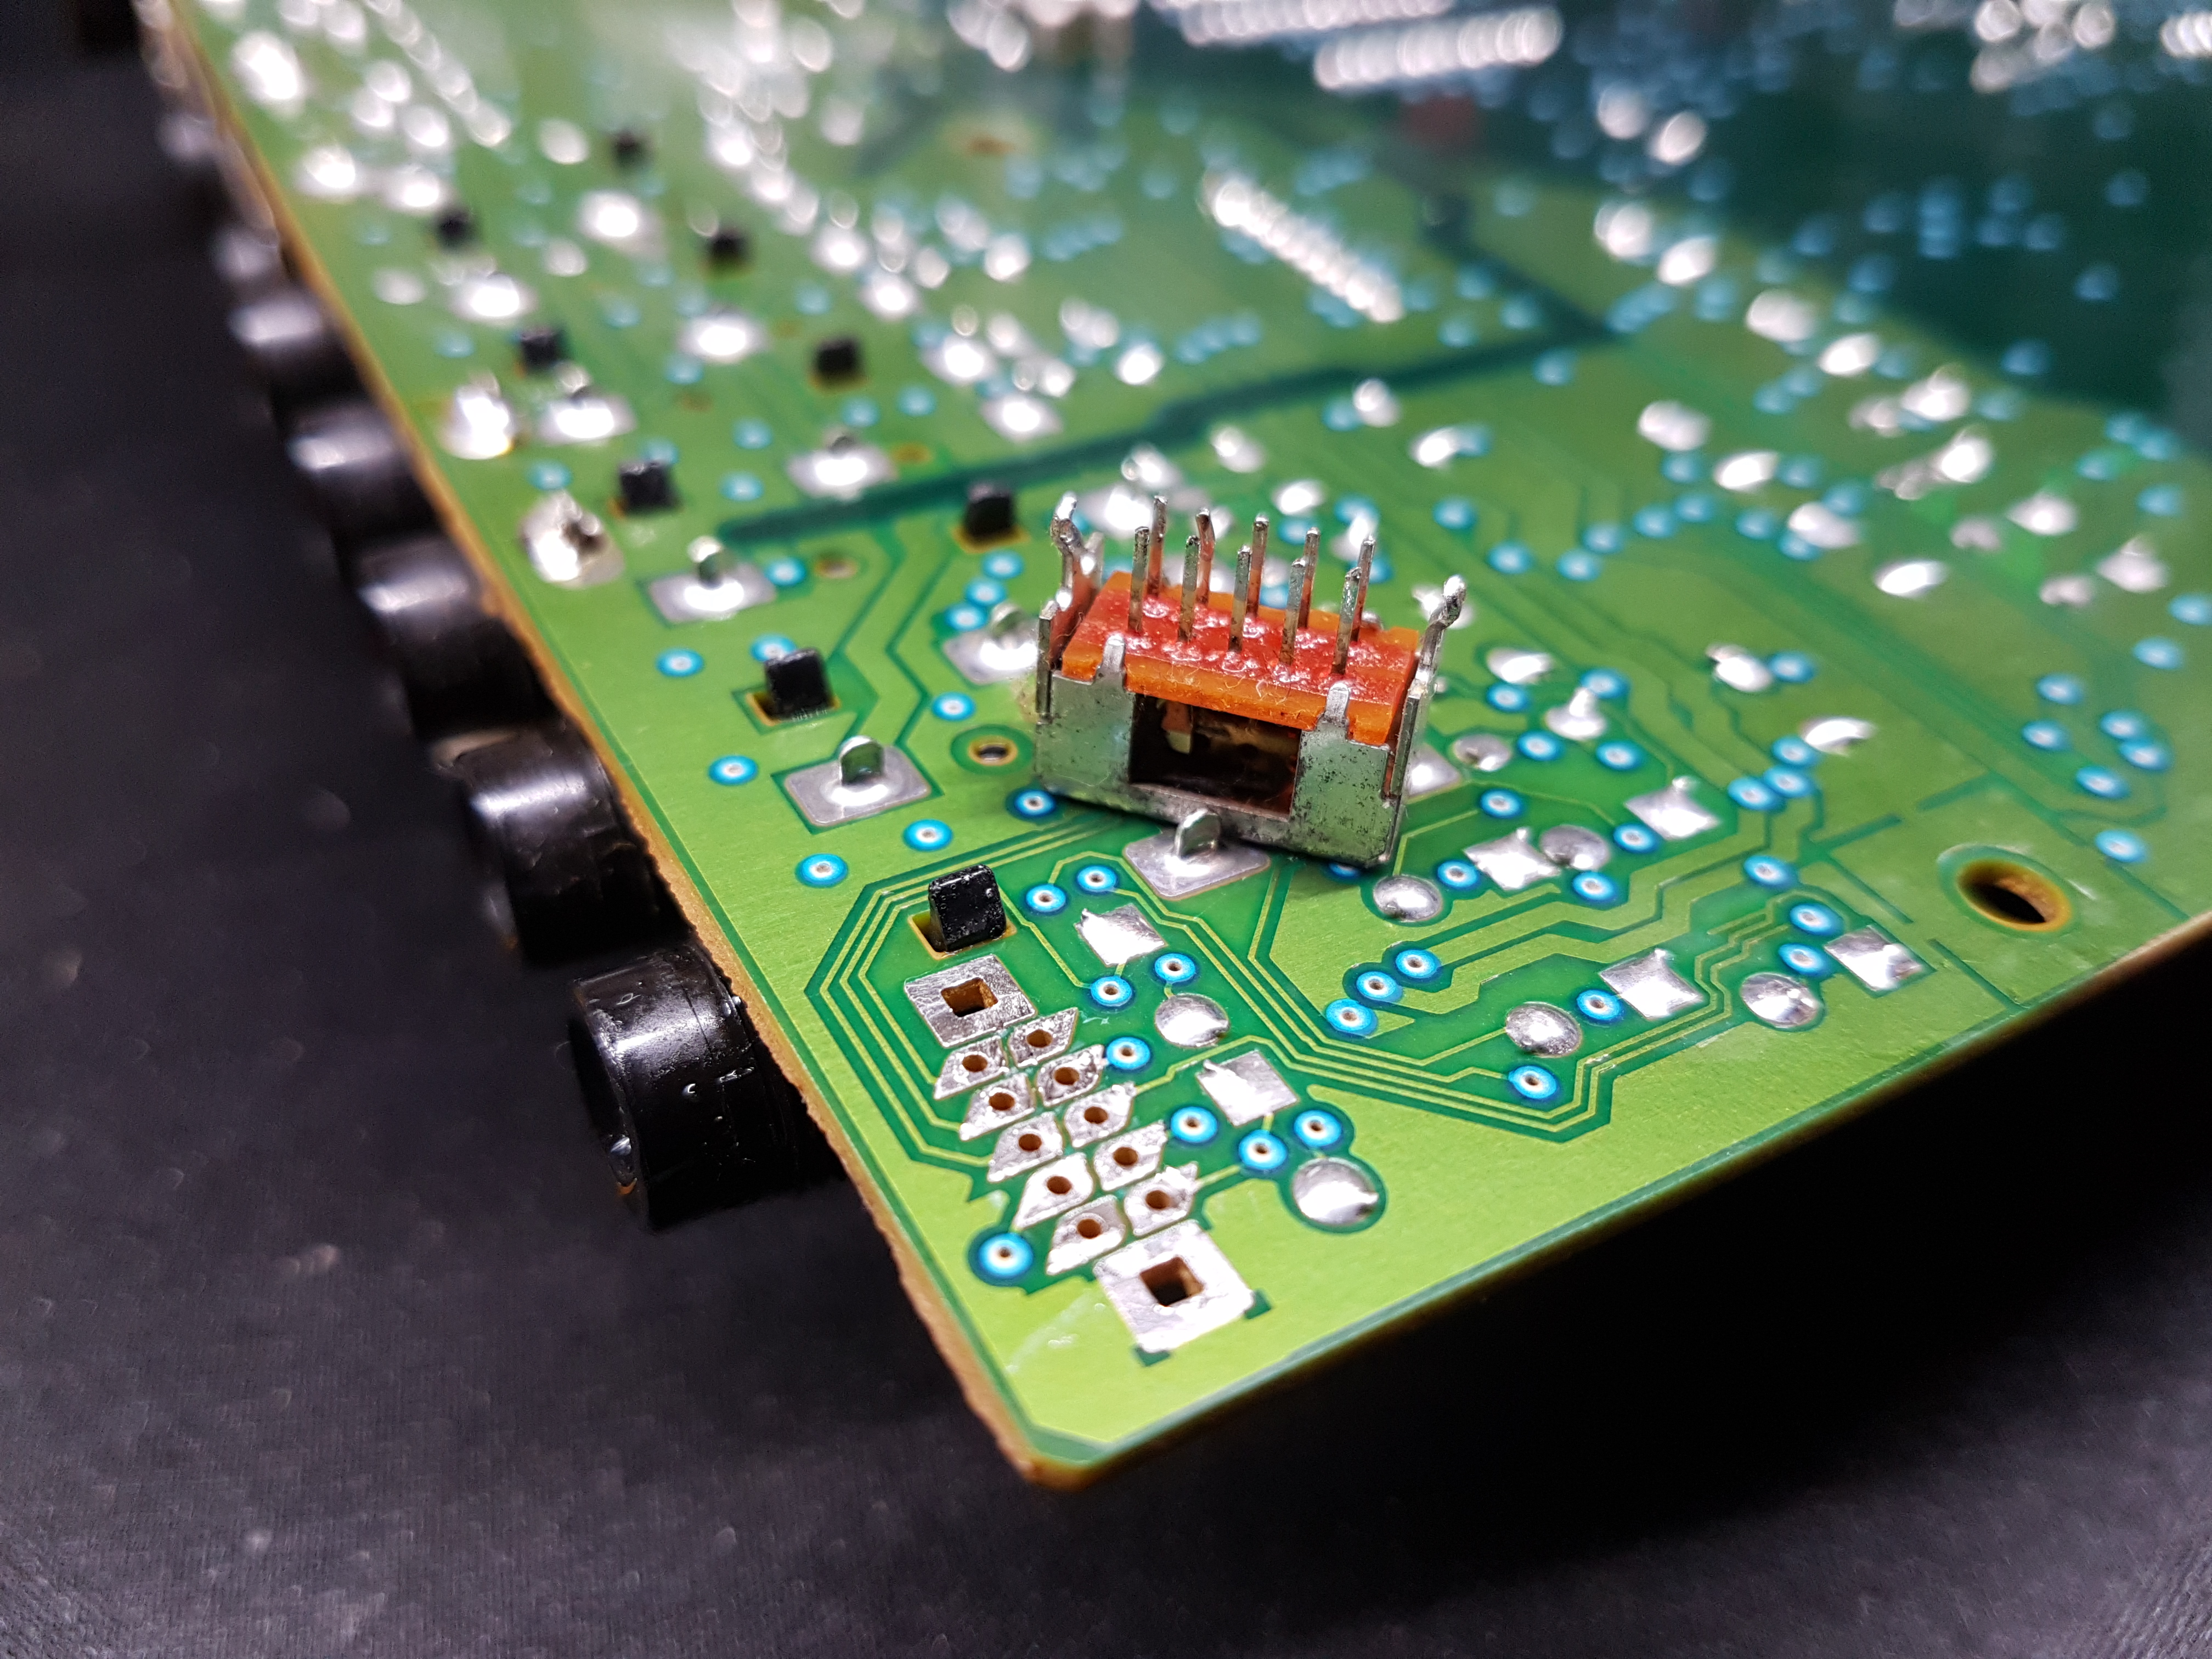
Next up was the input selector switch. First of all I desoldered it and checked how it was wired inside to find a replacement.
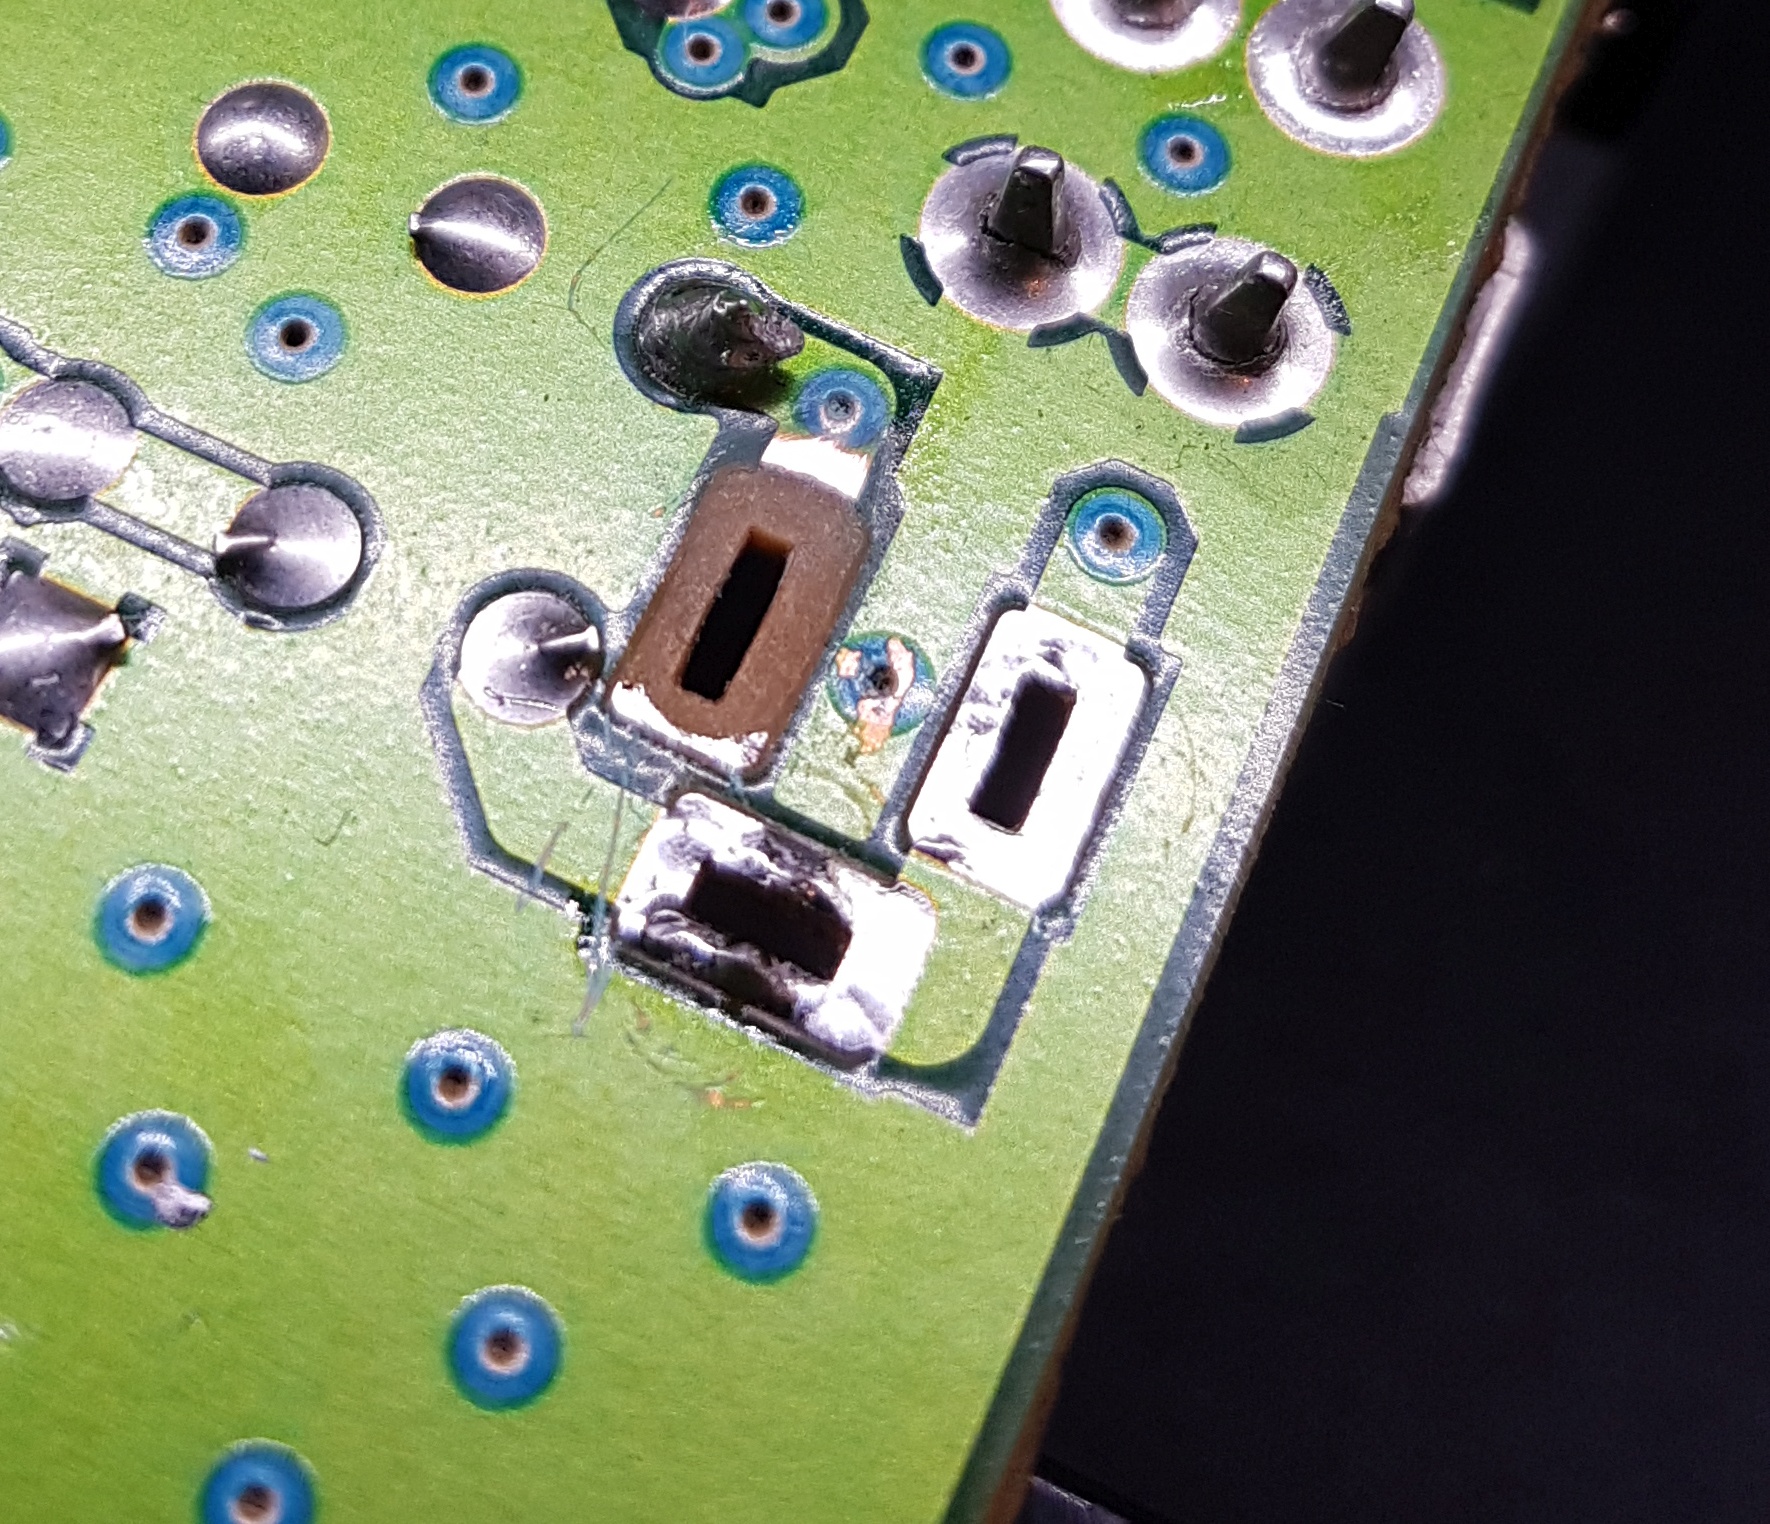
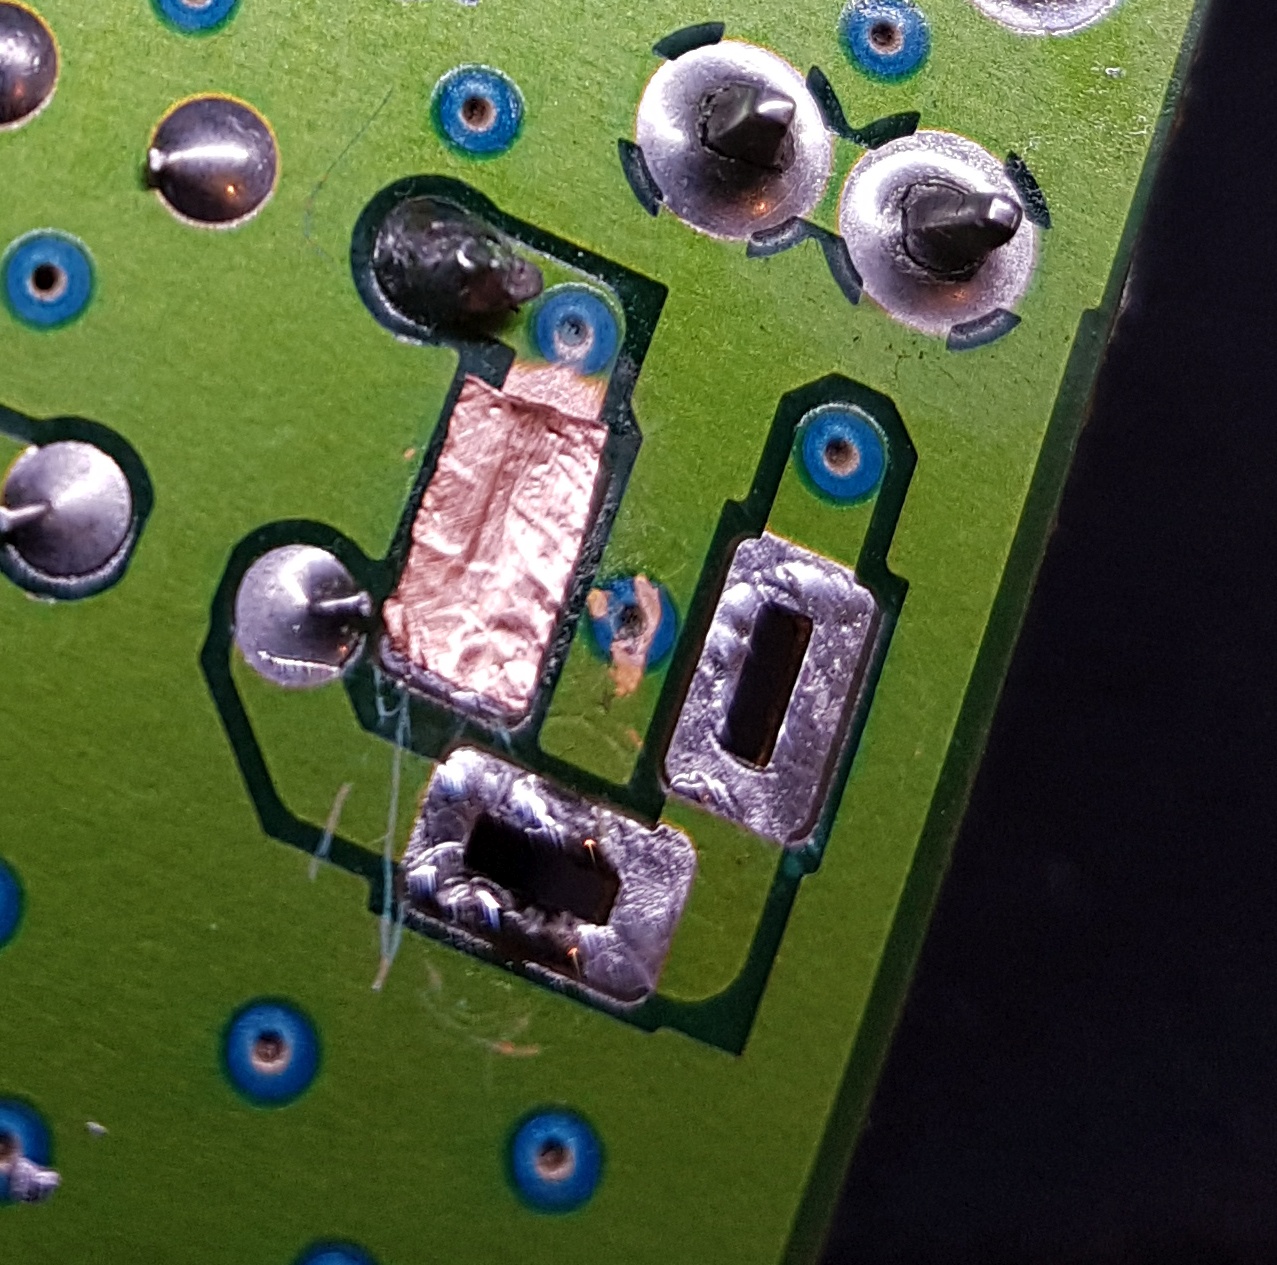
So after prying the outer shell it revealed all of its oxidised beauty.
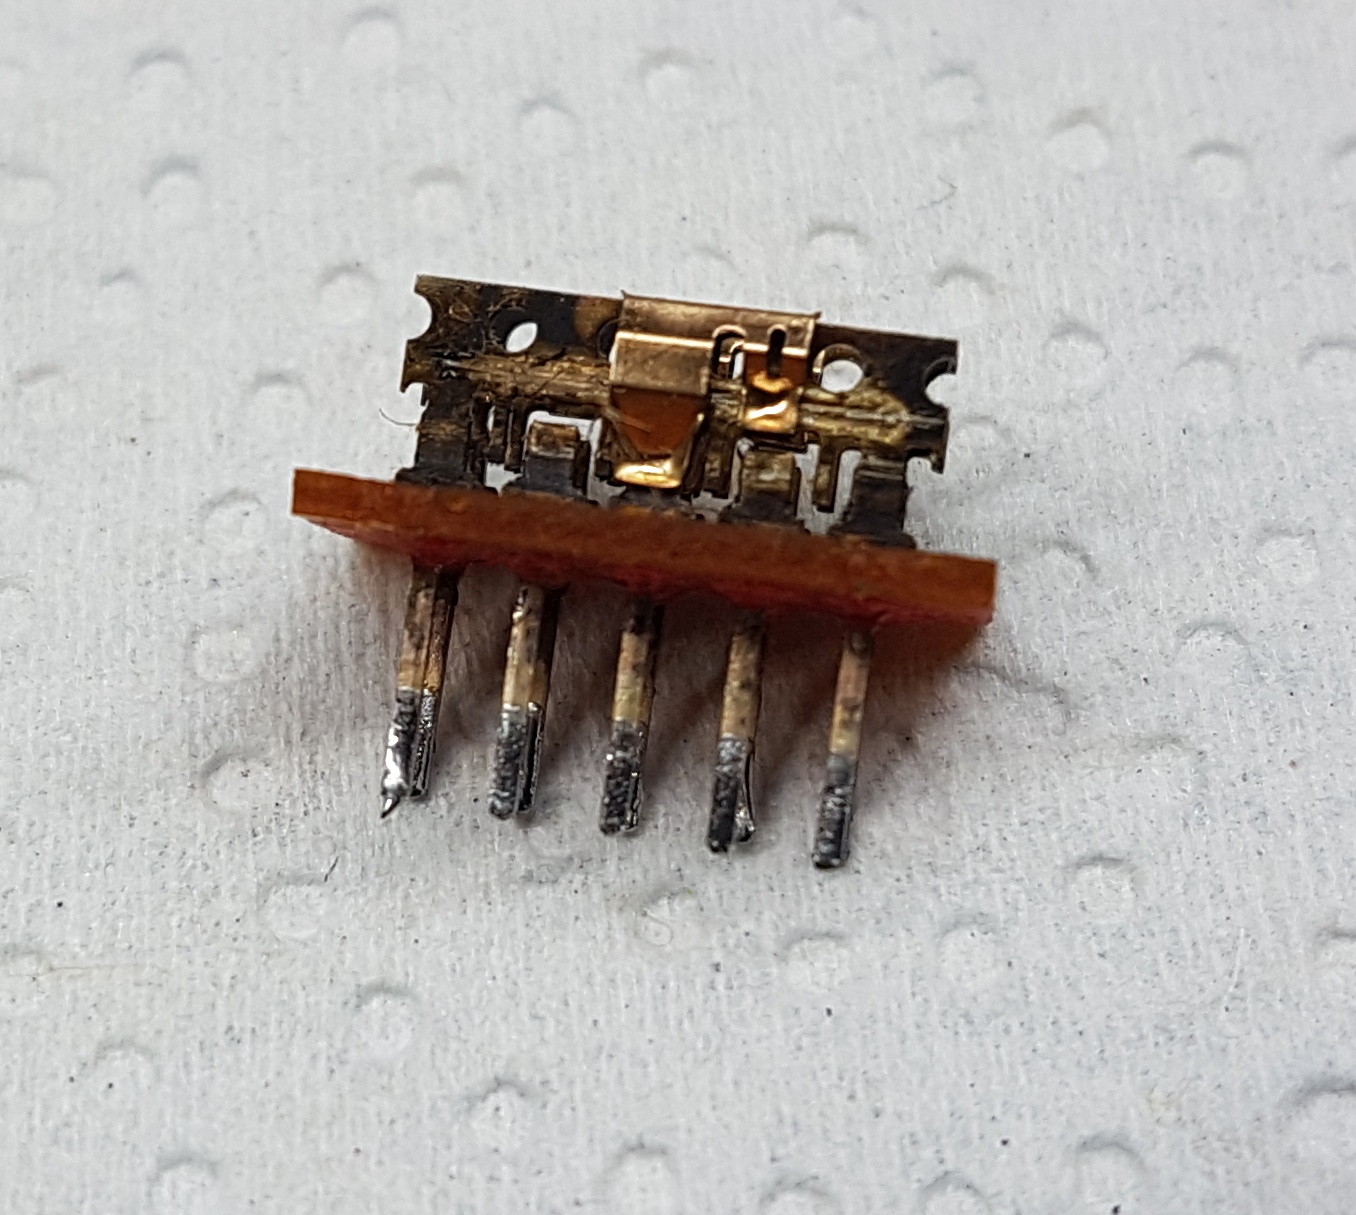
After giving it a scrub with brake cleaner I got this diagram:
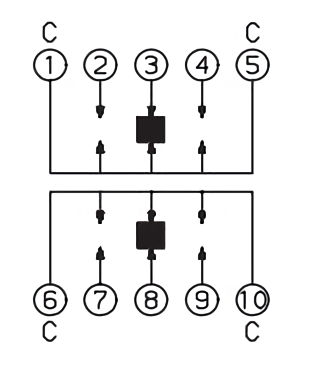
Well, its almost impossible to find a switch that is wired just like this. I’ve searched all the big retailers to no avail. Bummer. So I popped some other switches open to put in just the plastic piece in the broken switch. And hey, that worked just fine!
So I soldered the “new” switch back in and tried to power it up. Bingo! It works just fine. So I focused at the shell again.

Next up I tackled the tape residue with goo gone. Just smeared it everywhere and put the case aside. Next up to see what the metal bottom was doing.
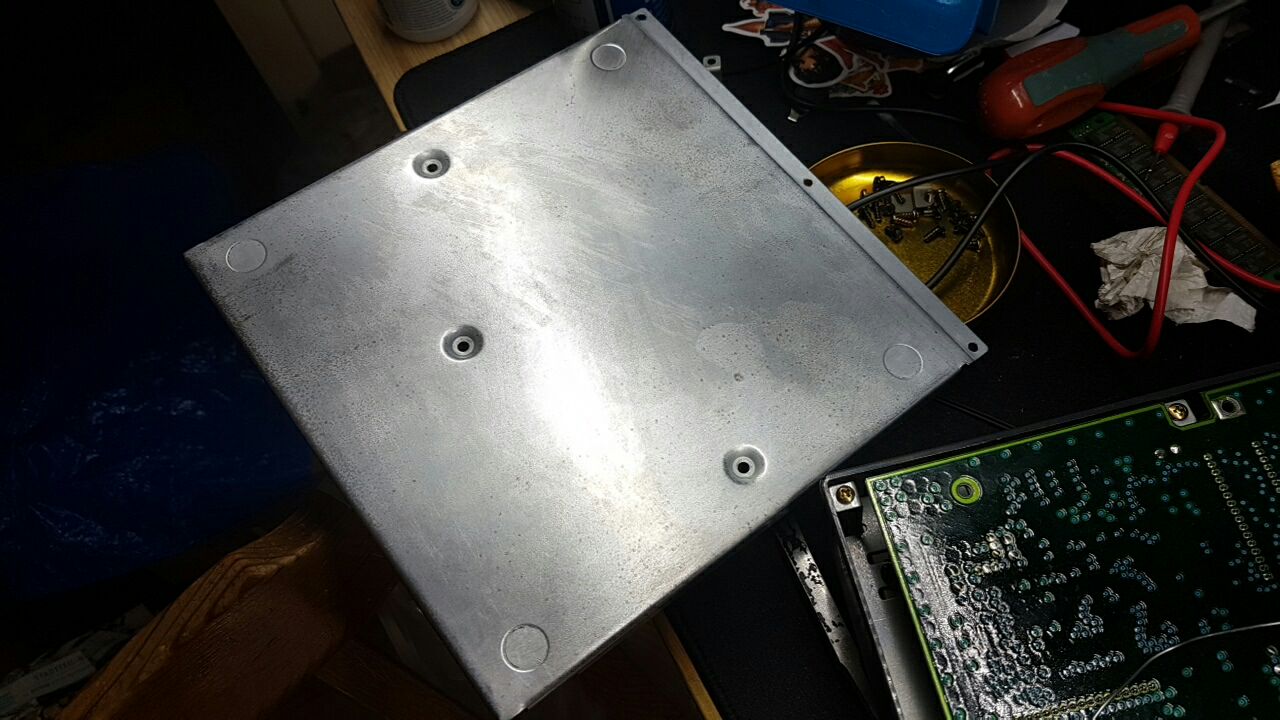
Awesome! The vinegar ate all the rust away. Just wiped it in soapy water and scrubbed the plastic shell again. After that I just put everything together again.
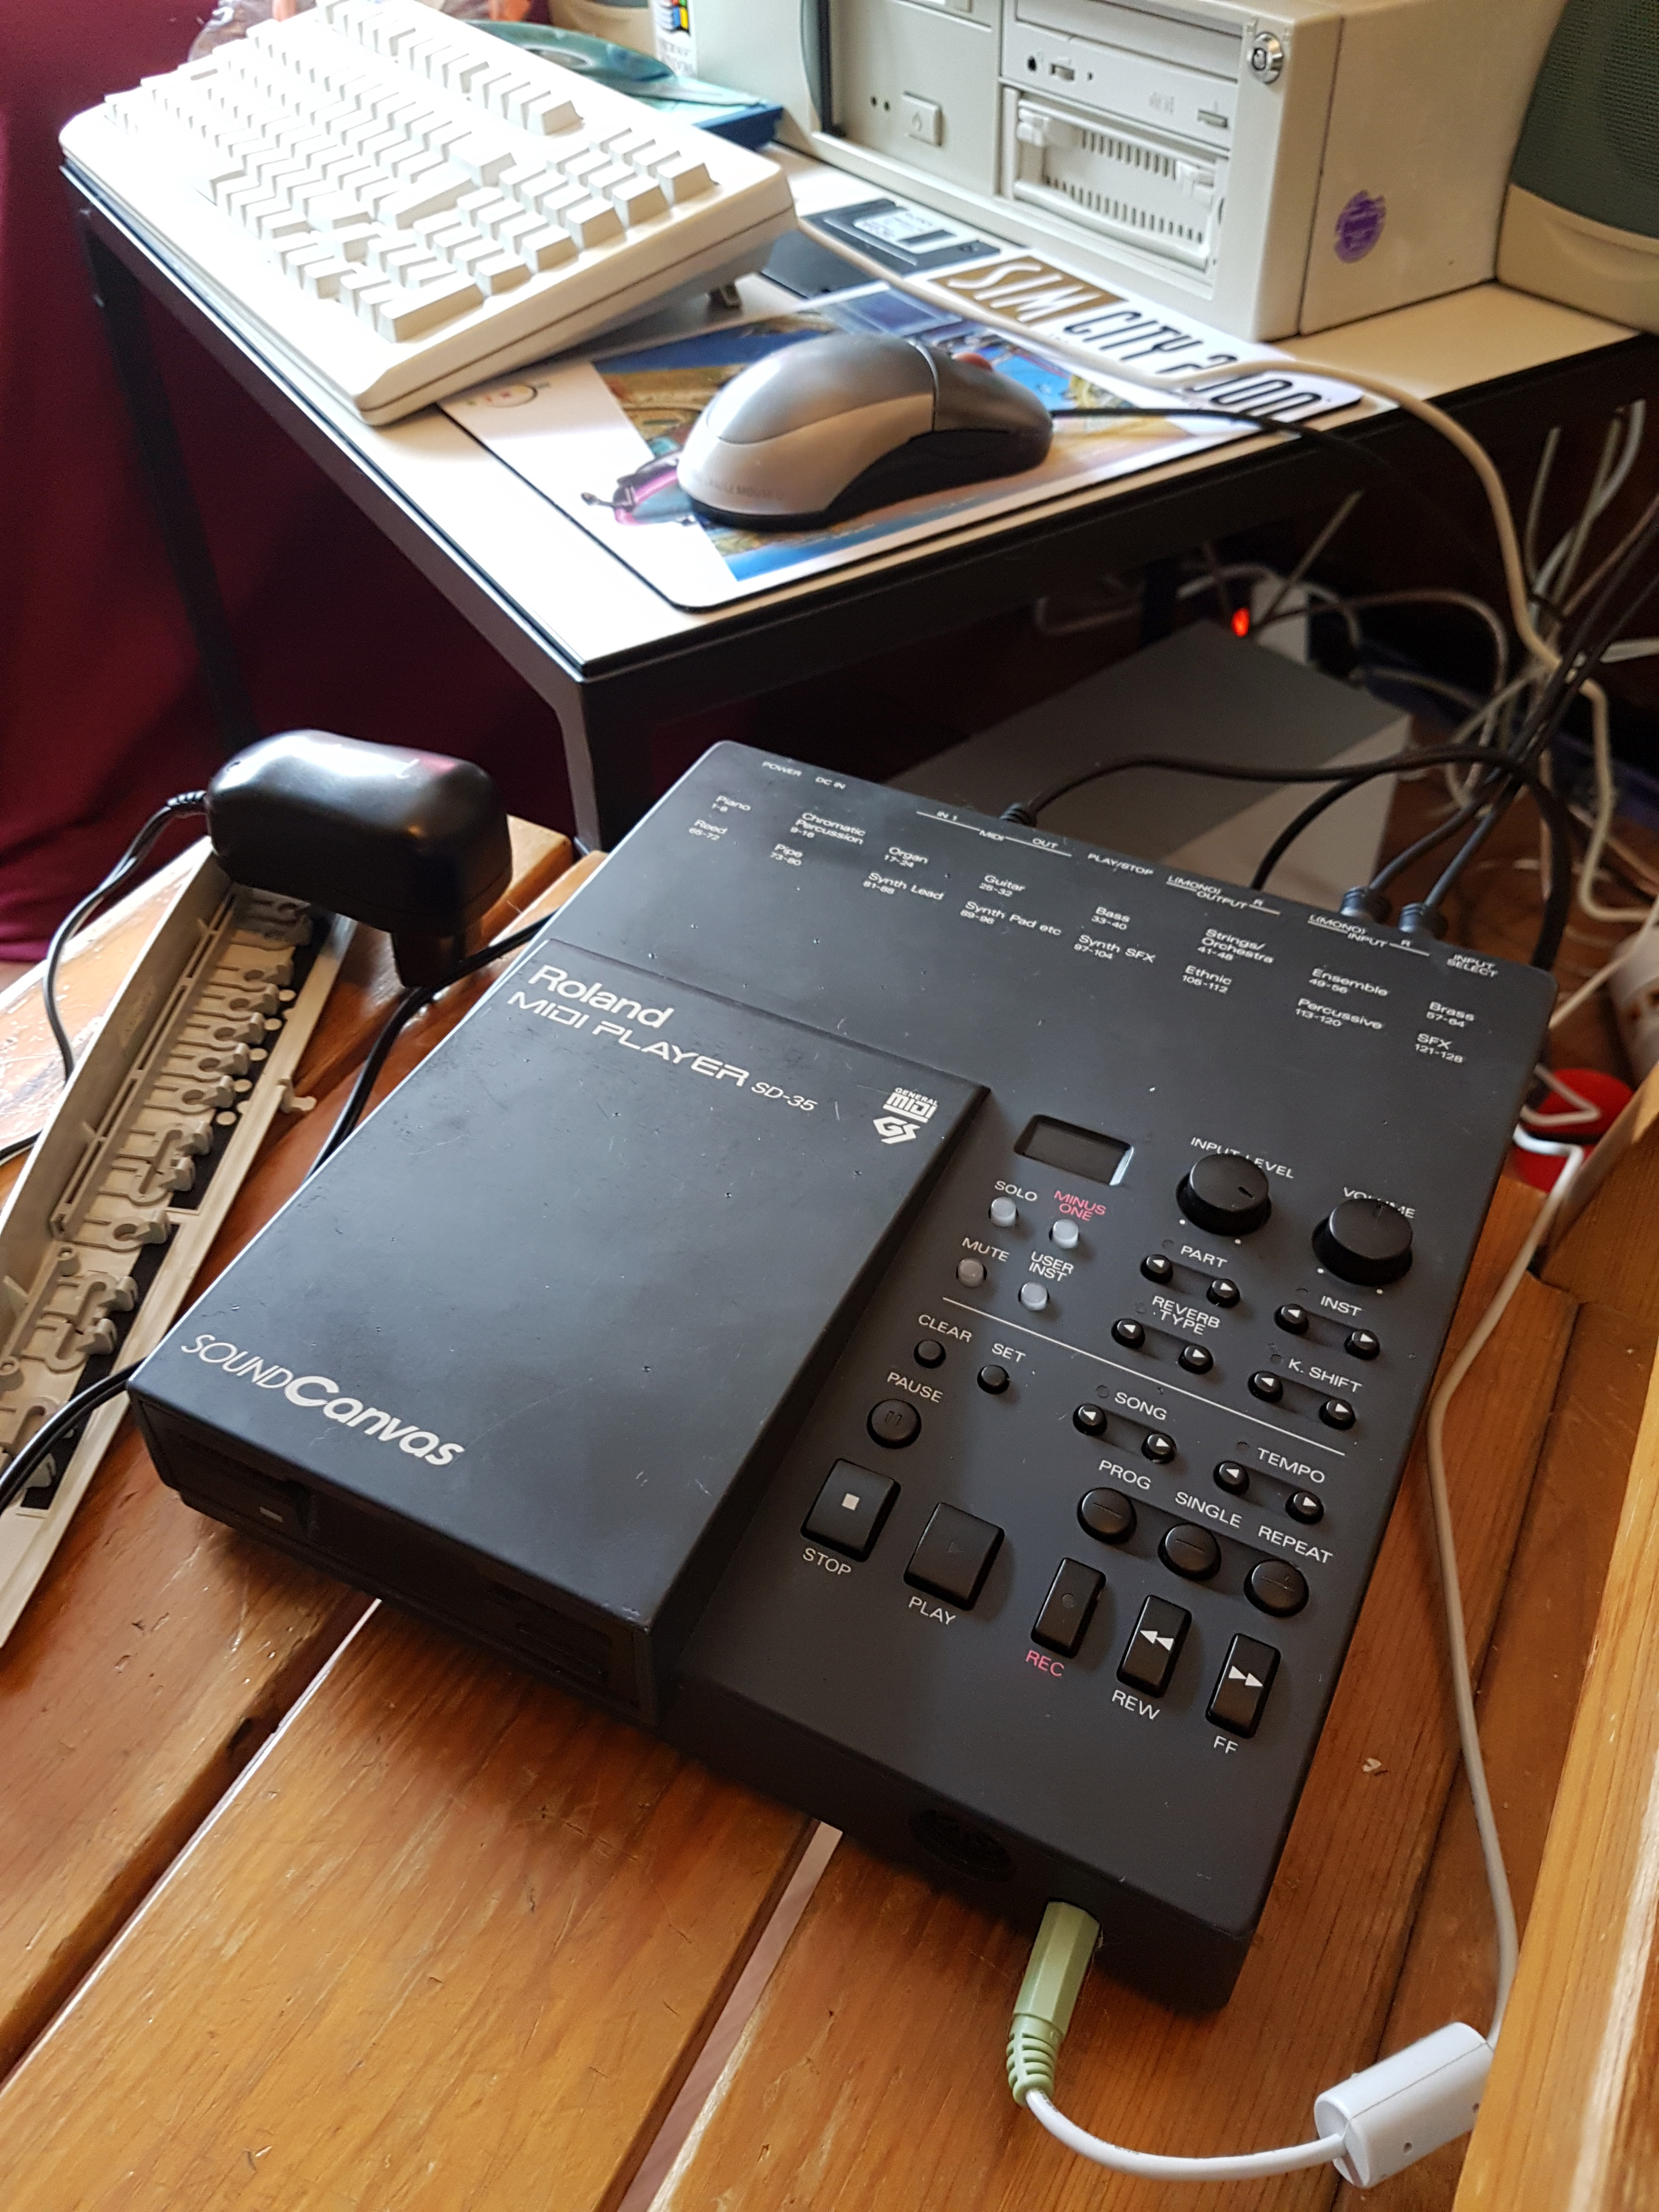
That wraps it up! The sound canvas works nicely with my old PC. Oh, the disk drives works, too. Took a video of it for your hearing pleasure 🙂
Hi all , i got one, end 2023 from an online “anticaire”, for 25 euros, with out power supply and demo disquette. I tested the disk drive with a spare roland power from a ra90 and formated a 720k floppy . Inside is pretty clean, battery 3v ok CR2032.
Factory reset ok.
My hope is to find the iso file for creating the demo dsiquette and other utility disquette that may exist.
Is there any links here.
Best resgards
jaycee FRANCE
Hey there! Unfortunately I don’t have any official disks for the unit
Thank you for posting .. I have about a dozen units that have failed me. I found your post to be very interesting .. I may try your method on one of them .. but without knowing what the actual problem is with each unit, I’m hoping your discovery, may be the reason for at least one of my units!
David
Thanks, glad you may find some value in this. I think I didn’t mention to change out the battery, I think it was a CR2023. Good luck!
Good morning and thank you for sharing this information. Yesterday I also ordered a sd-35 purchased on ebay. I hope it’s not too damaged. Greetings from Tuscany – Italy
Sweet, nice to hear! Hope you’re having fun with it!