I just stumbled upon a pretty cool youtuber and a problem many of us have faced in the past – finding the perfect continuity tester.
In most cases I use my bench multimeter but a small dedicated device just for this tast would be awesome.
Here comes Leo’s Bag of Tricks!
First of all, his video:
He’s a pretty chill dude and explains his circuit in detail. Definitly worth a watch!
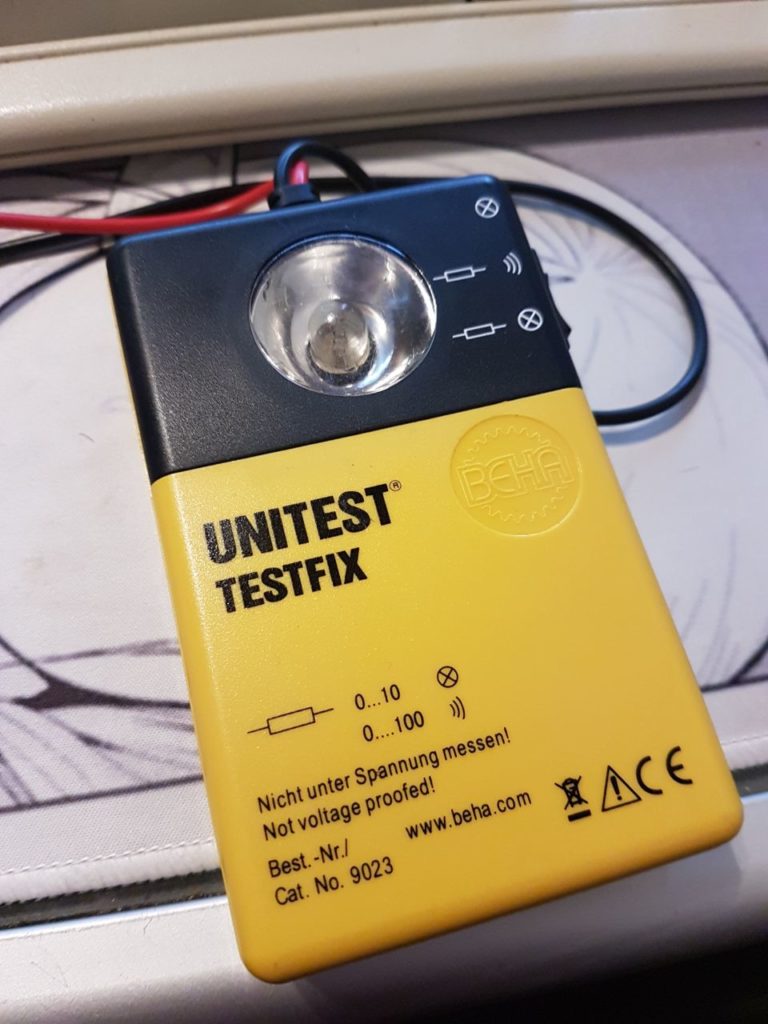
I wanted such a device for myself and plowed through my parts bin. I dug out a primitive tester. It sends 4.5V through the circuit for testing, lighting a little incandescent light bulb and a beeper.
First of all, this is the device:
The back compartment houses a replacement bulb and a place for the batteries:
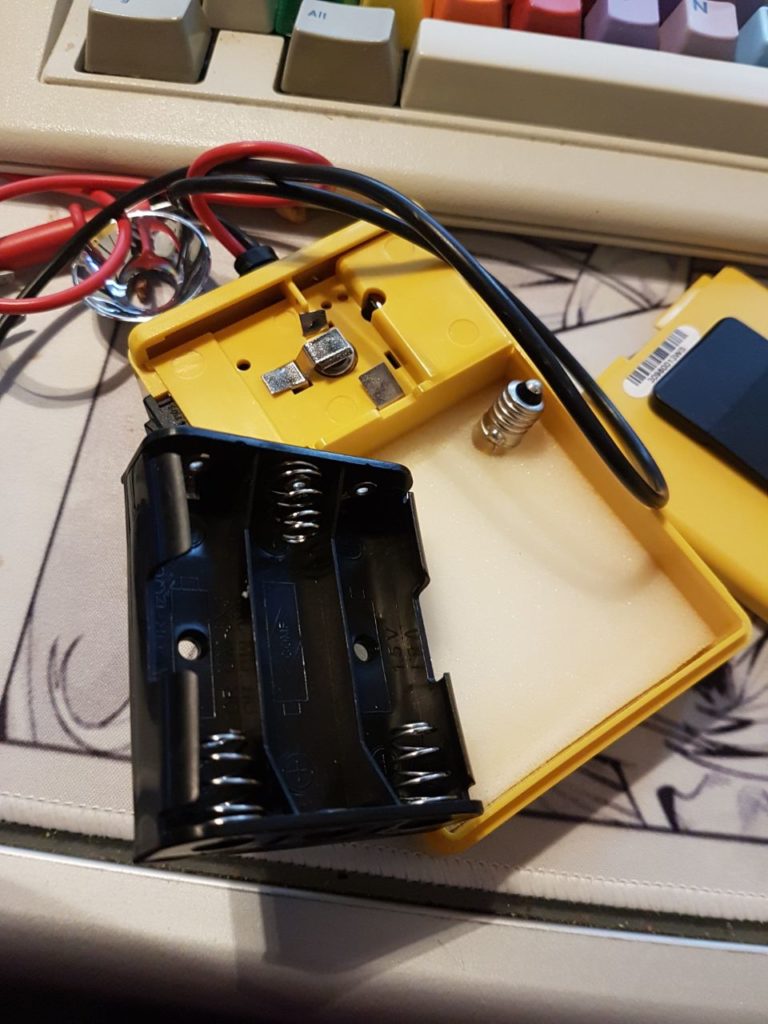
You can pop the front and the back of this thing, thats rather nice:
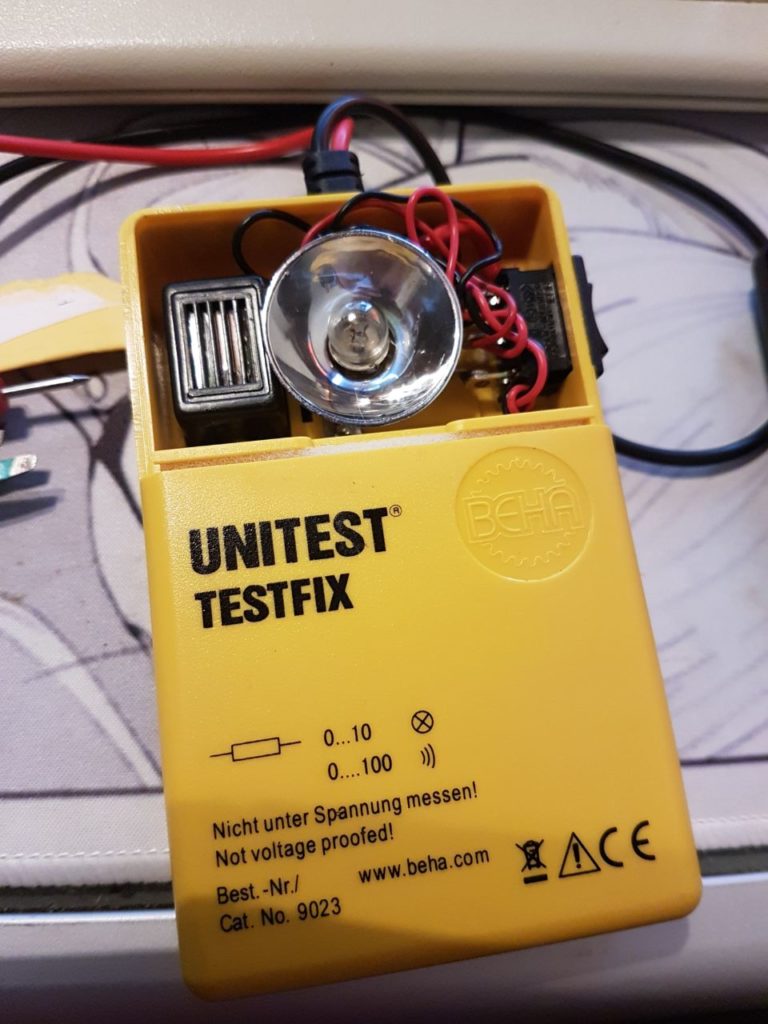
A minute of gutting later…

Unfortunatly the beeper is glued in. I drilled it out but I think you can wiggle and break it if you like.

Eyeballing and meauring the space inside…
~timewarp~
So I just took Leo’s design and placed it inside the TESTFIX 🙂

I’ve left the space for the beeper somewhat flexible so you can fit different beepers in there. The LED in the middle has a 10mm diameter.
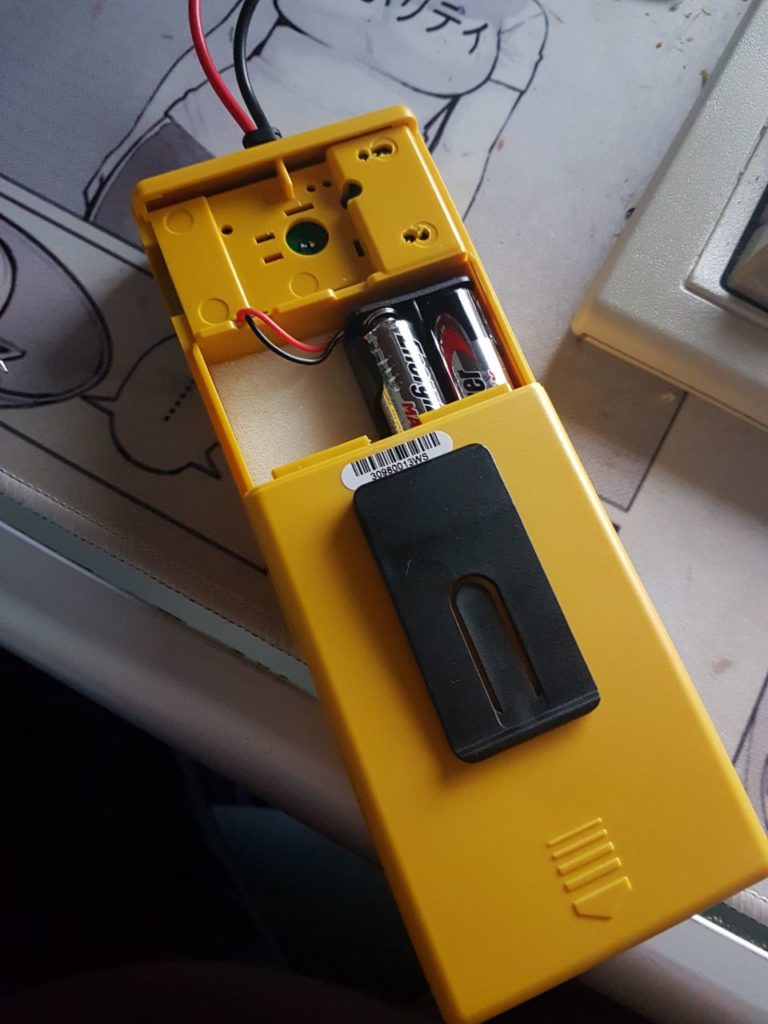
The battery holder was changed from 3*1.5V to 2*1.5V. The spare bulb was kicked out 🙂

I put a piece of plastic in the place where the switch originally was – mainly to prevent stuff from getting in there.

Done!
The device in action 😉