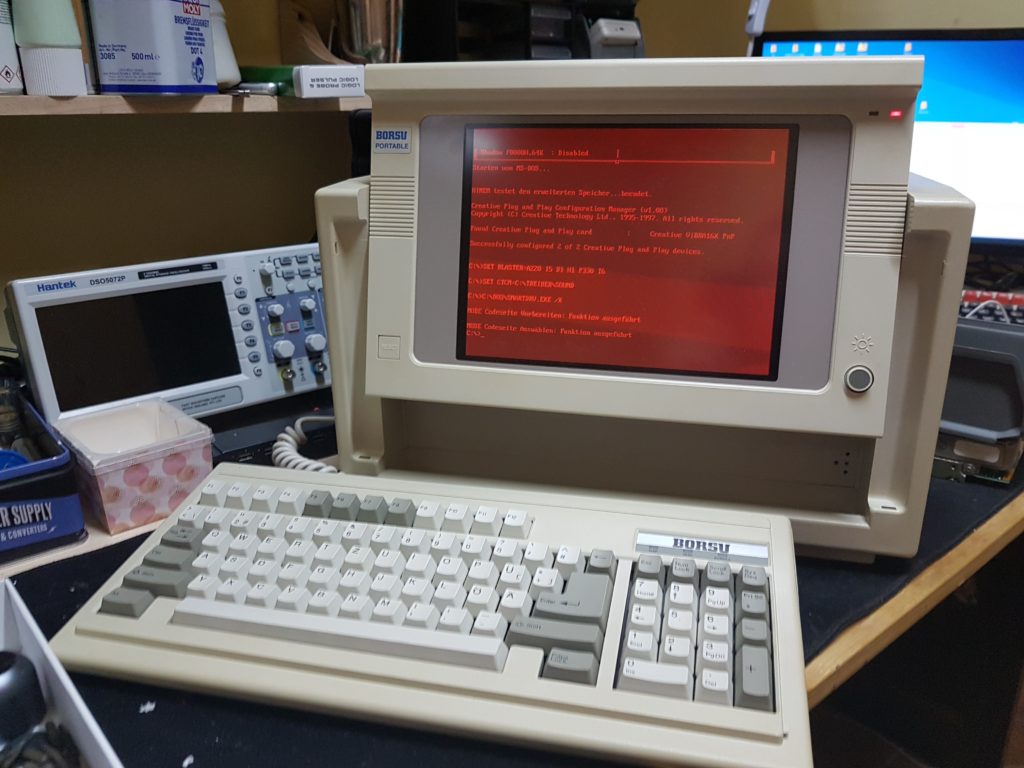
I snatched a nice luggable for a low price. Unfortunatly the auction listing said “untested” – we all now what that means 🙂
So of course – plugging in the AC cord and switching it on does nothing. I took some pictures of the repair for your viewing pleasure 🙂
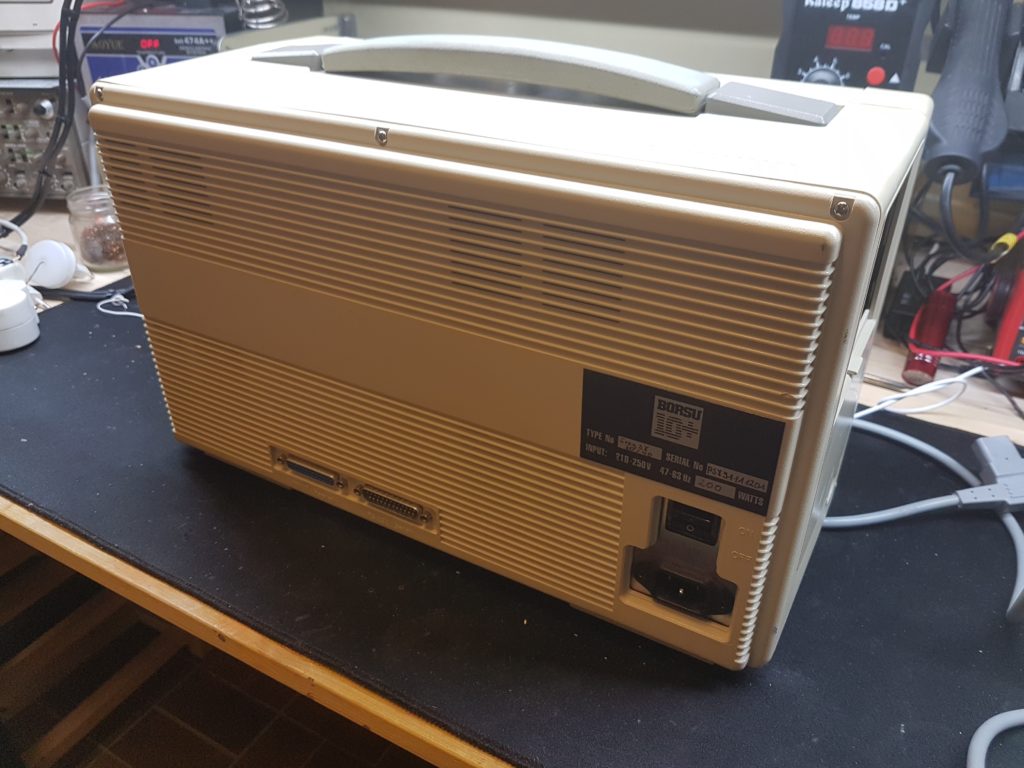
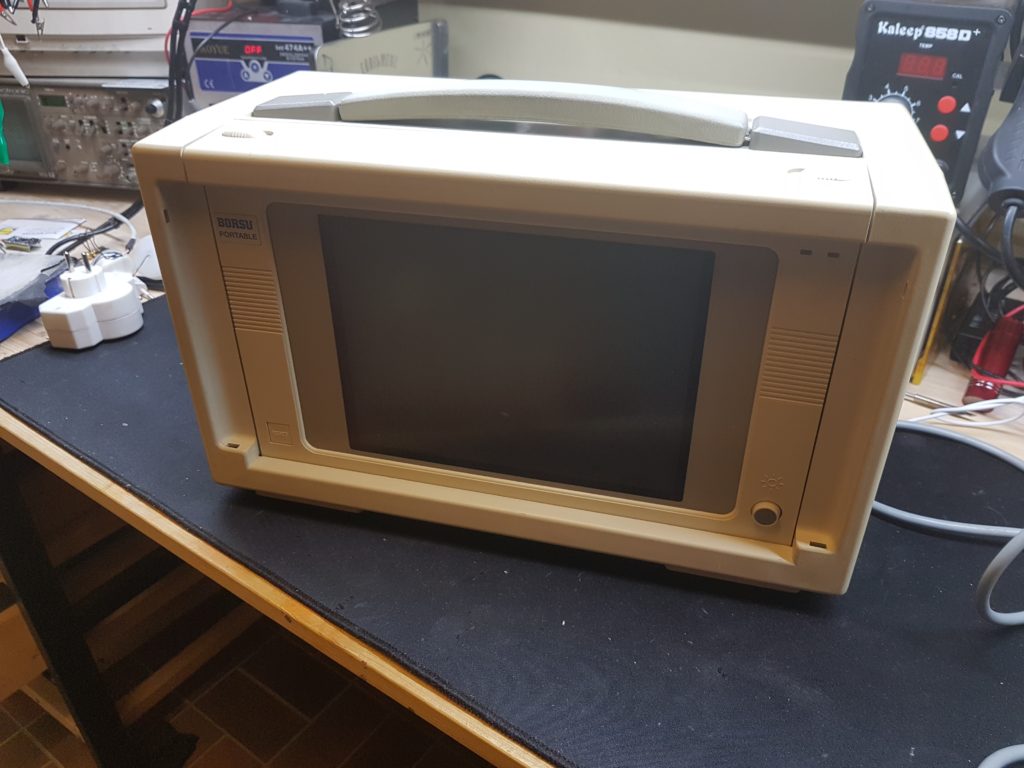
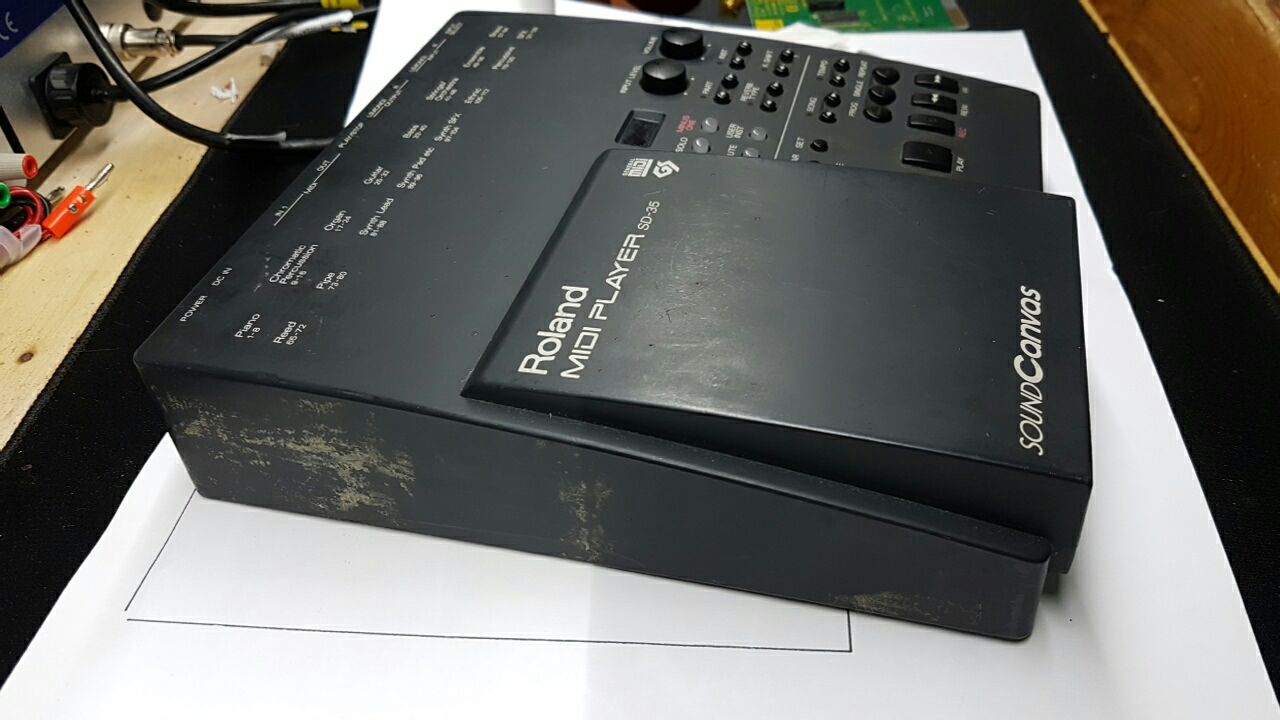
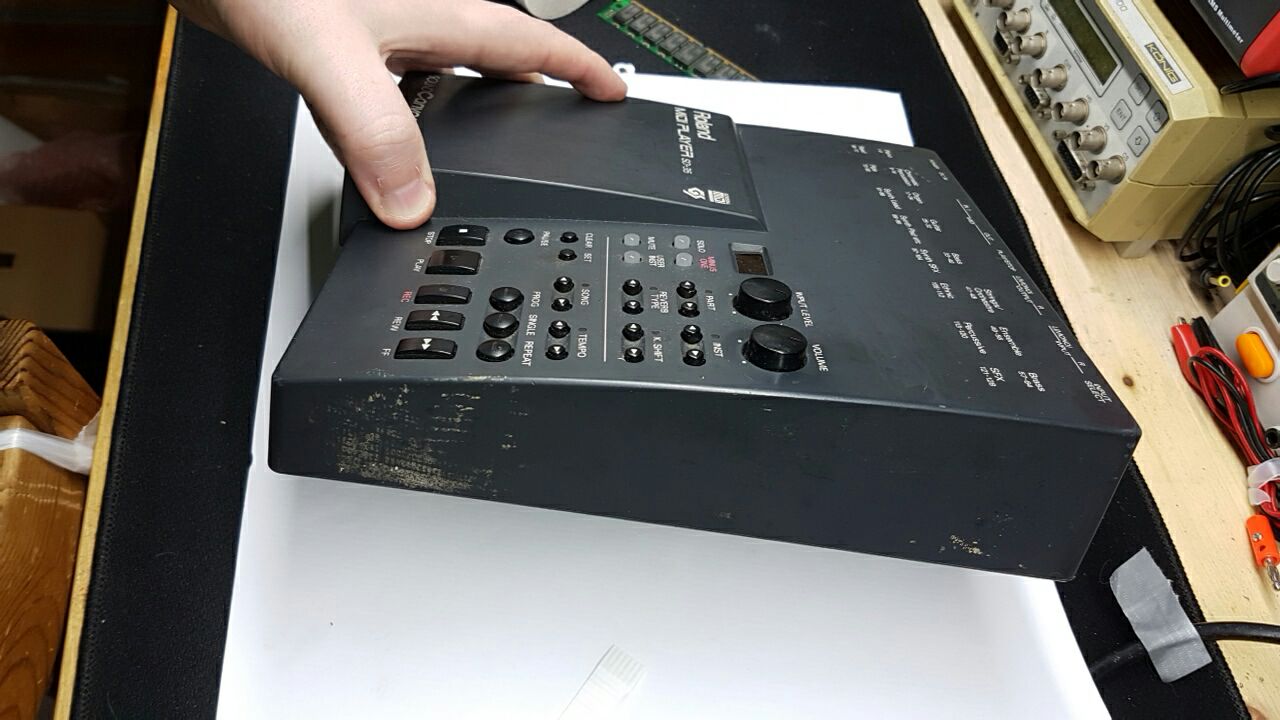
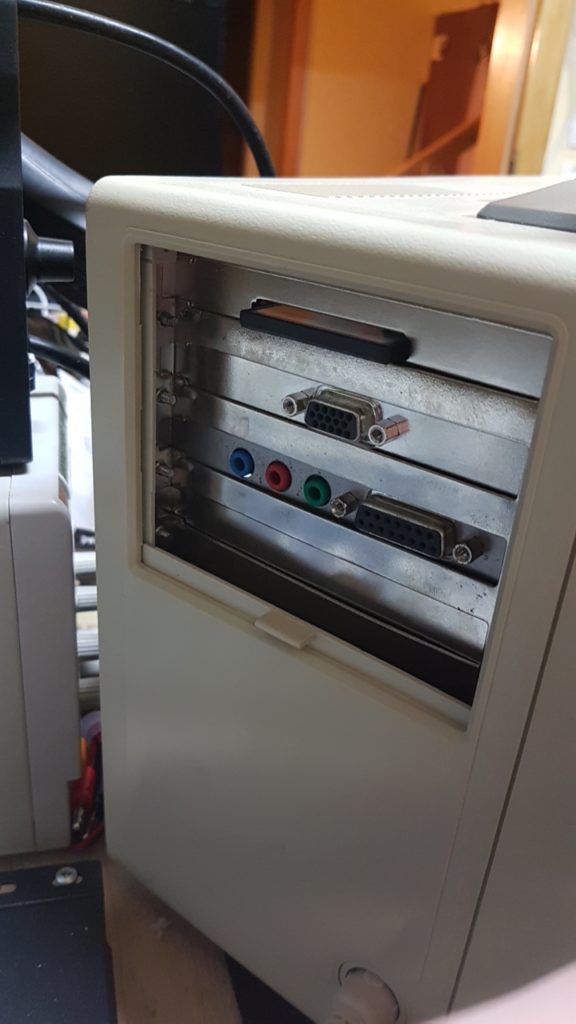
The outer inspection relvealed nothing speacial. There is a flap for some extension cards and an old style AT connector for the keyboard. Next I’ll pop it up.
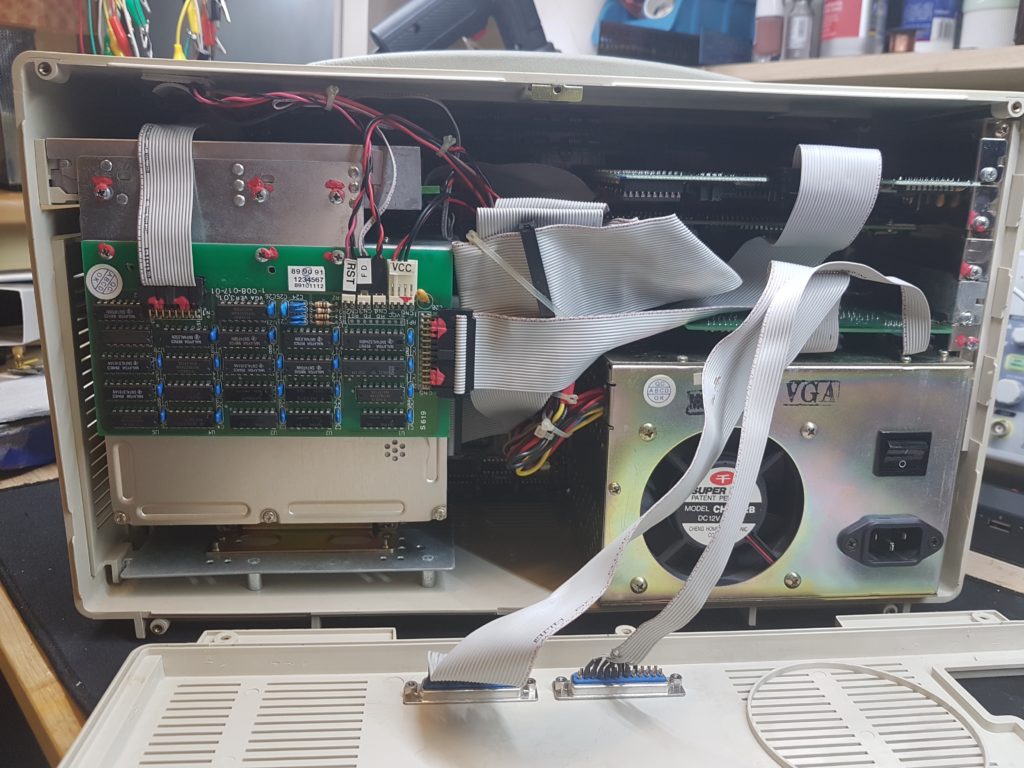
The build quality is.. uhm, questionable I guess. No cable management and all the connectors are glued in place.

Next step: Pull all the components out.
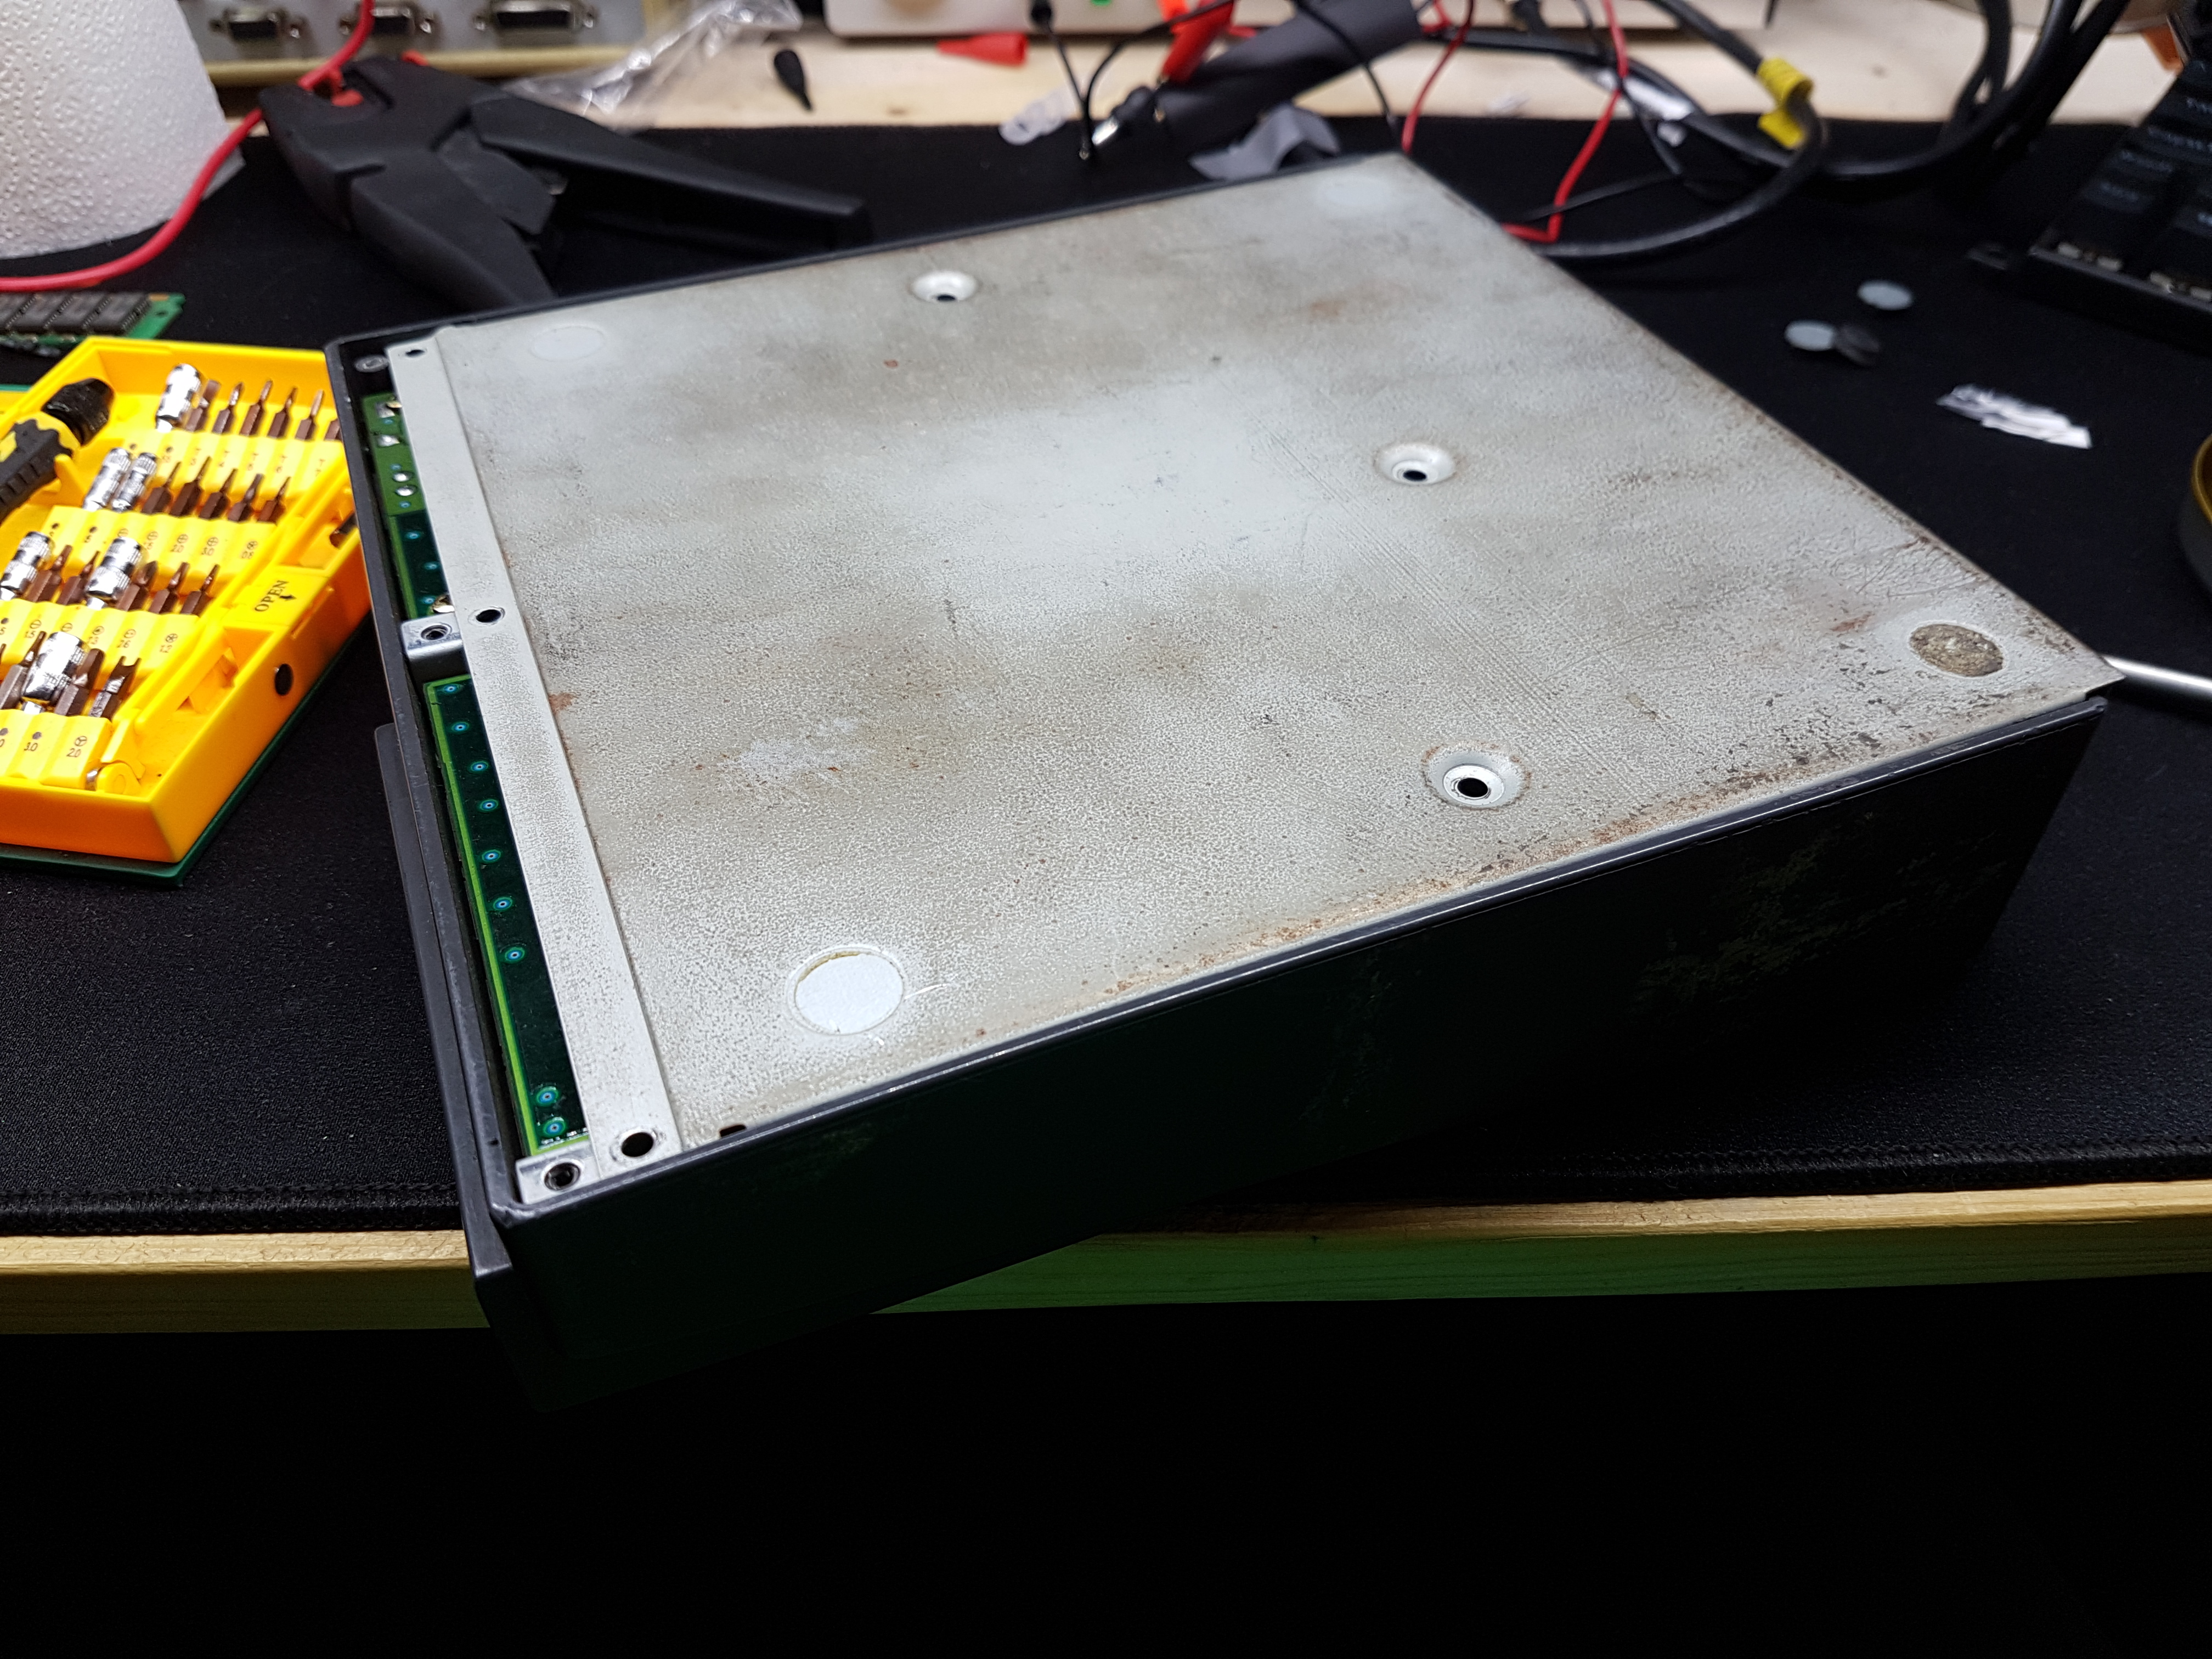
The battery pretty much jumped into my face when moving the power supply. And there is quite a lot of gunk and even plastic spirals rolling around in the case.
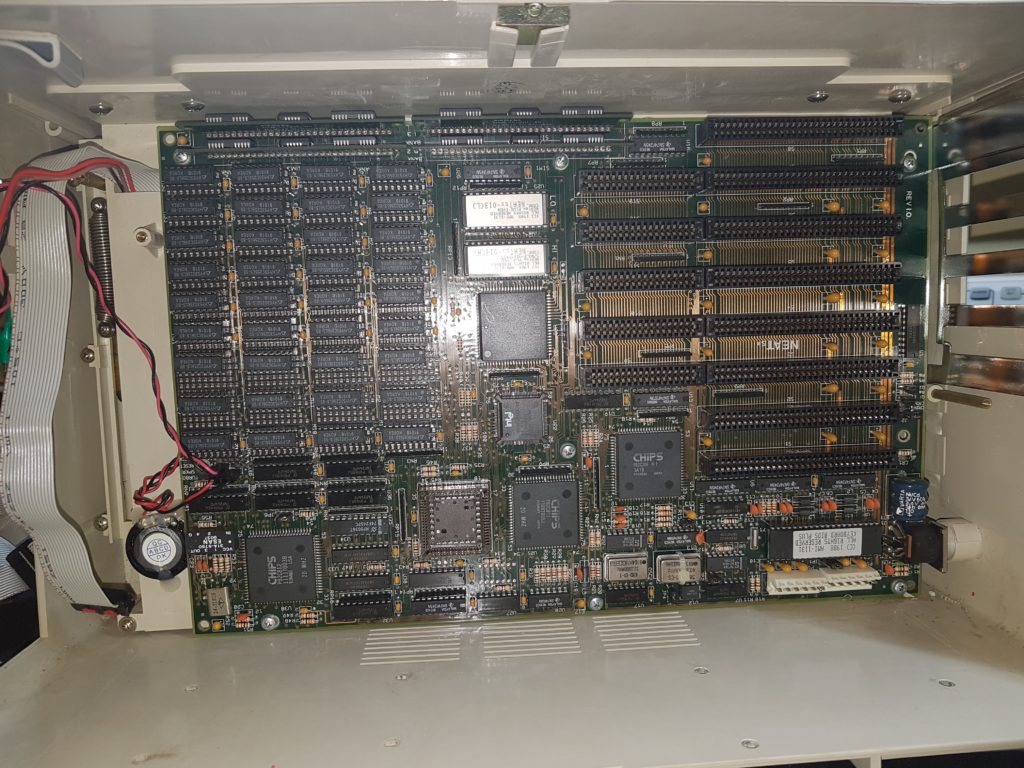
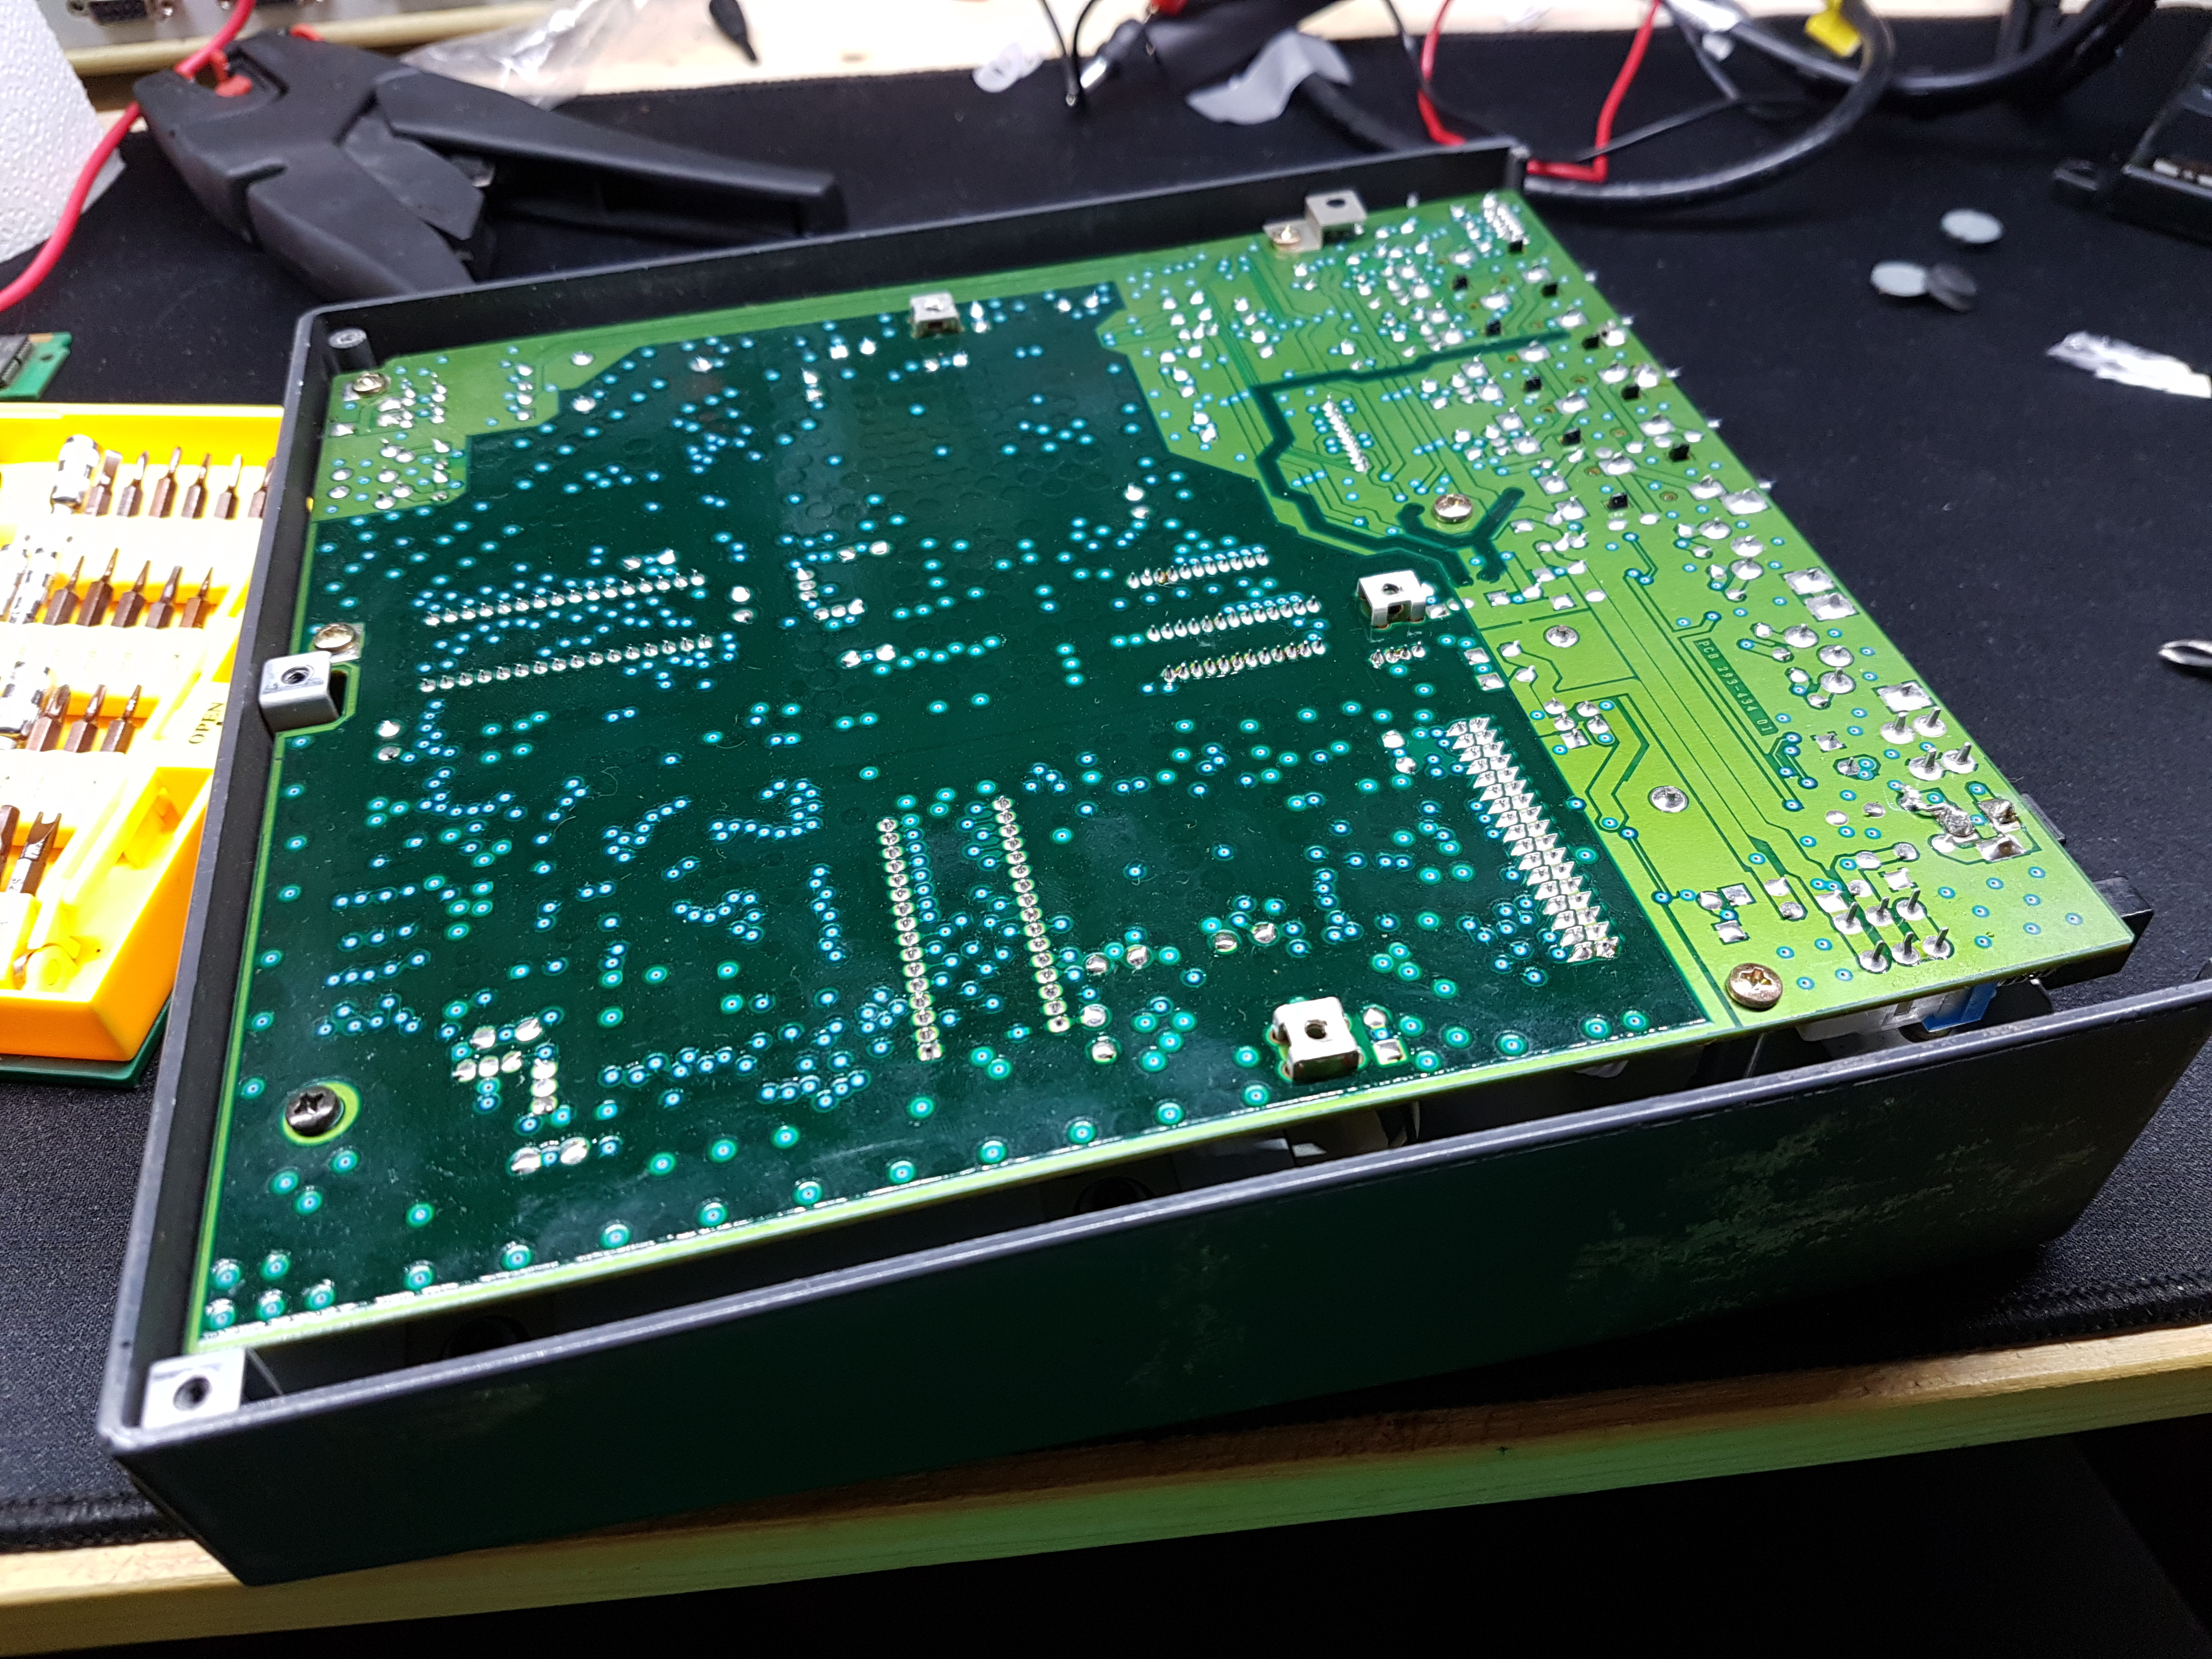
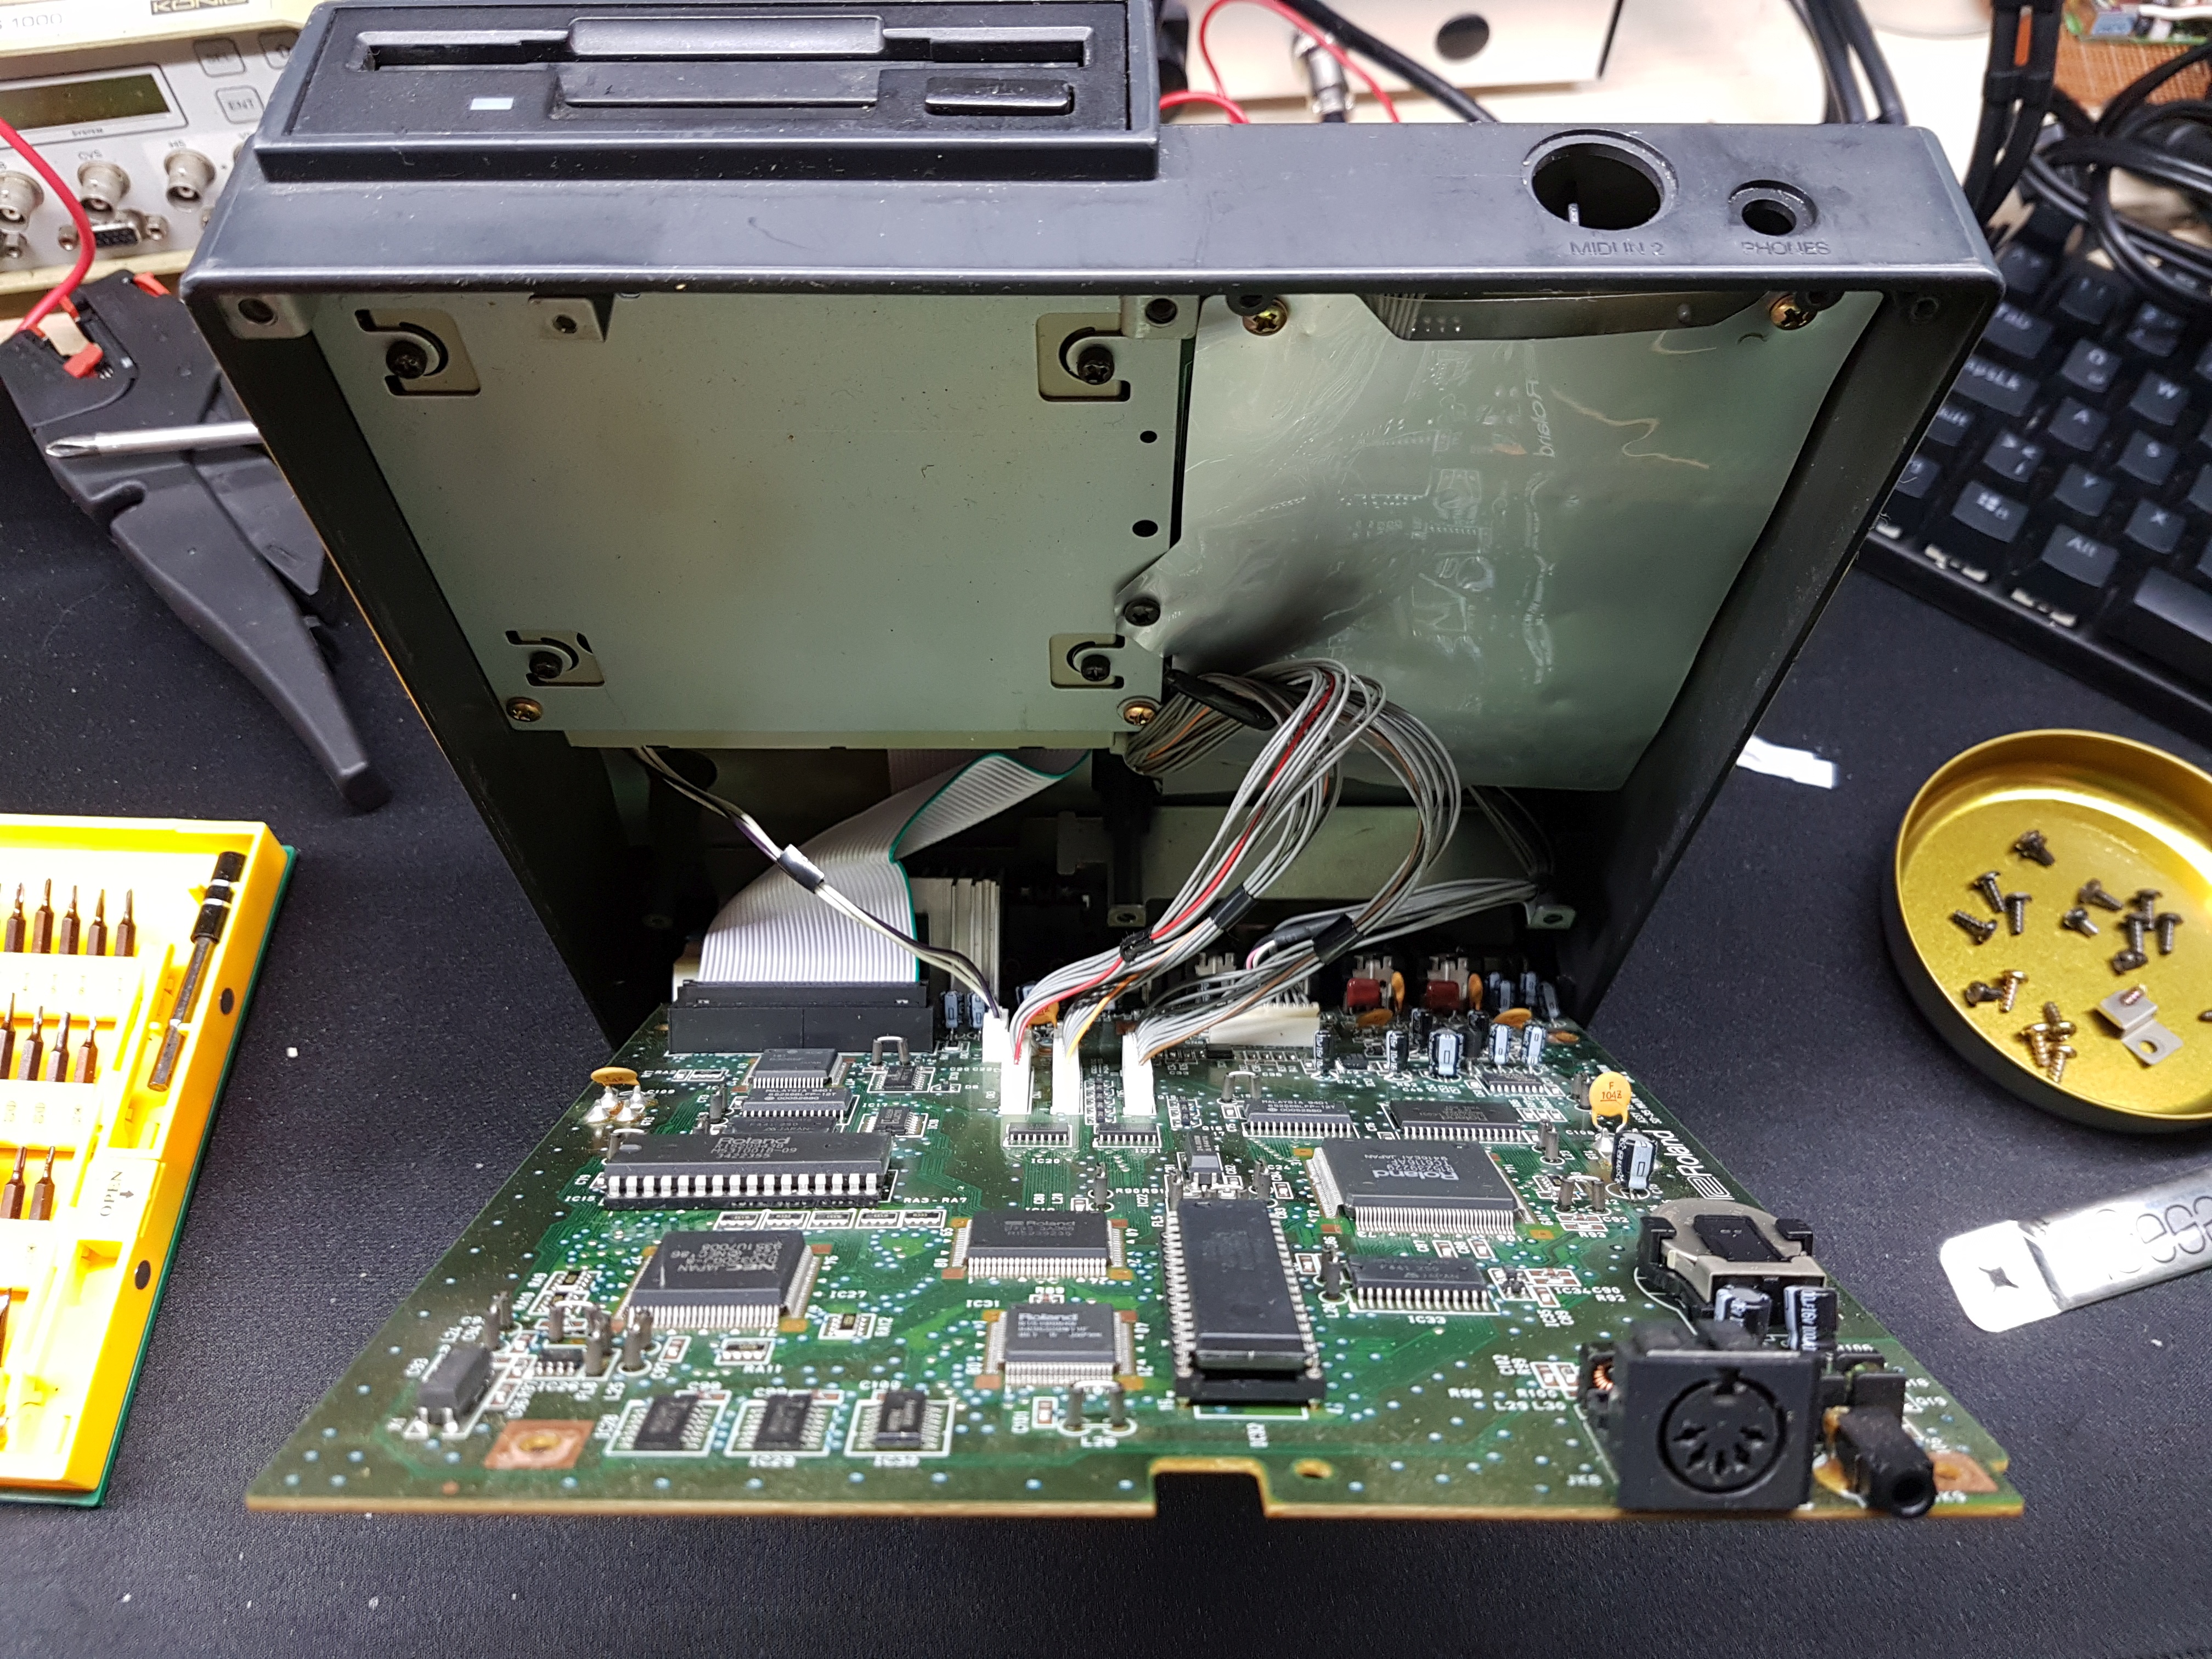
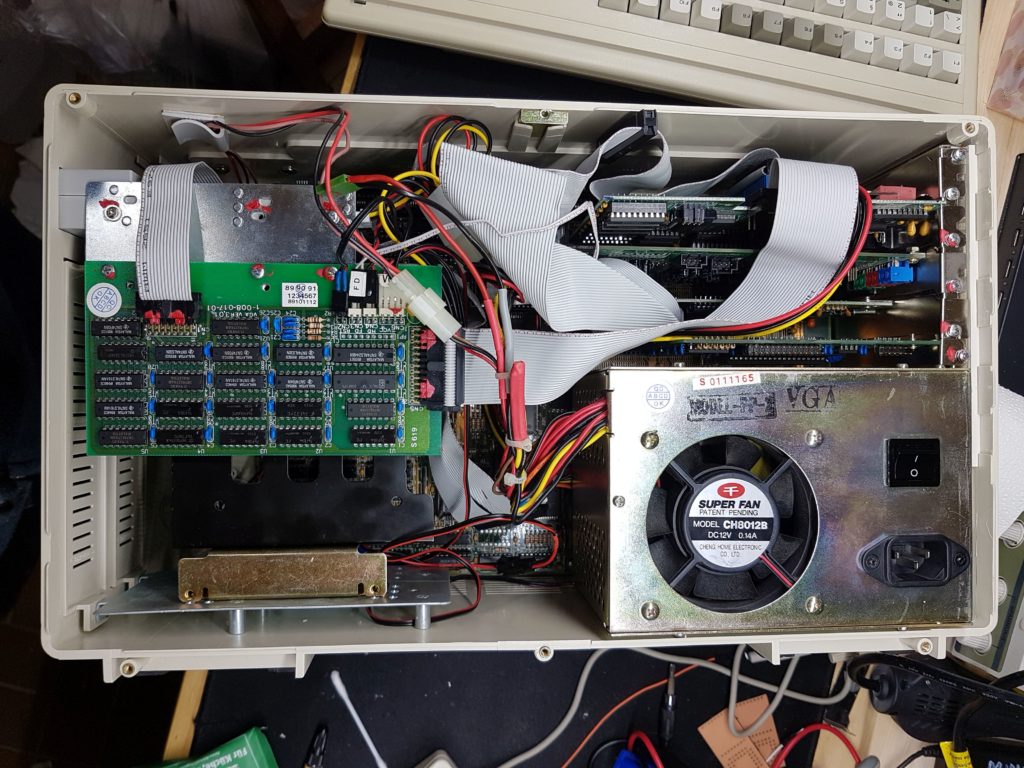
Nicely packed RAM banks, no math coprocessor (wasn’t expecting one anyways) – but overall pretty nice! So let’s get the mainboard out of there and see what the battery did to it…. fingers crossed!
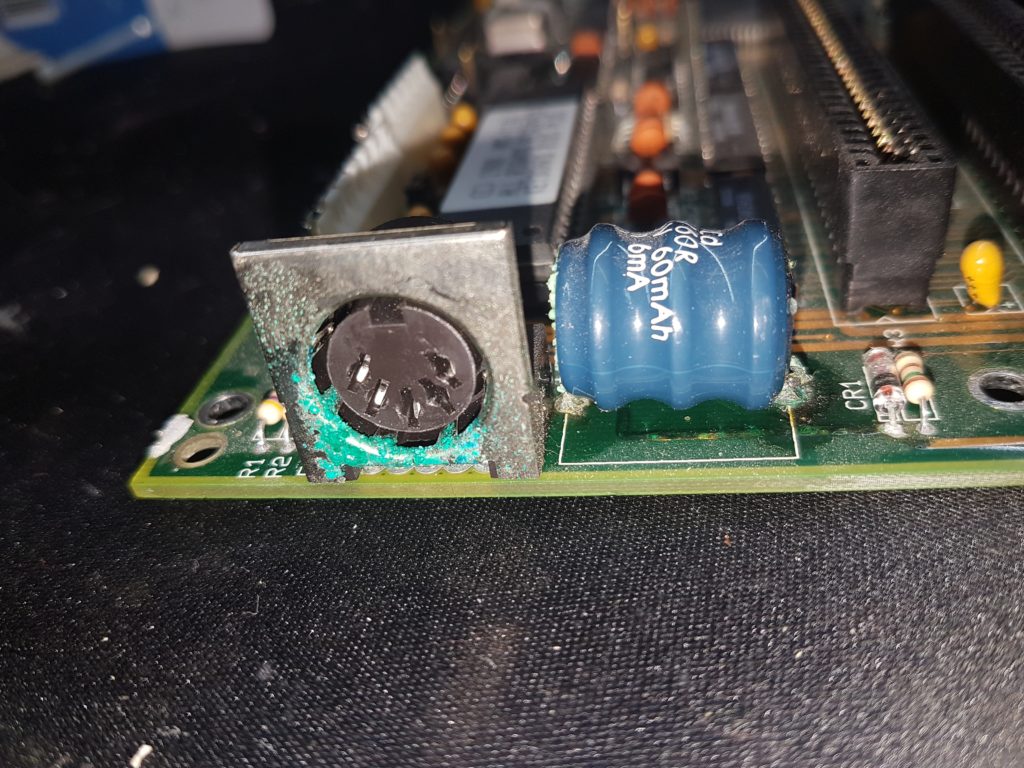
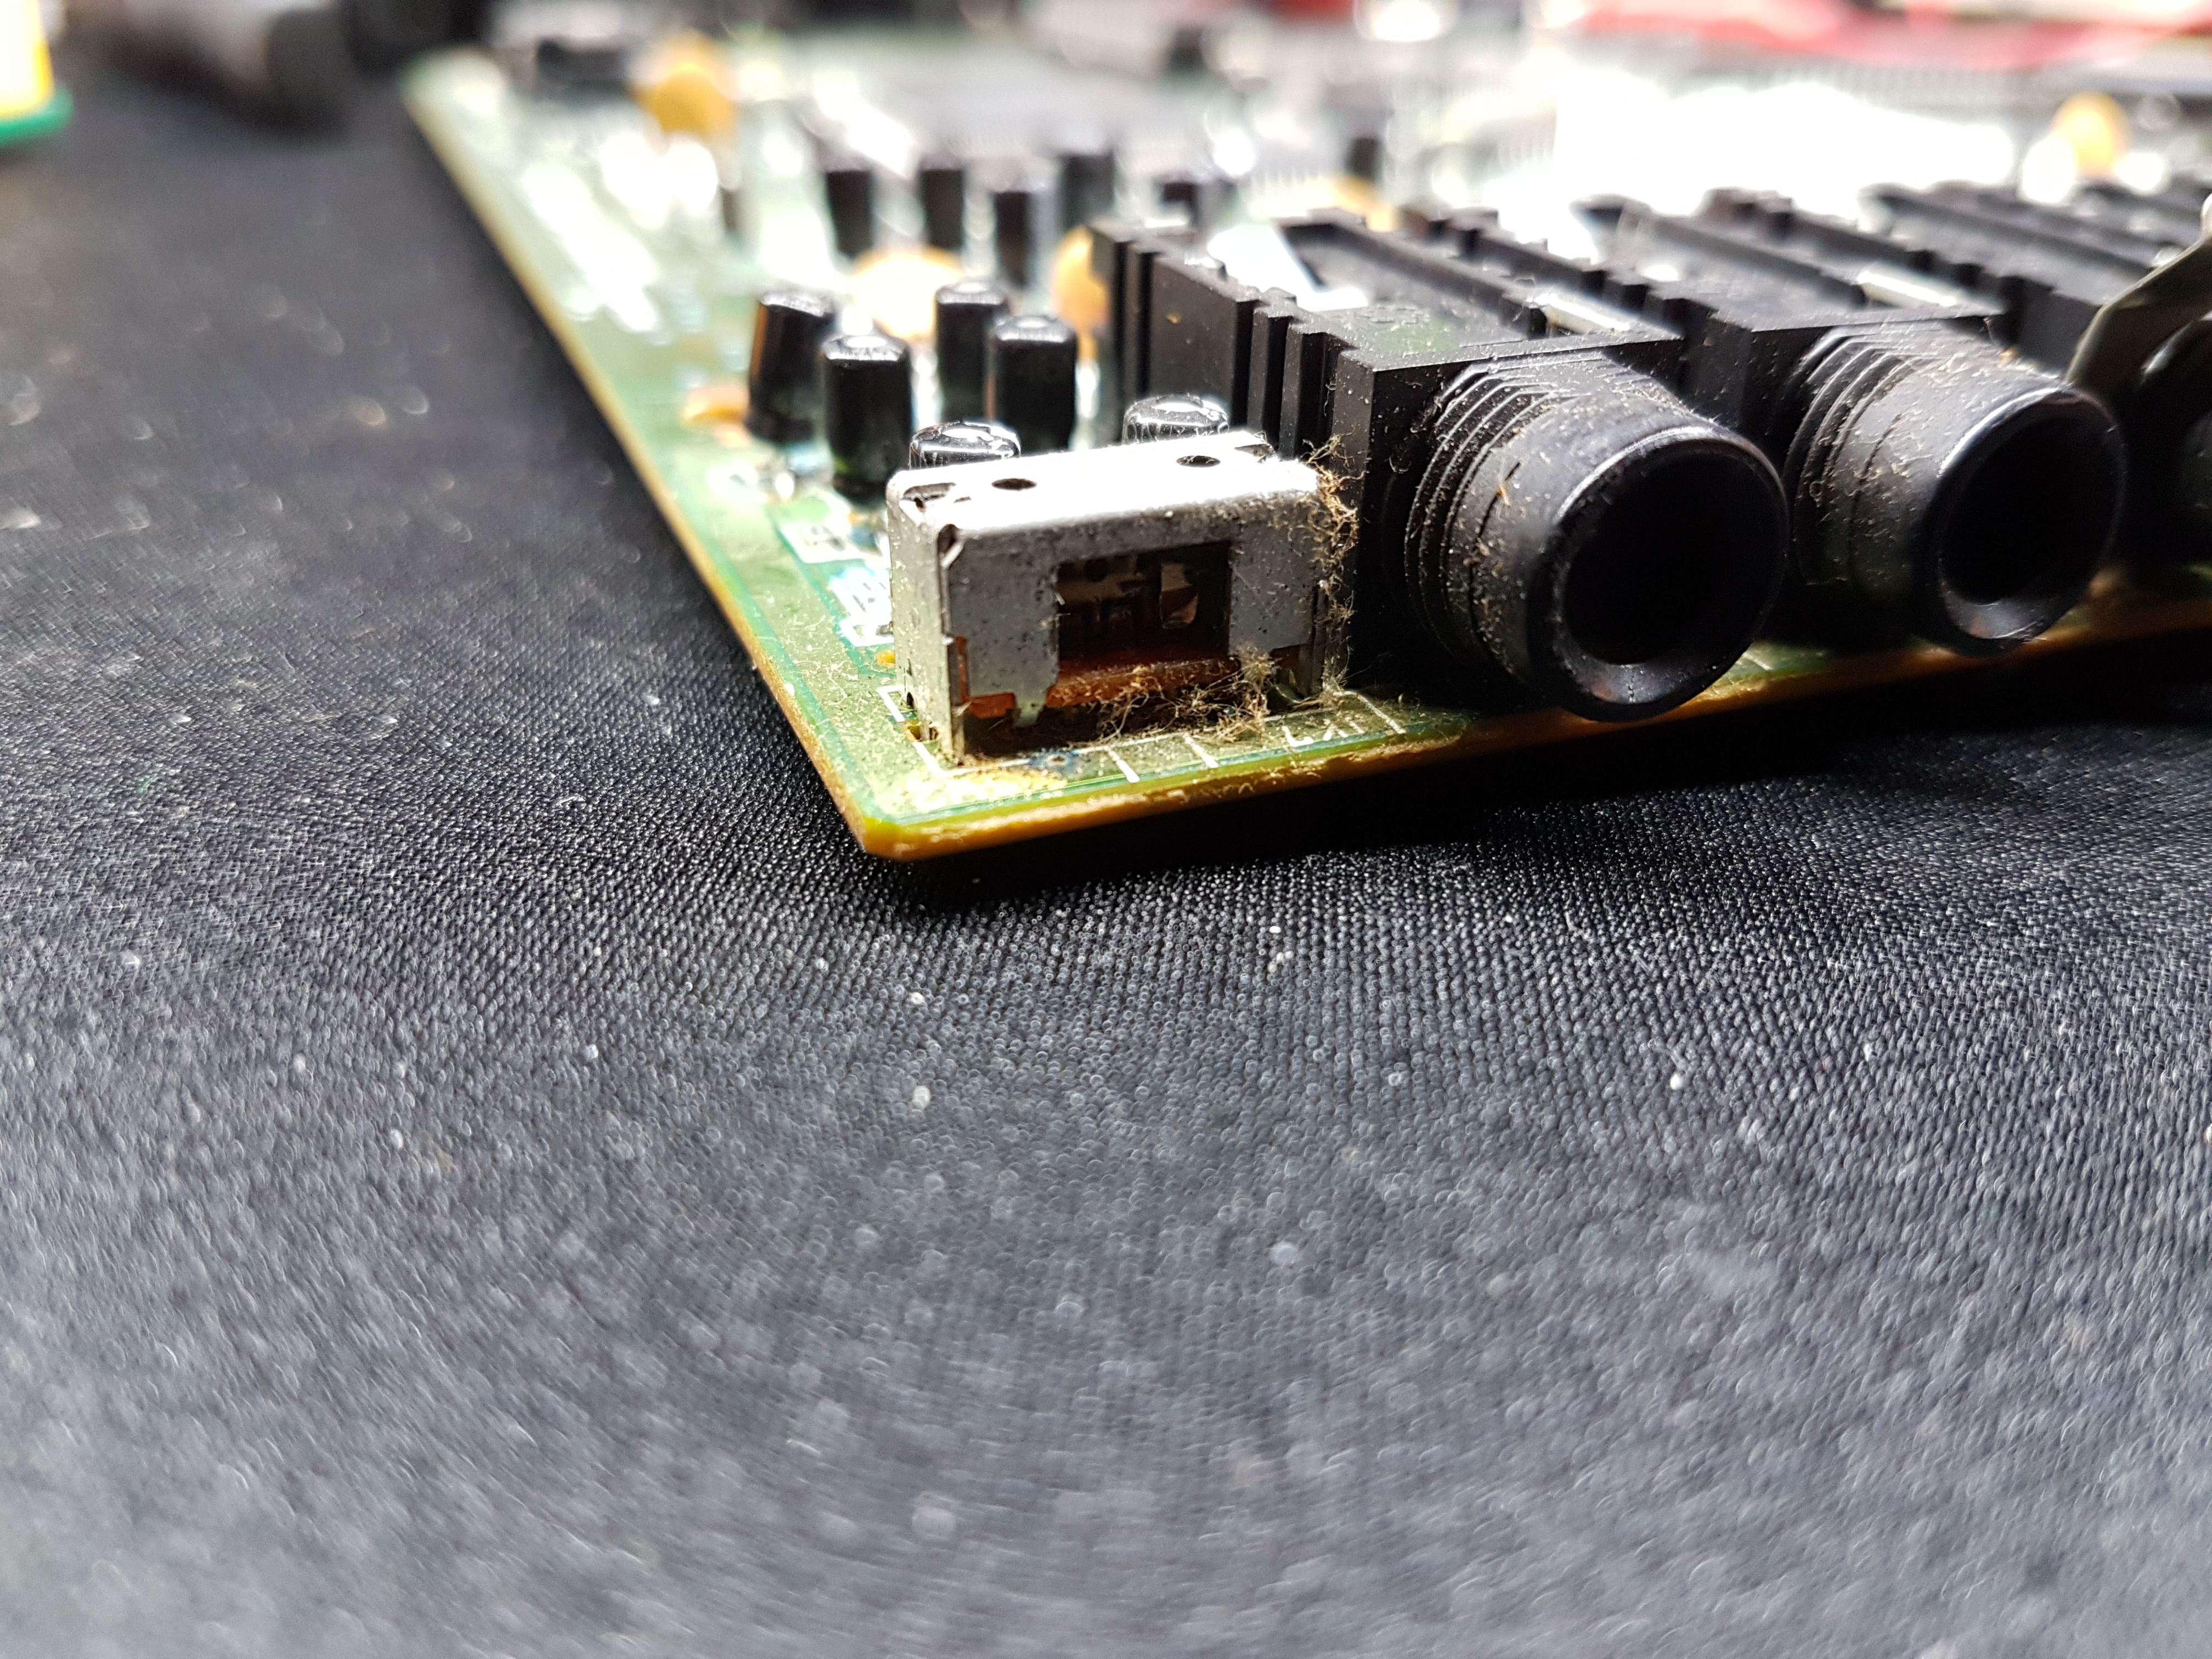
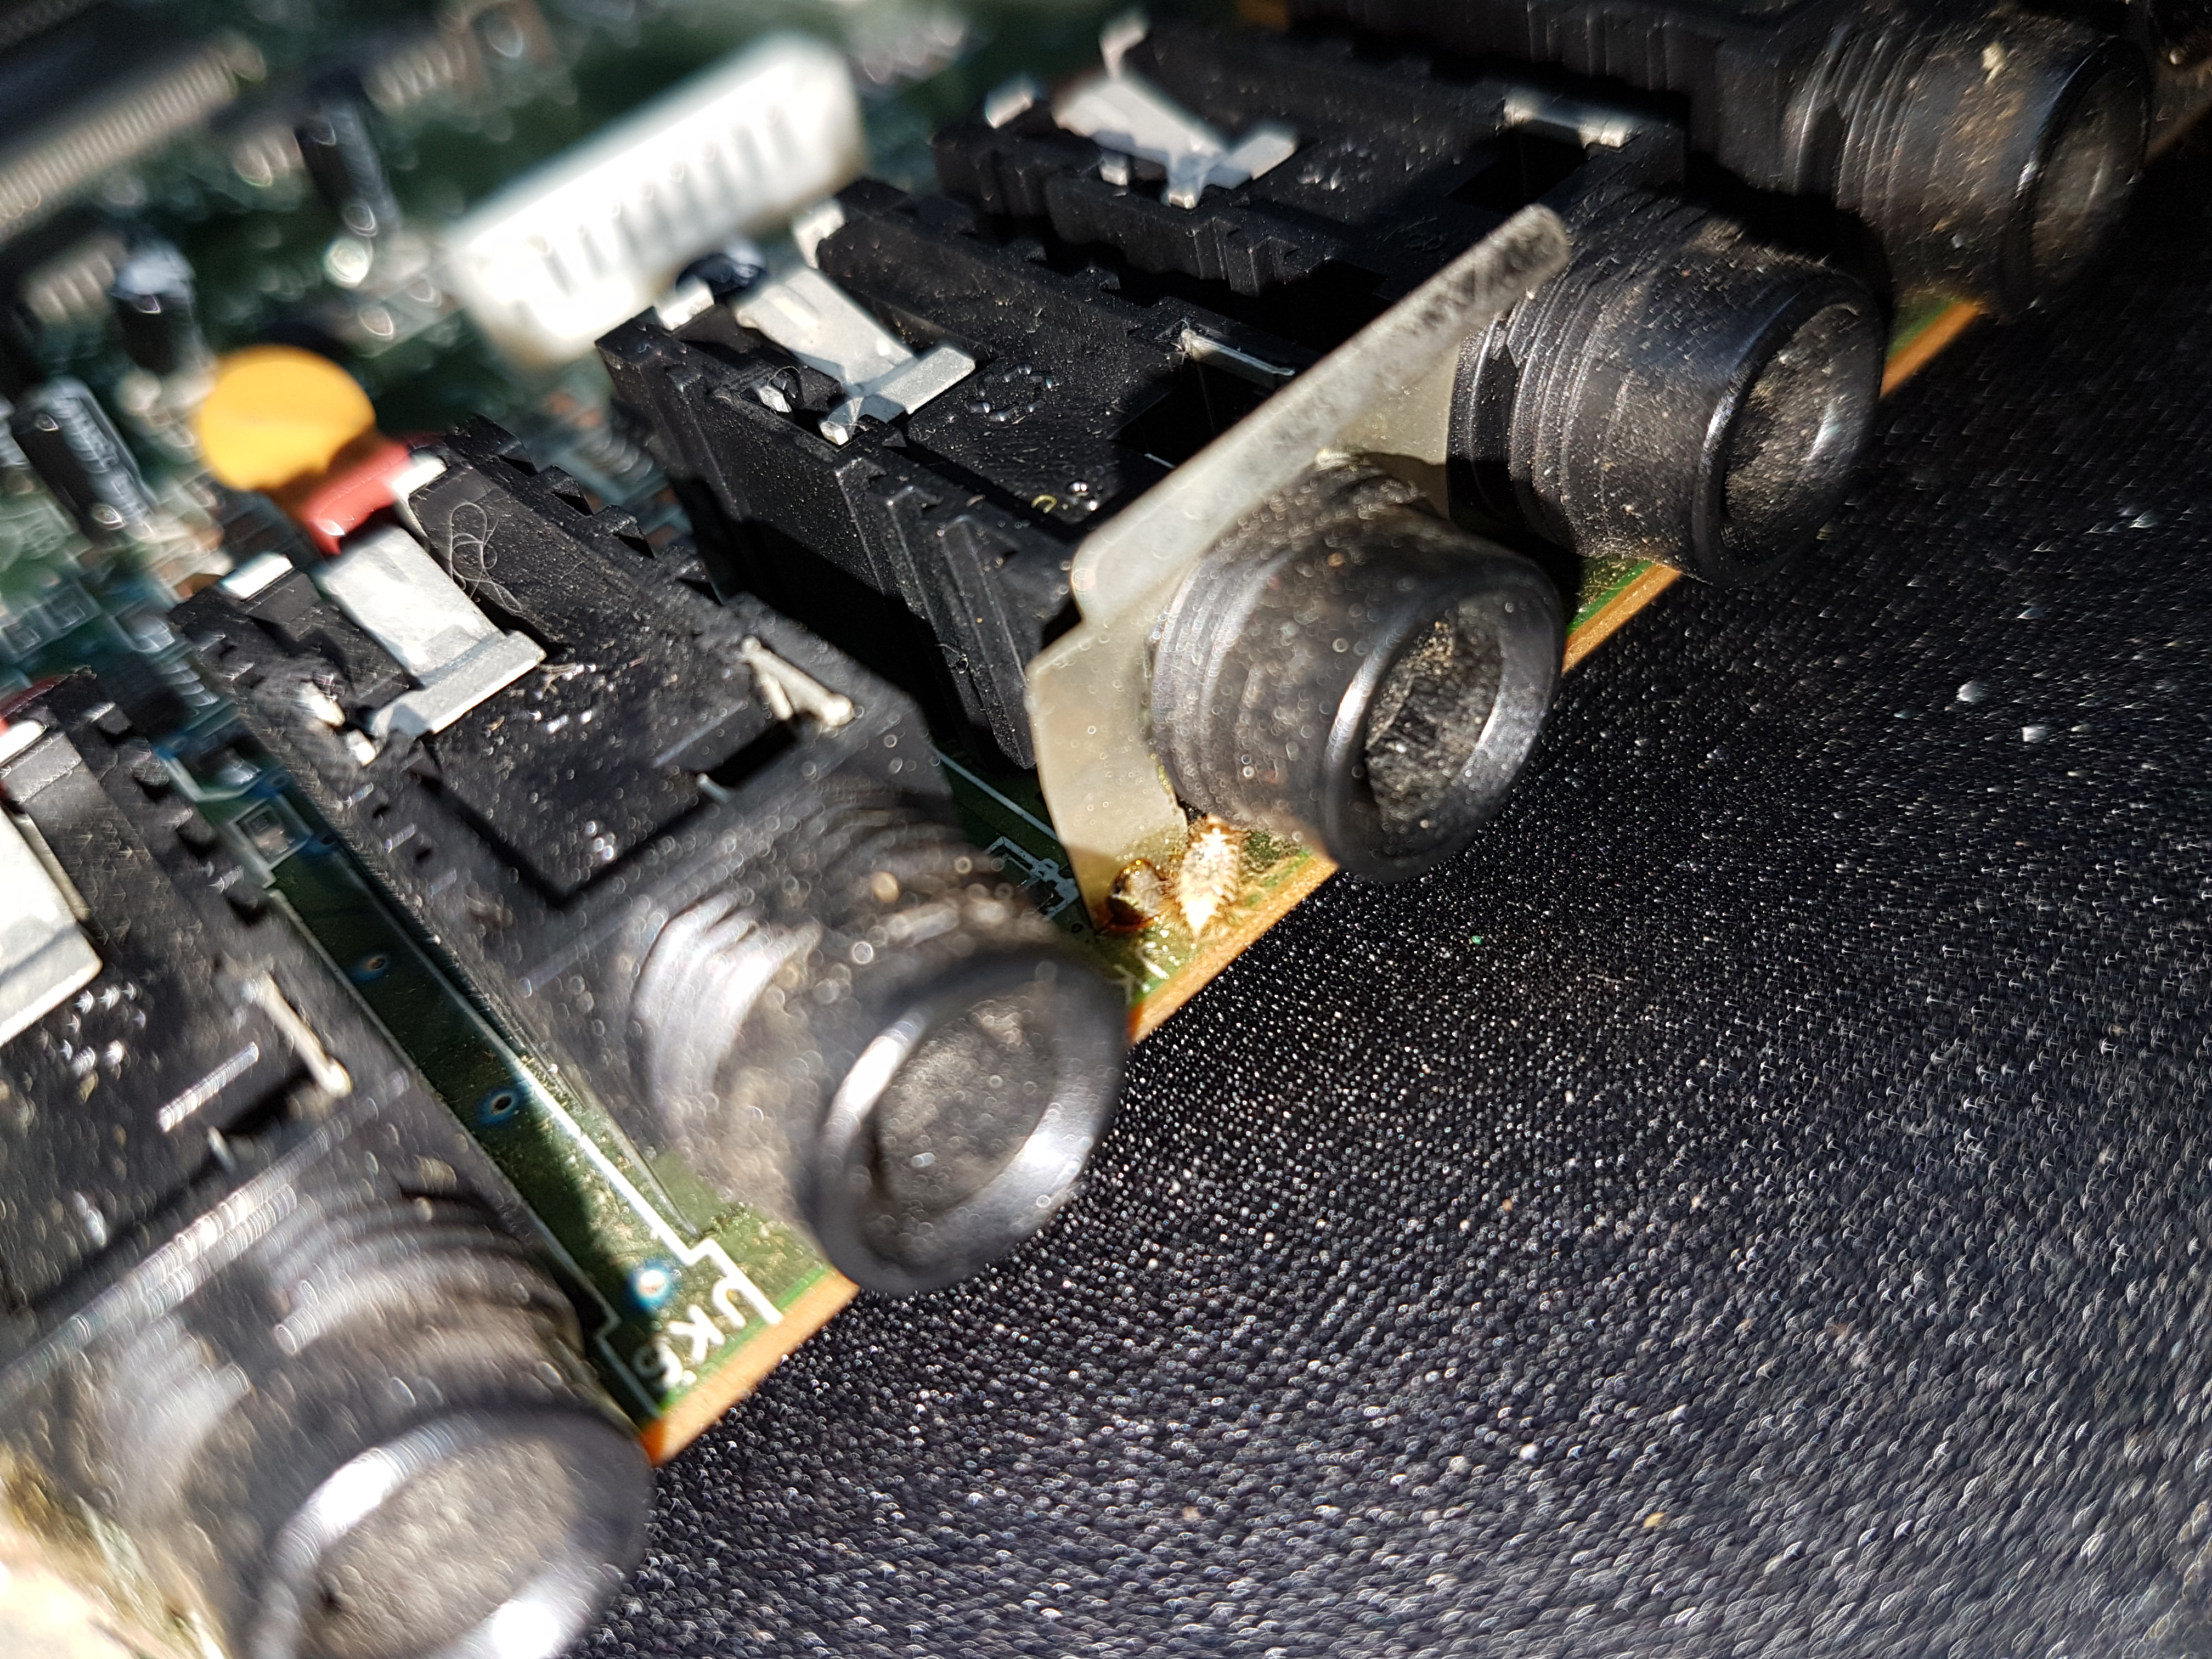
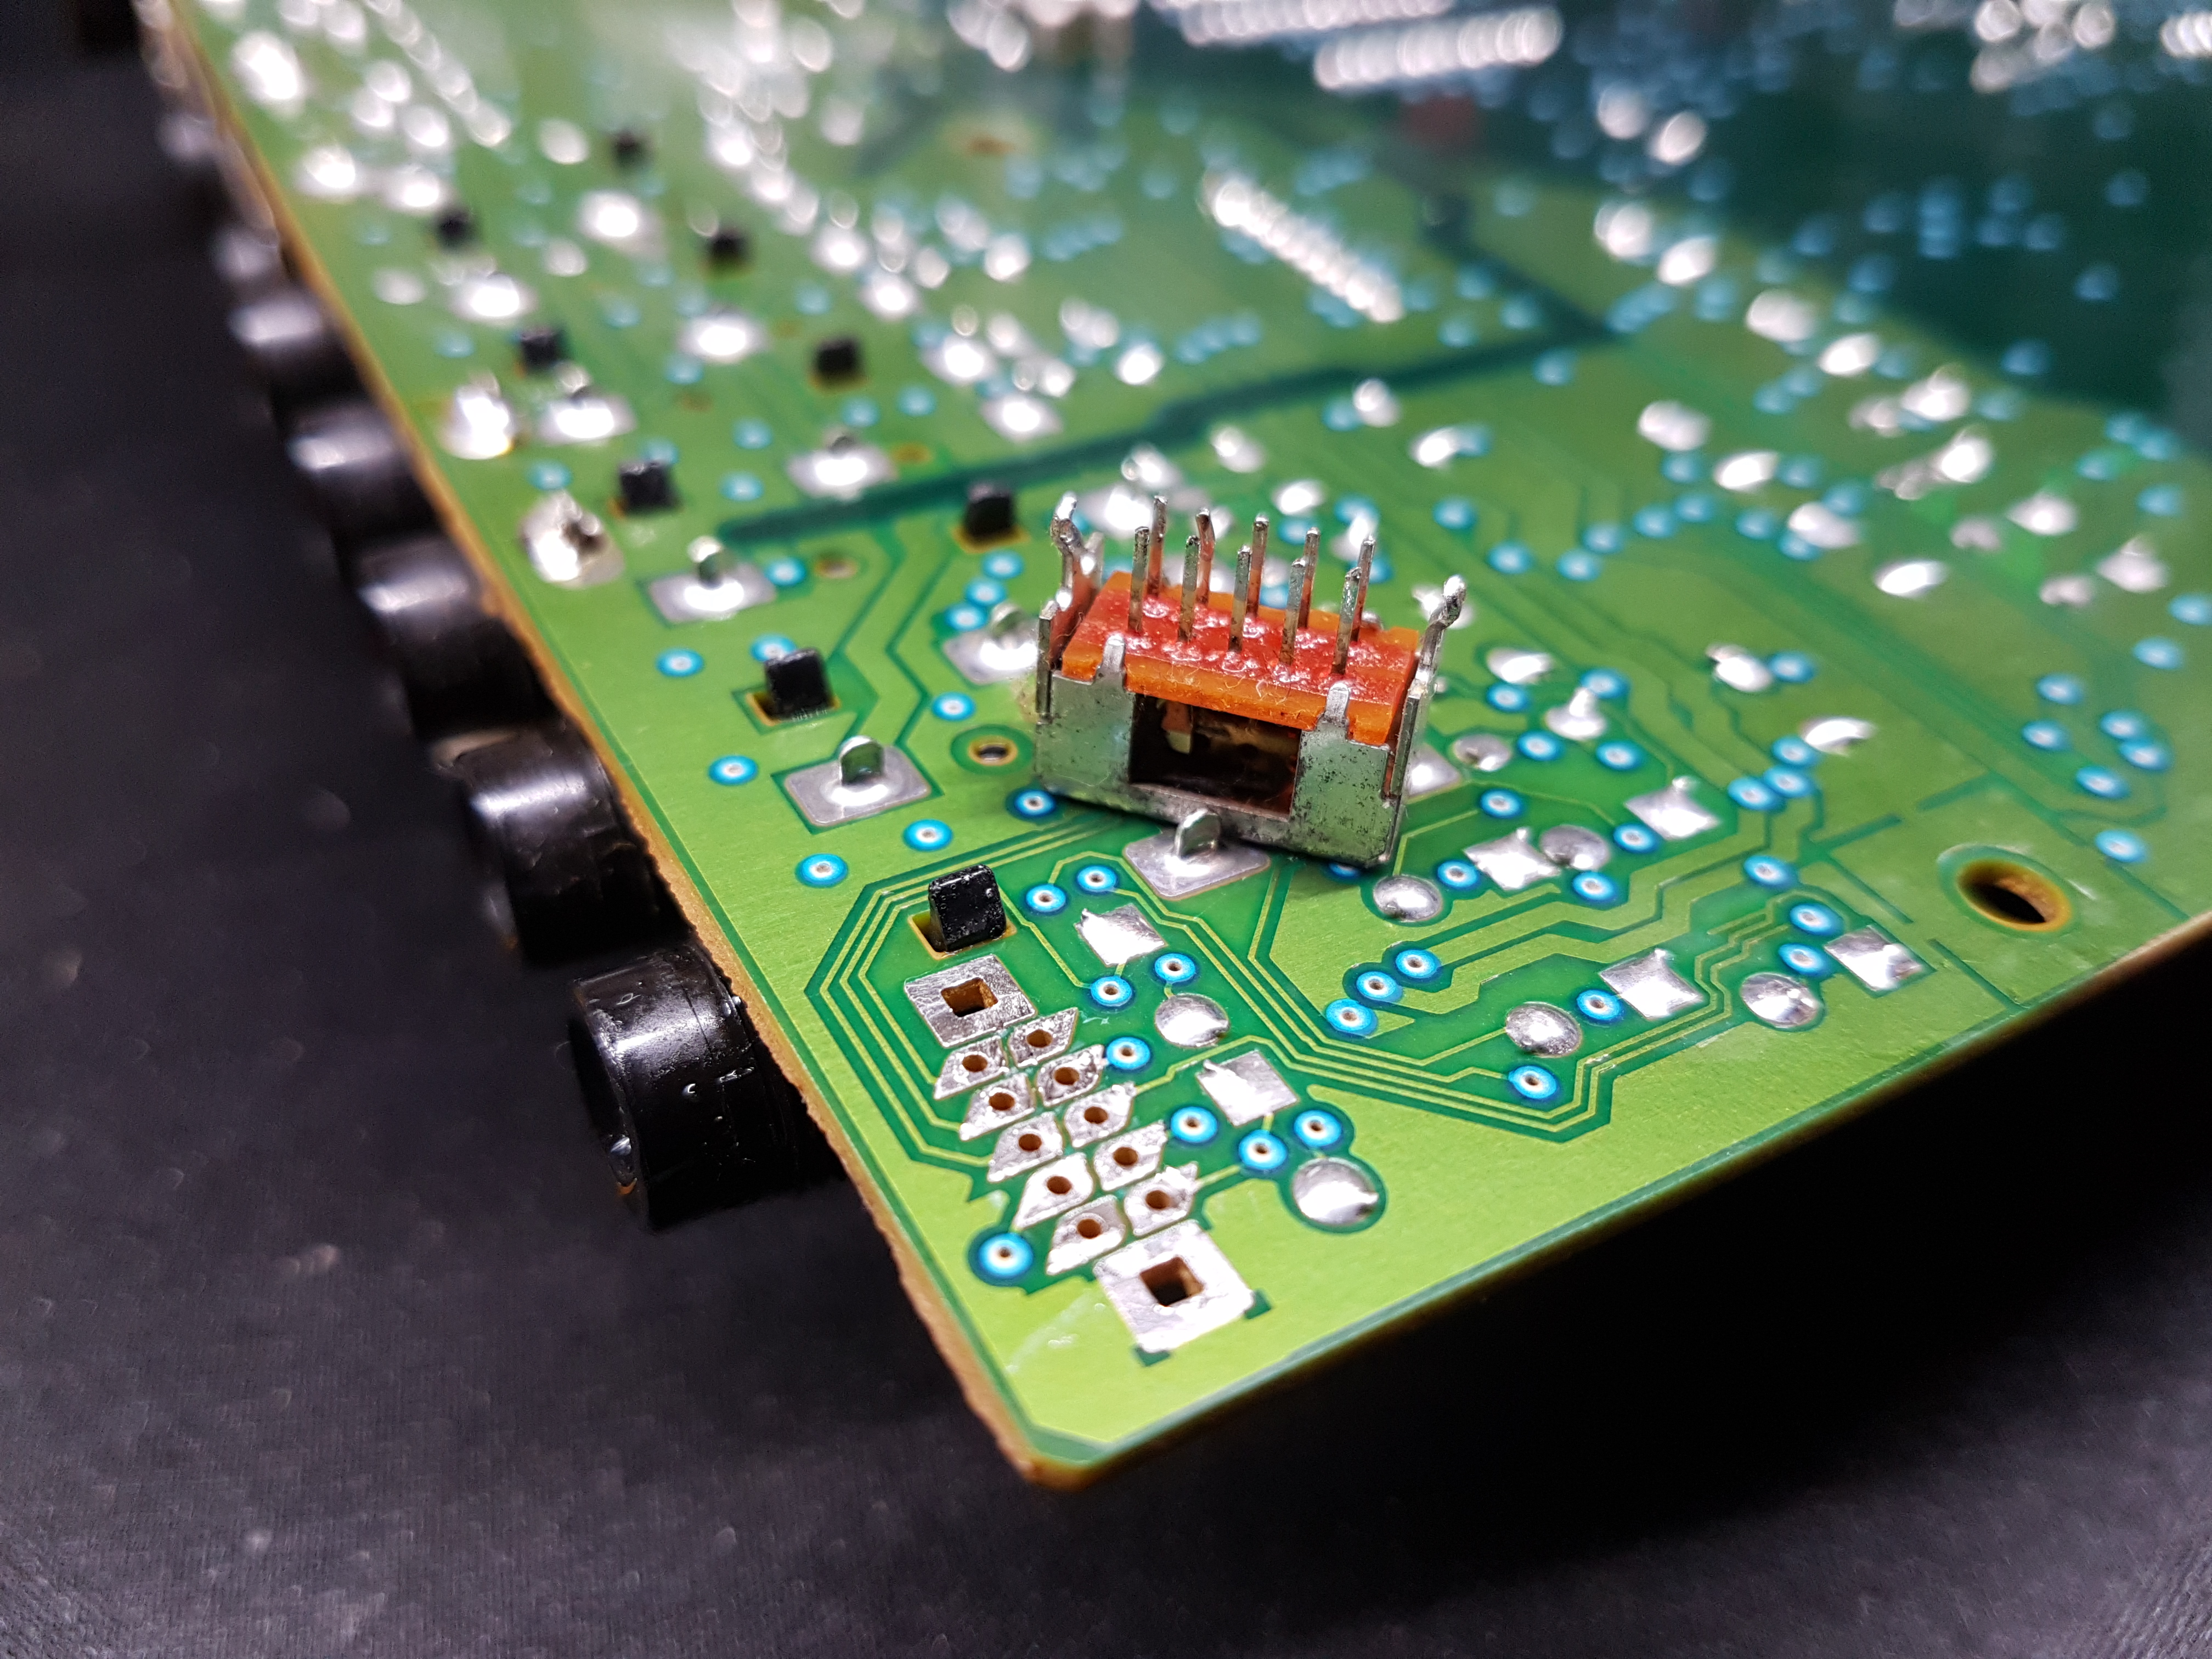
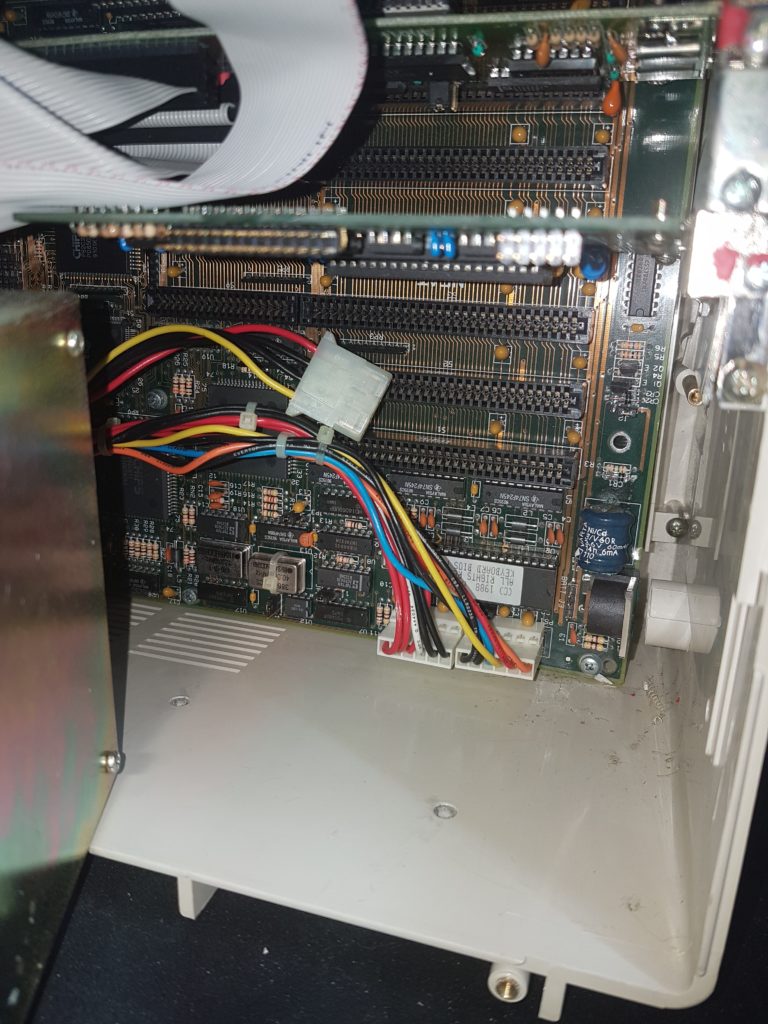
Ew! The keyboard connector sucked up all the batterie’s evil juices. And well, some splatters here and there on the mainboard. Let’s pop the cell out.
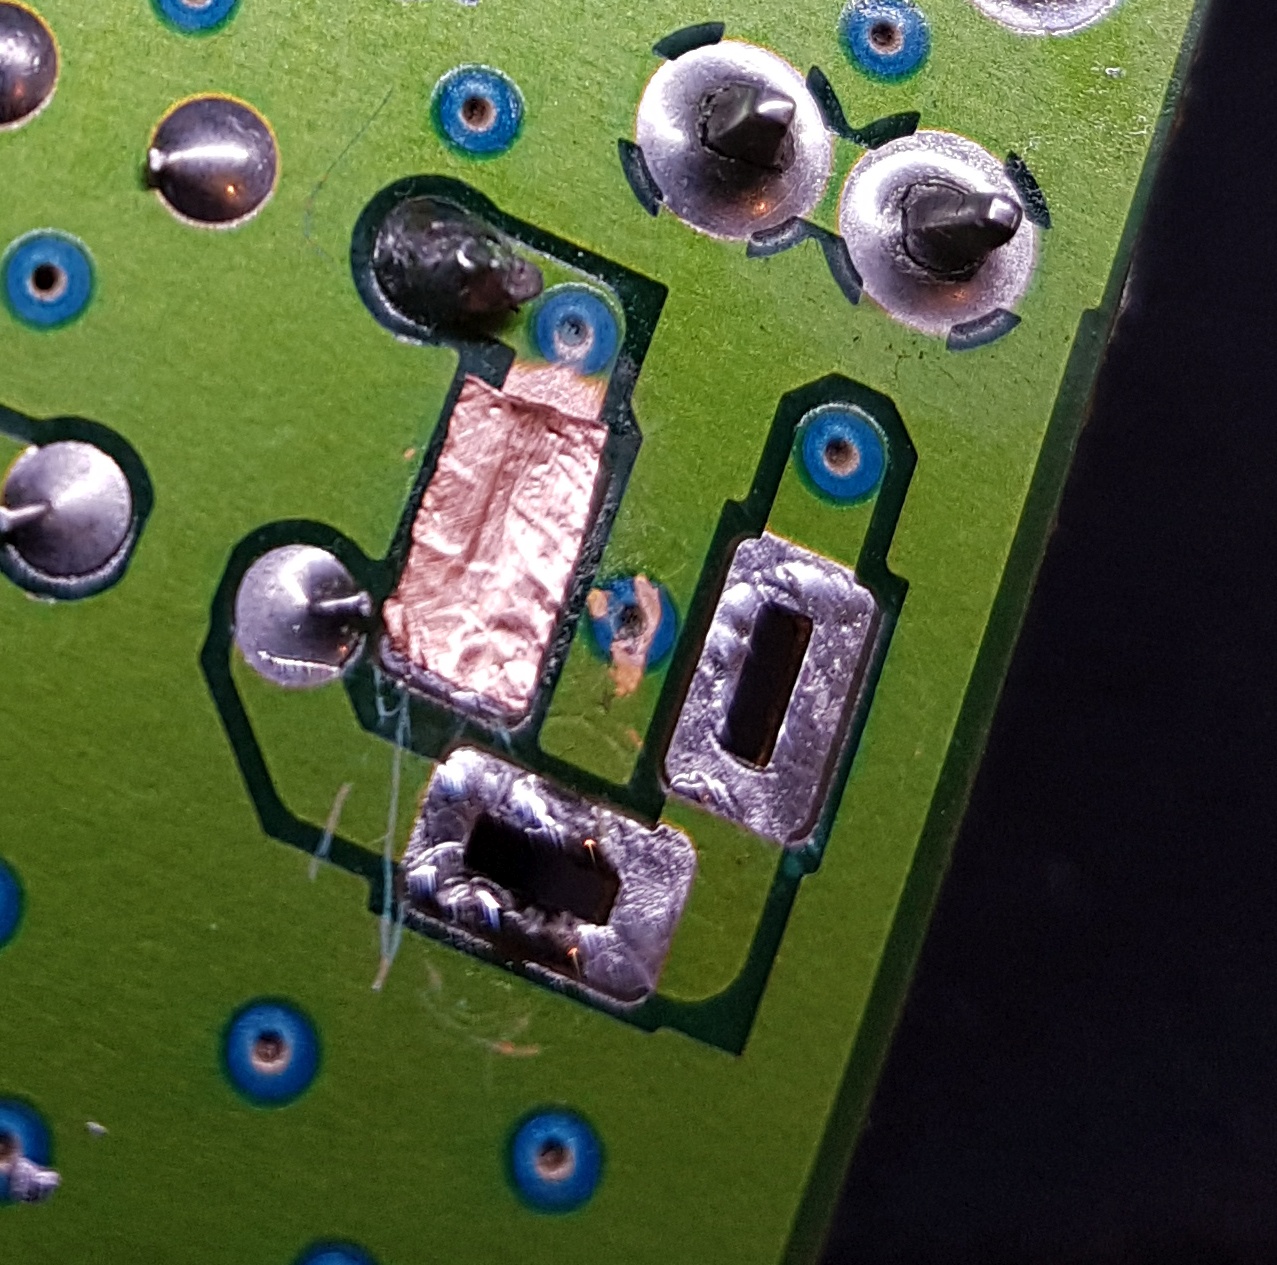
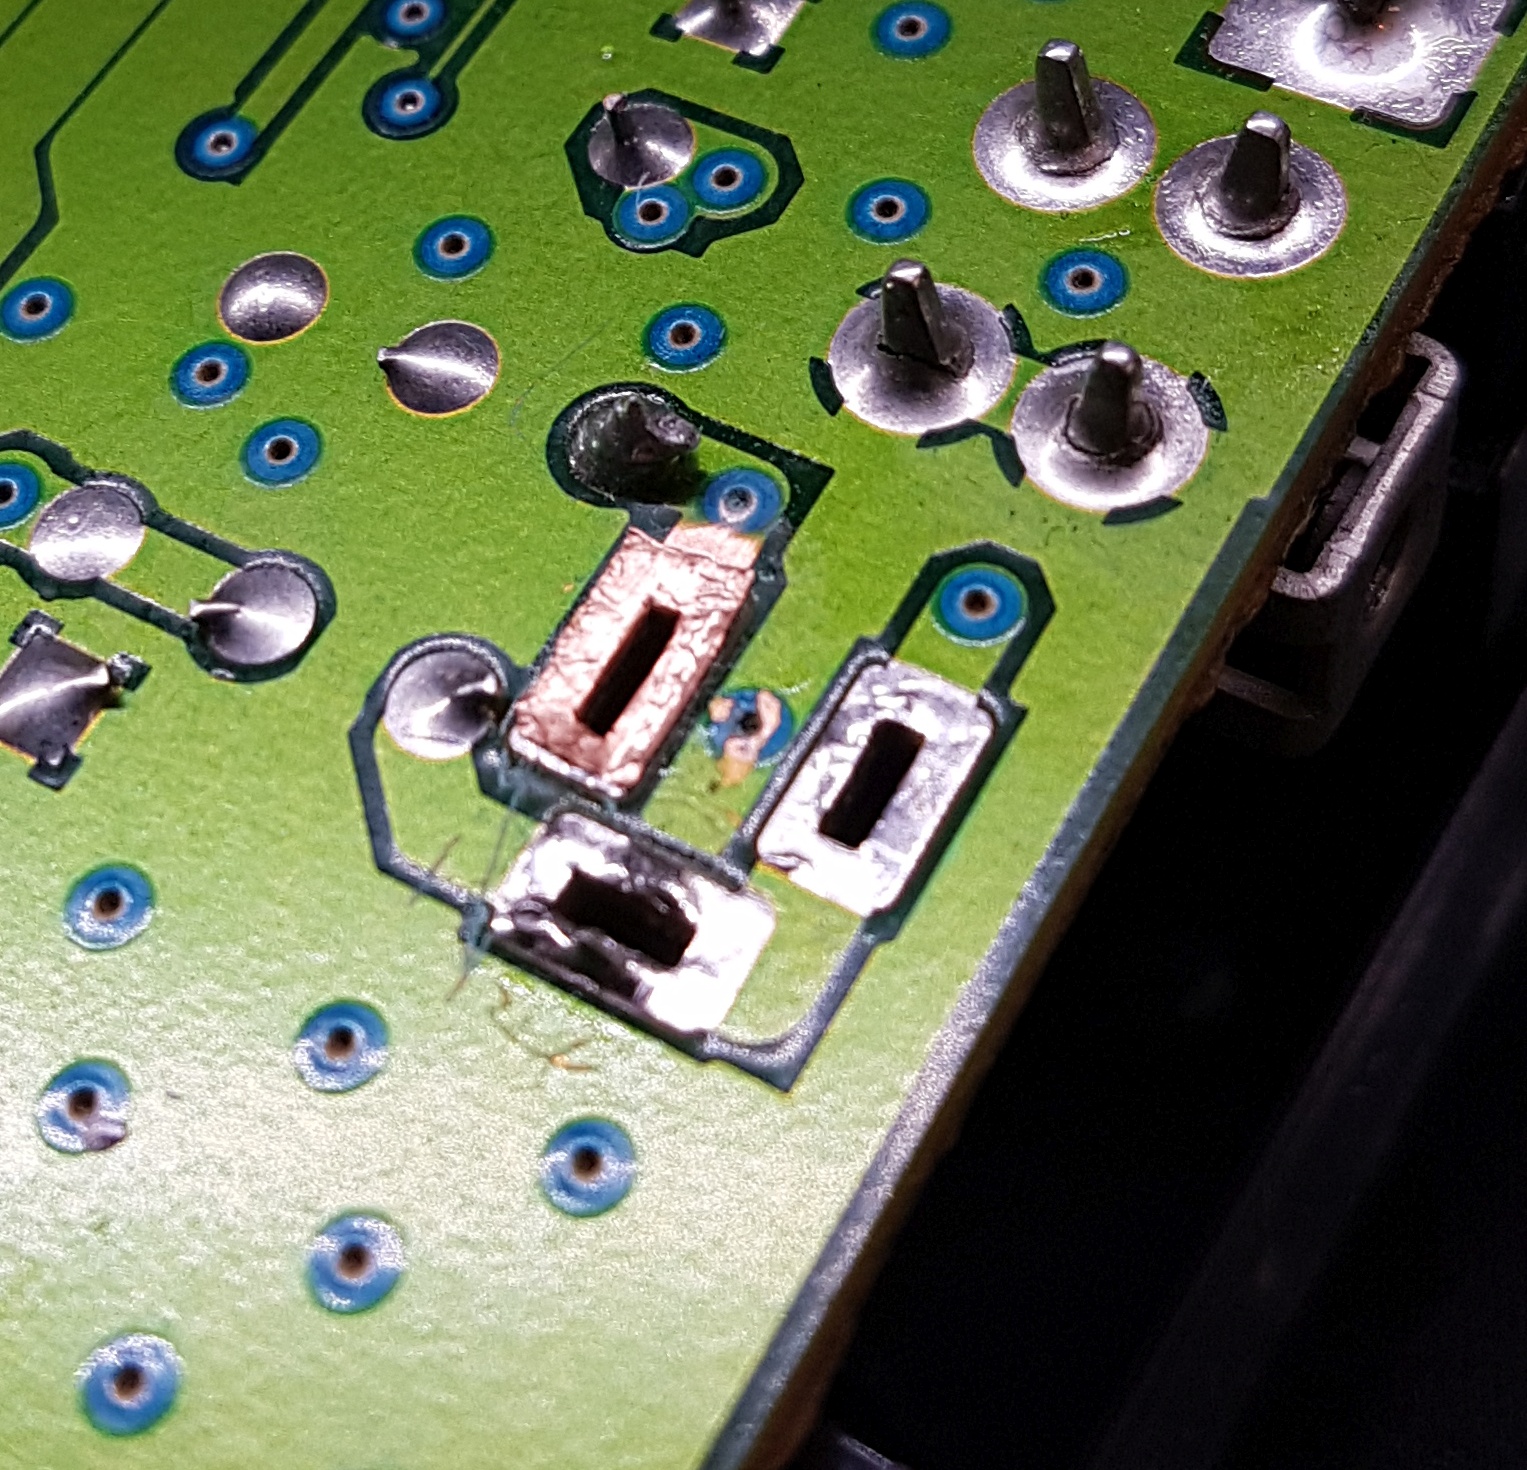
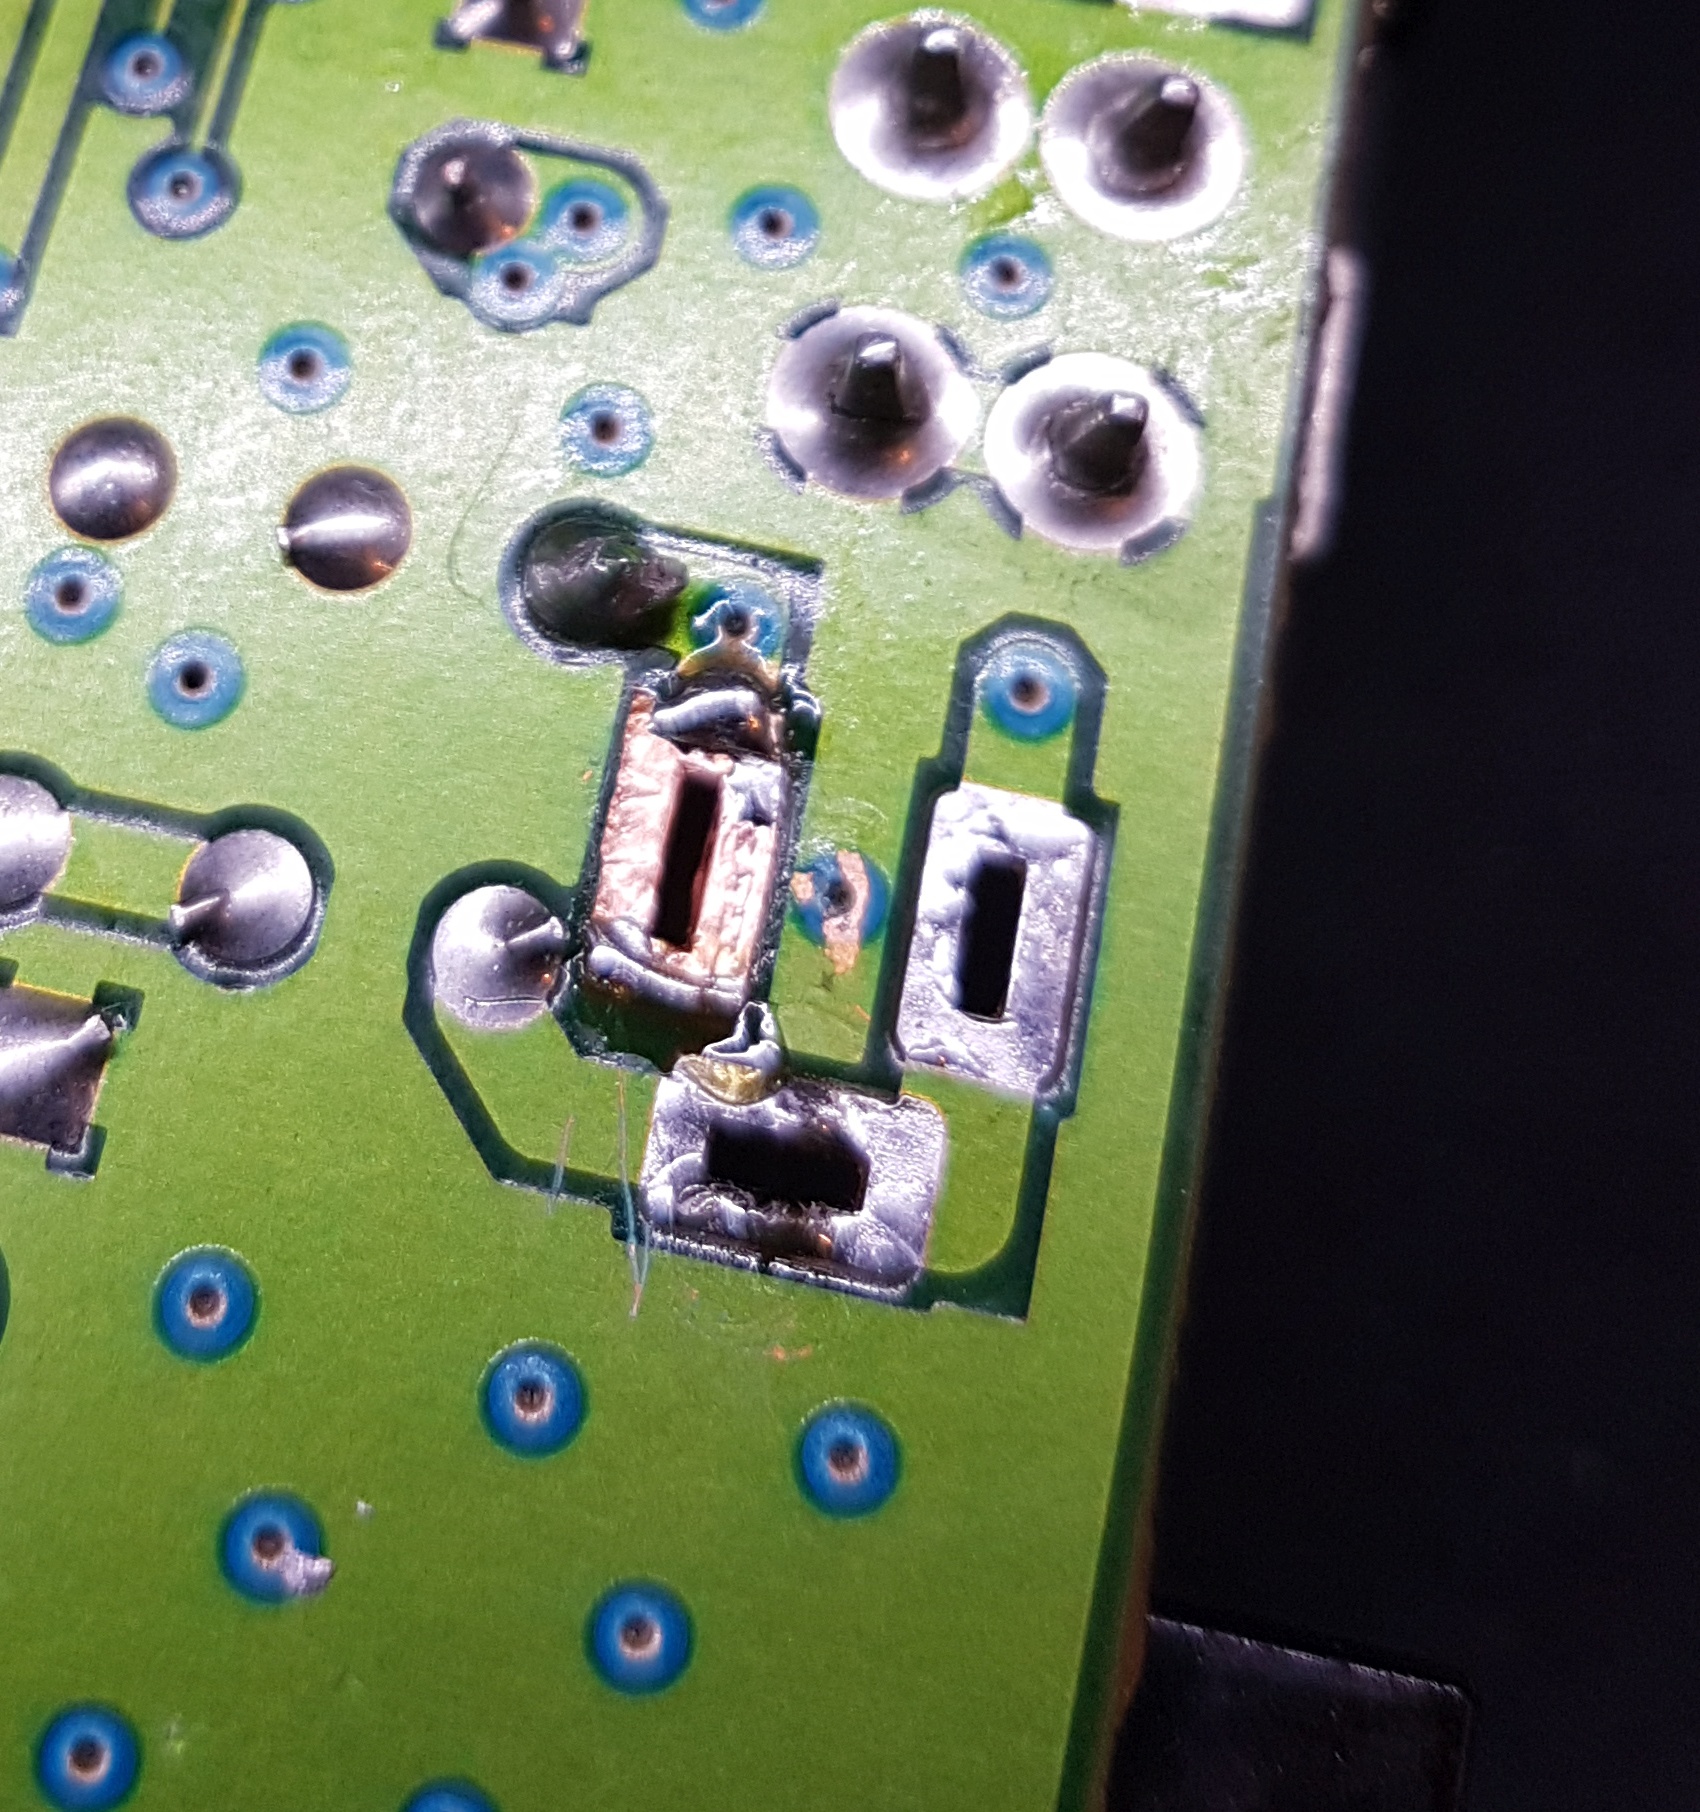
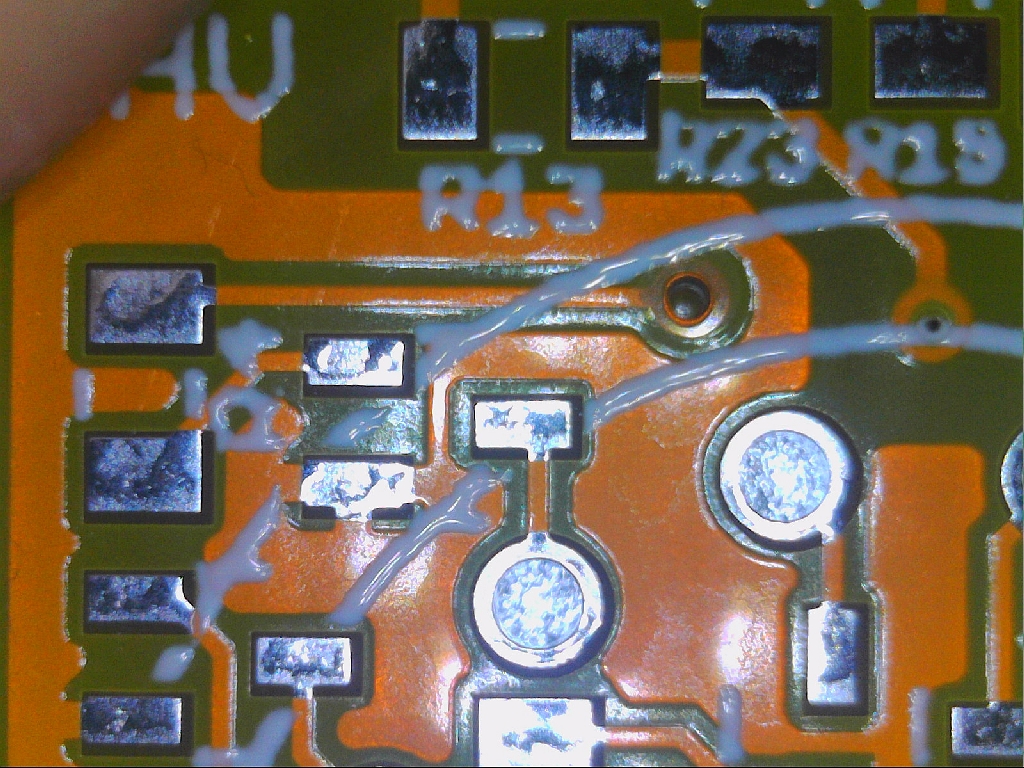
Yep, it smelled just as bad as it looks. The positive rail under tha battery is heavily corroded and some of the thick rail above the nasty blob has been eaten away. Ew.
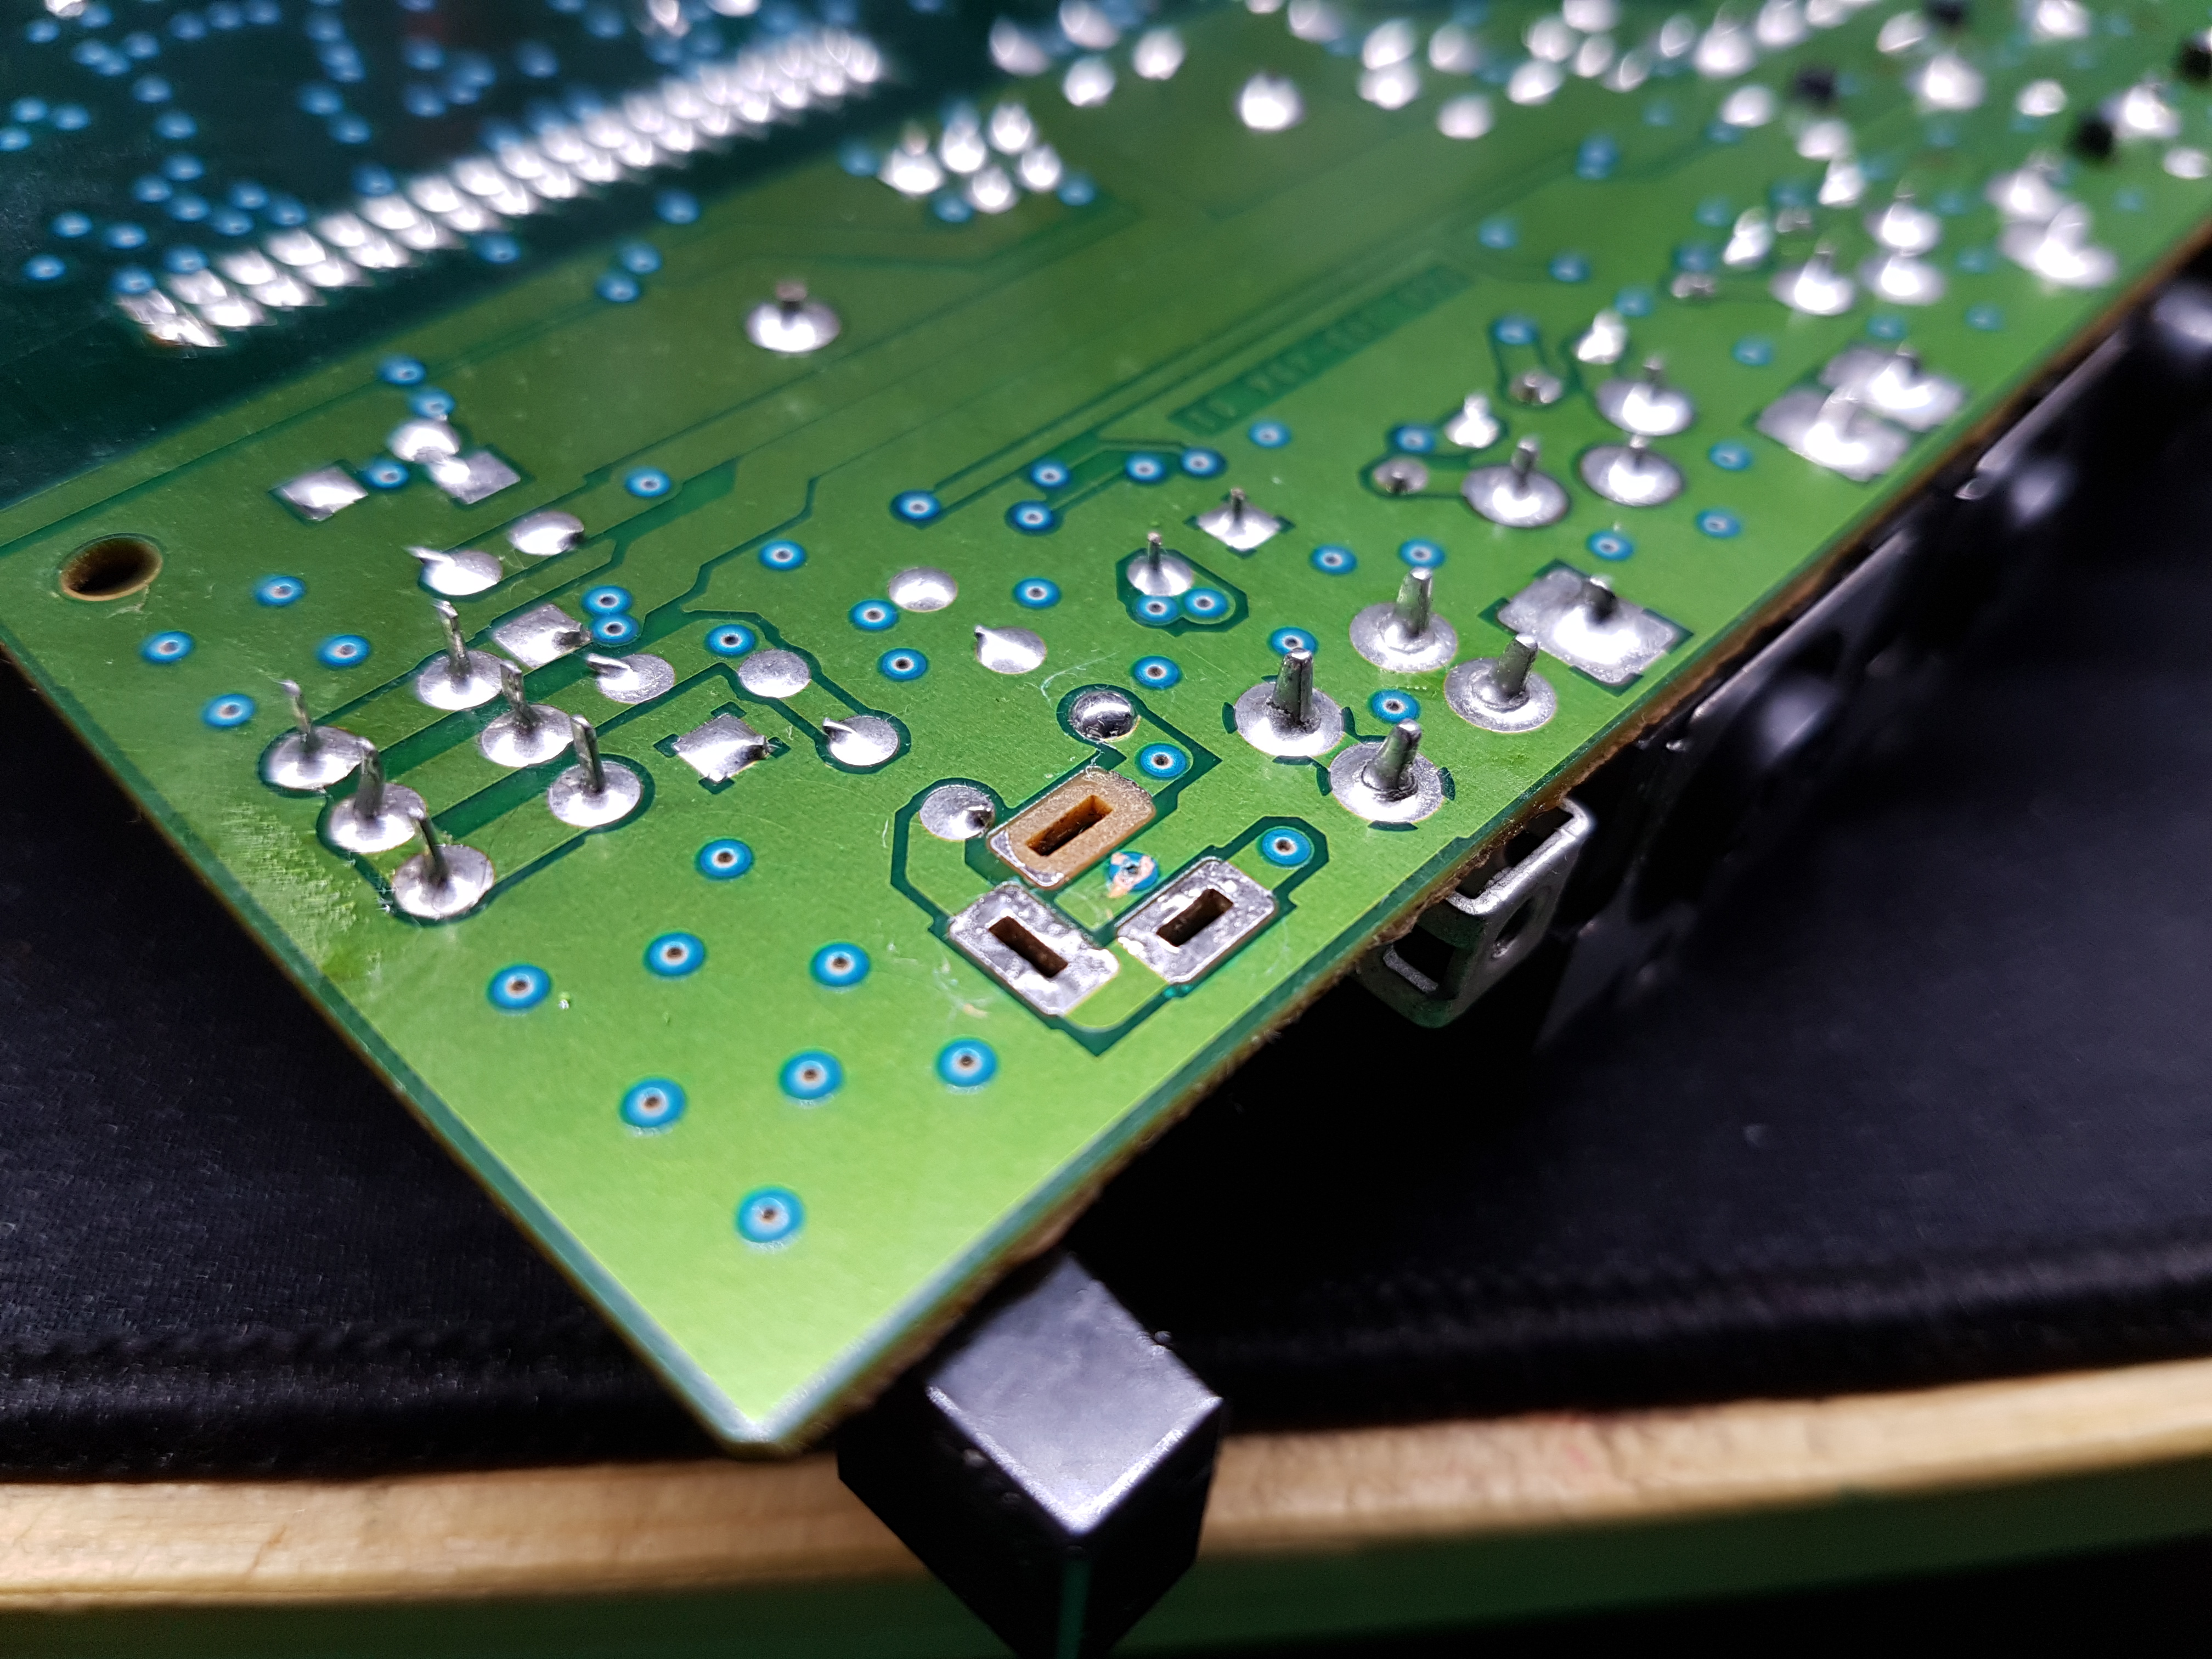
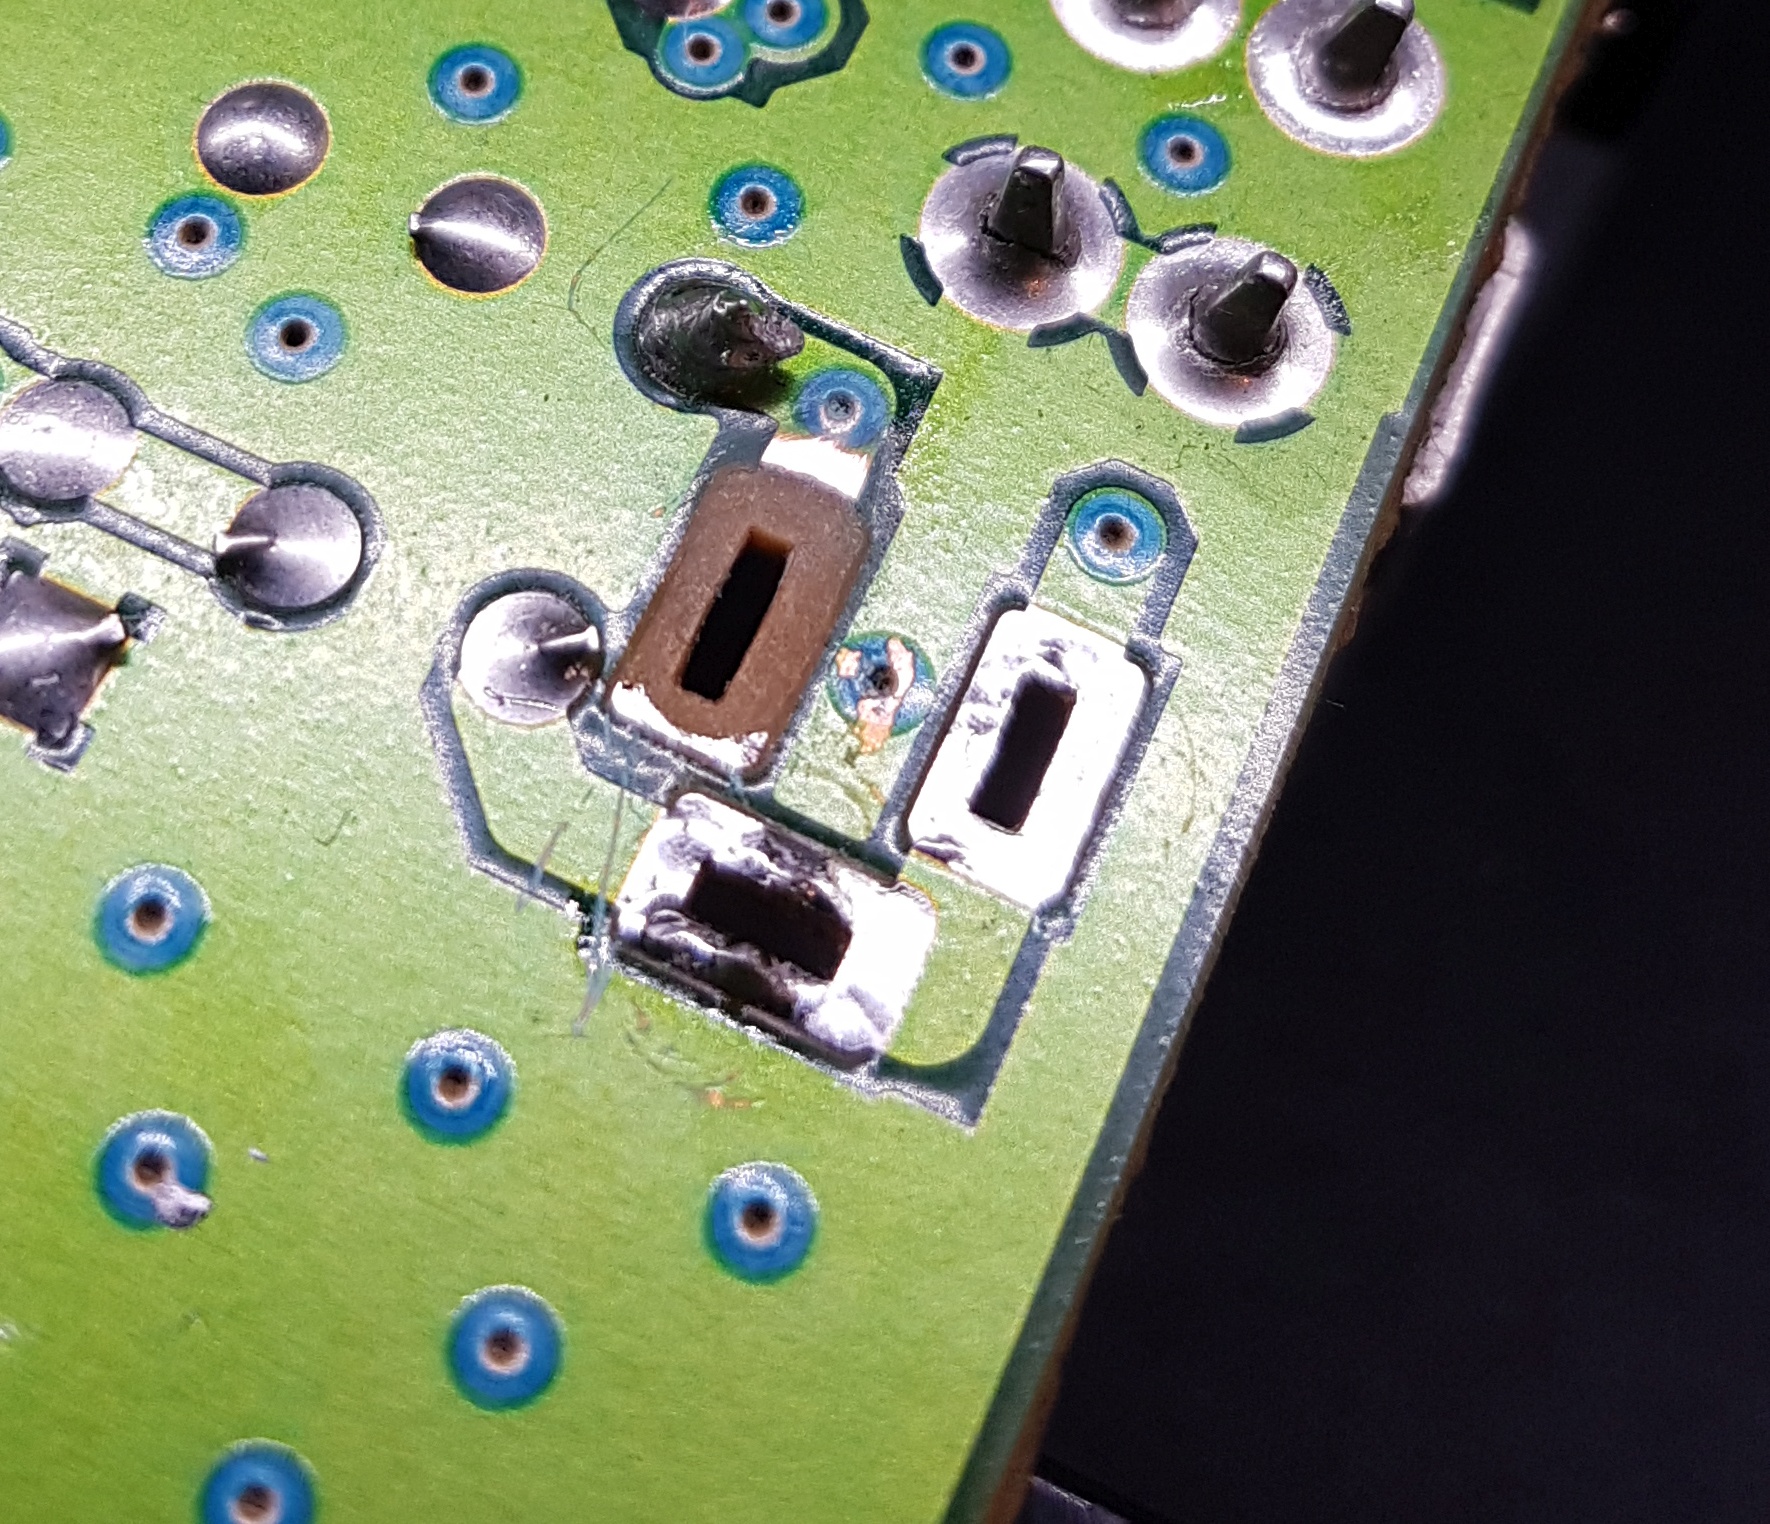
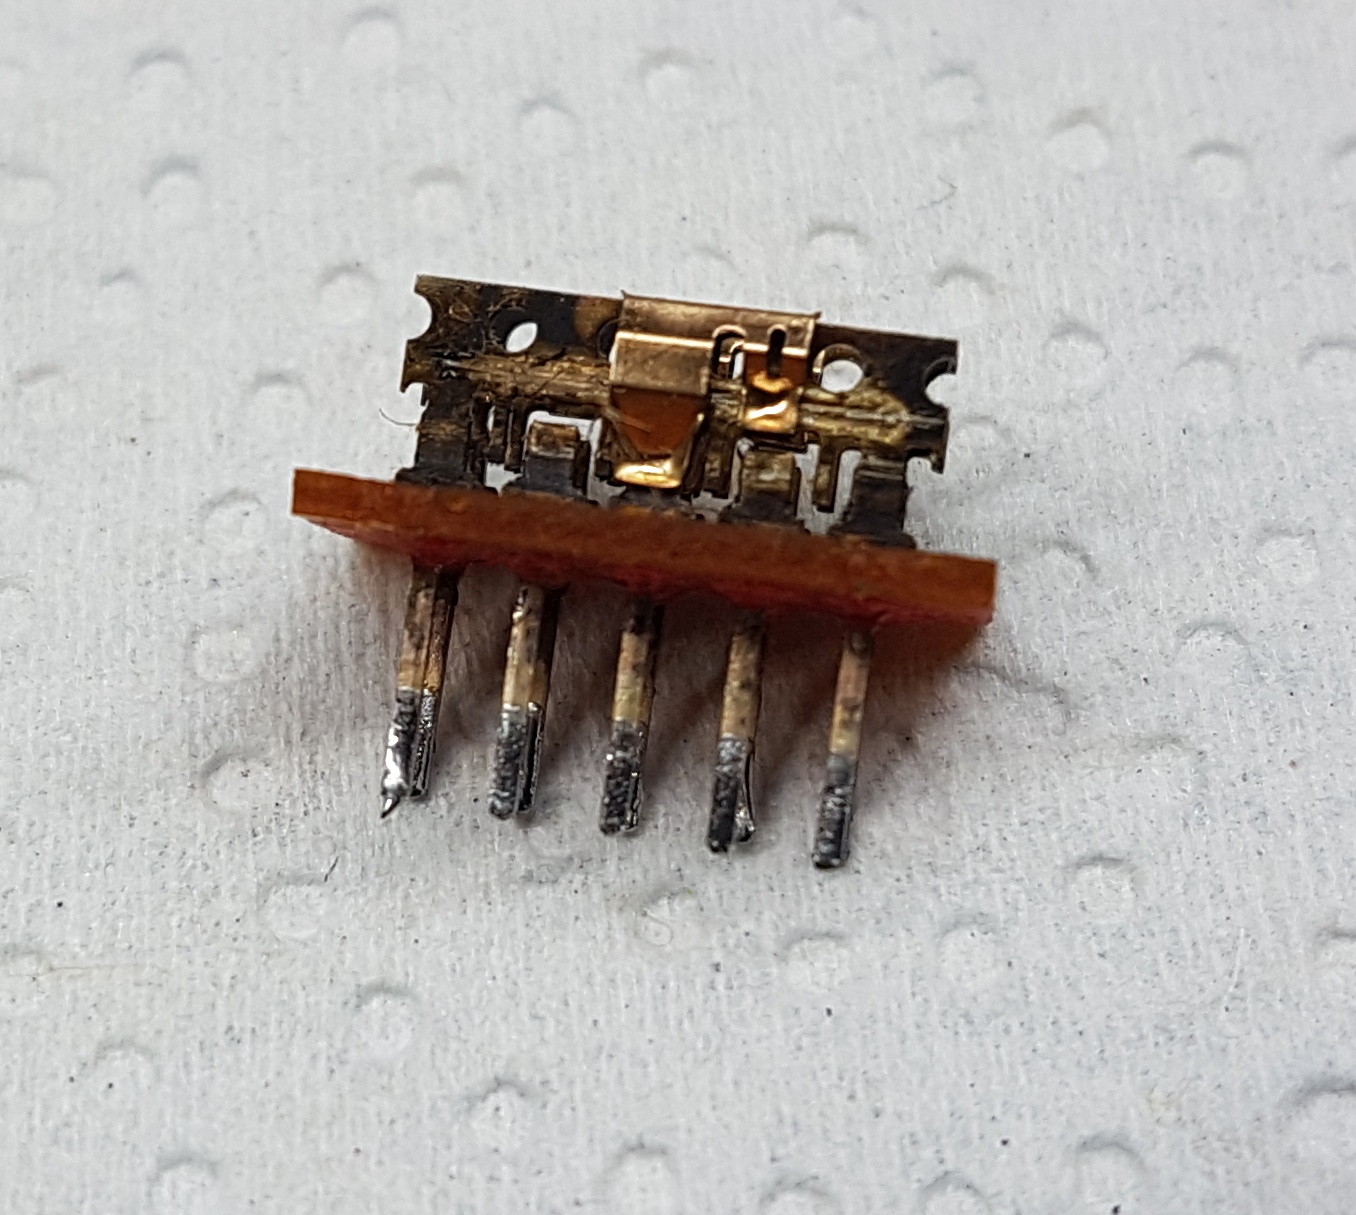
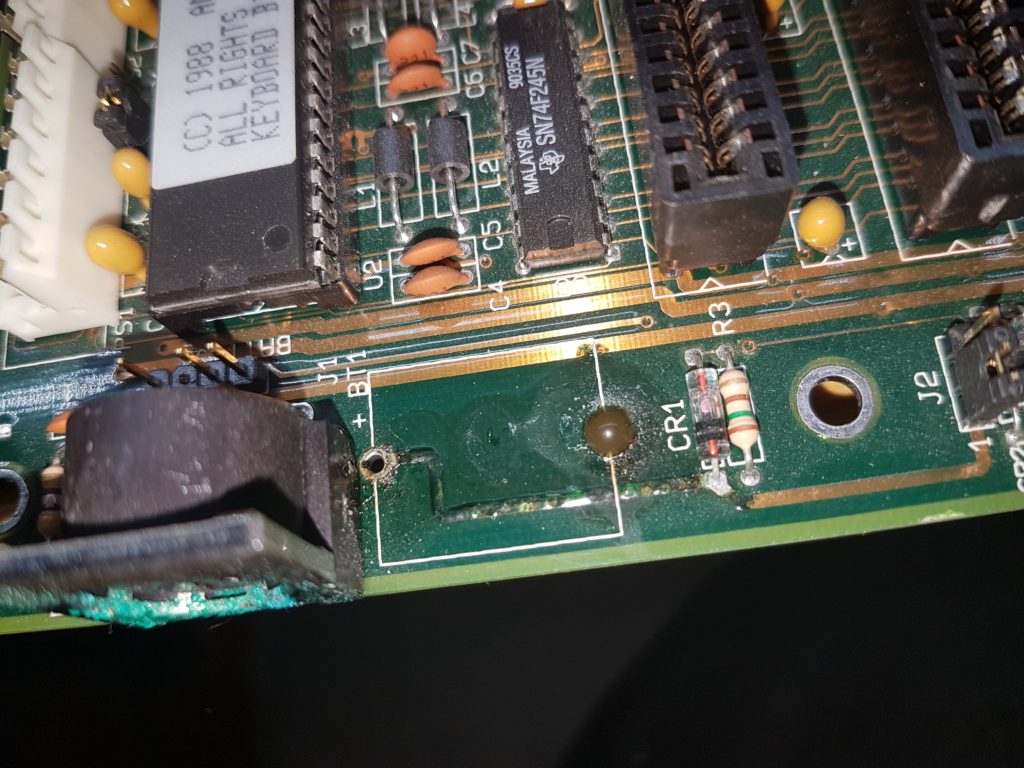
I desoldered the keyboard socket and threw it in highly acidic vinegar and put it after half an hour in an ultrasonic cleaner. It was squeky clean after that.
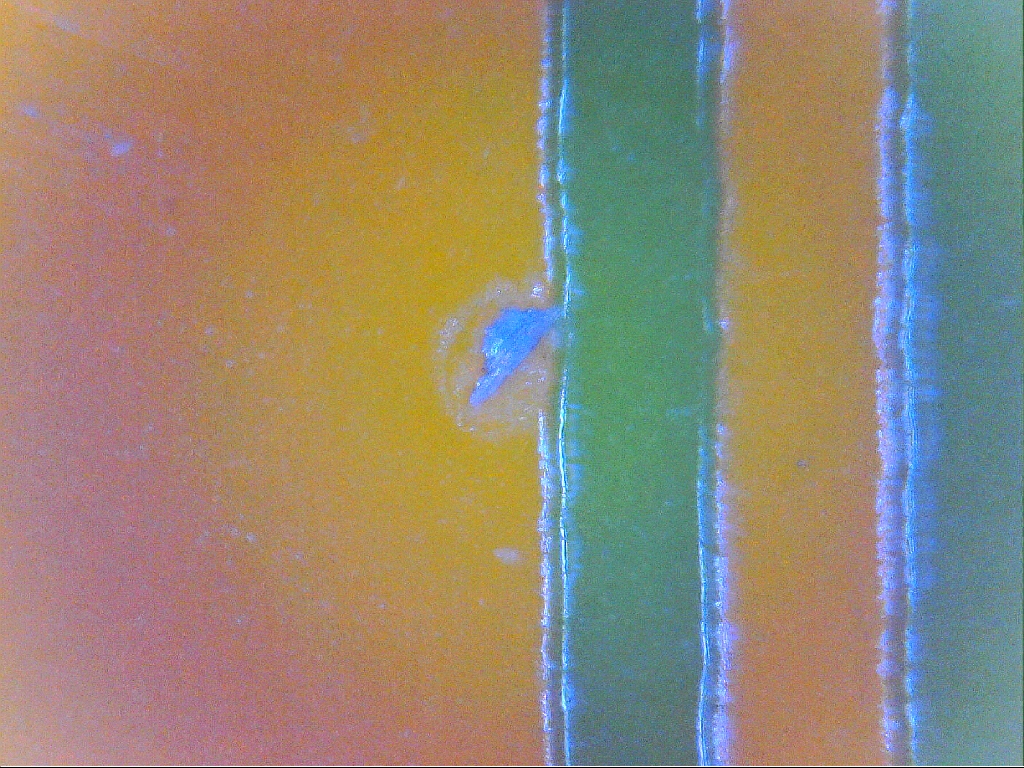
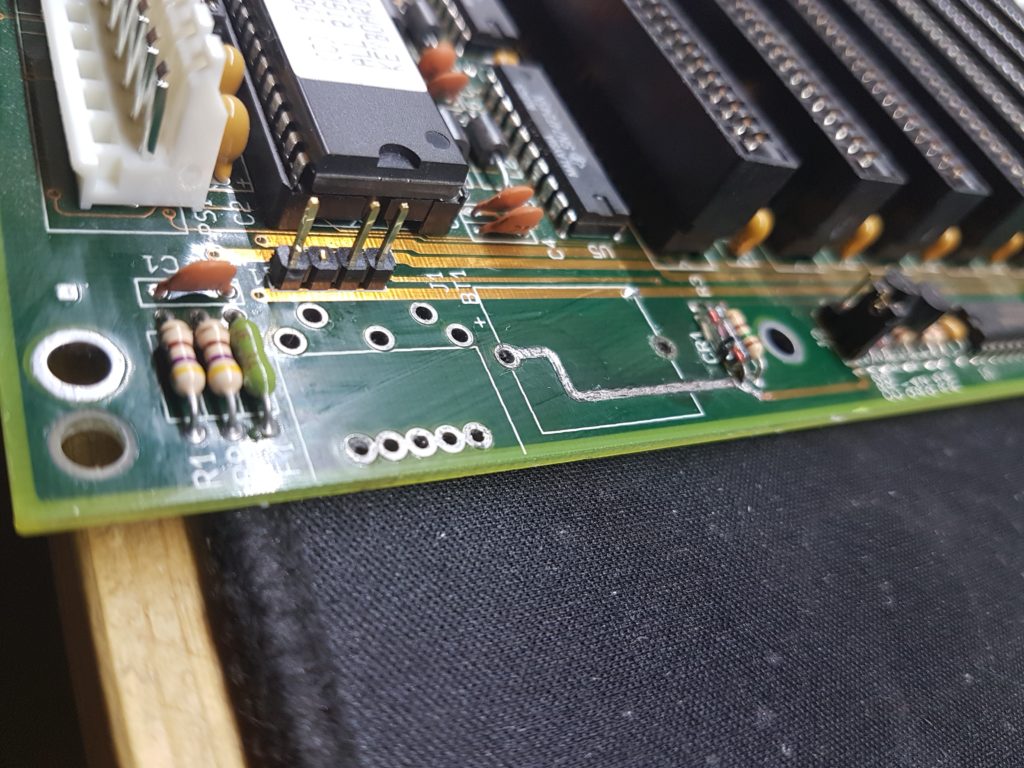
The positive battery trace was cleaned with a glas fiber pen, same goes for the attacked thick trace. After that I refreshed the exposed copper with some solder.
Next up I measured the voltages of the PSU:
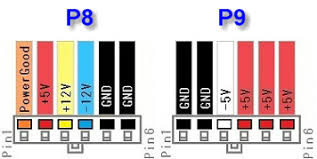
The PSU was spot on. So I checked the motherboard and stumbled upon a short between +12V and GND.
If you’ve been dealing with technology from around the 90s you already know the culprits.. tantalum capacitors!
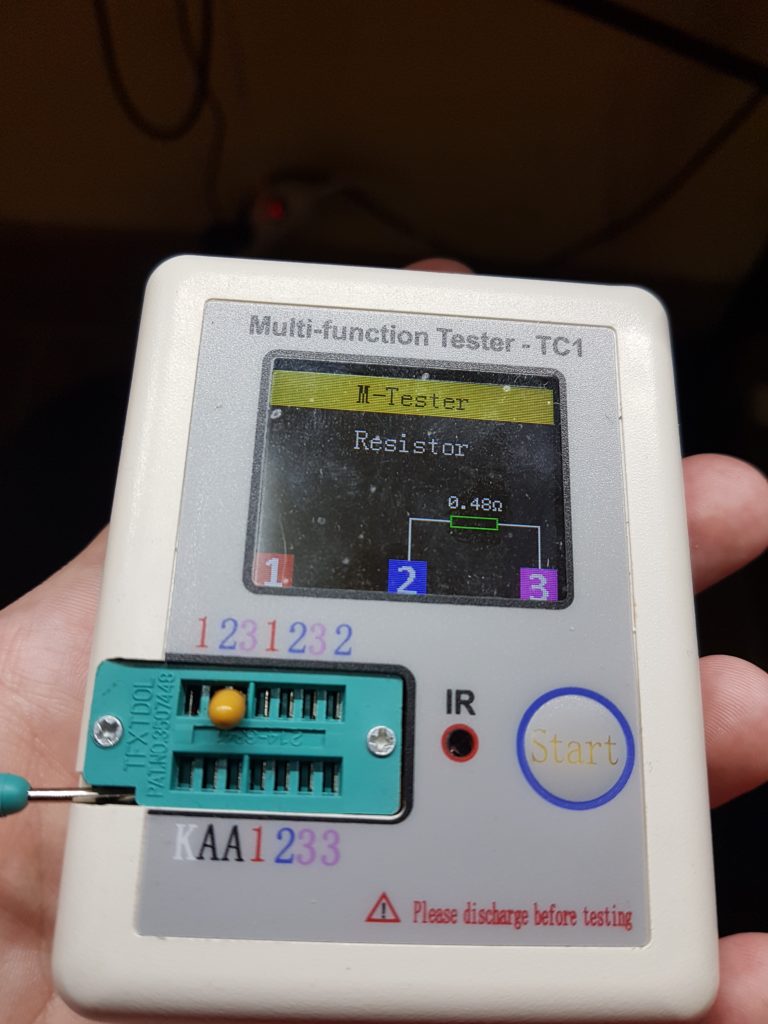
The first cap I removed was shorted, oh oh. So I desoldered all of them and tested them – about all of them were dead.
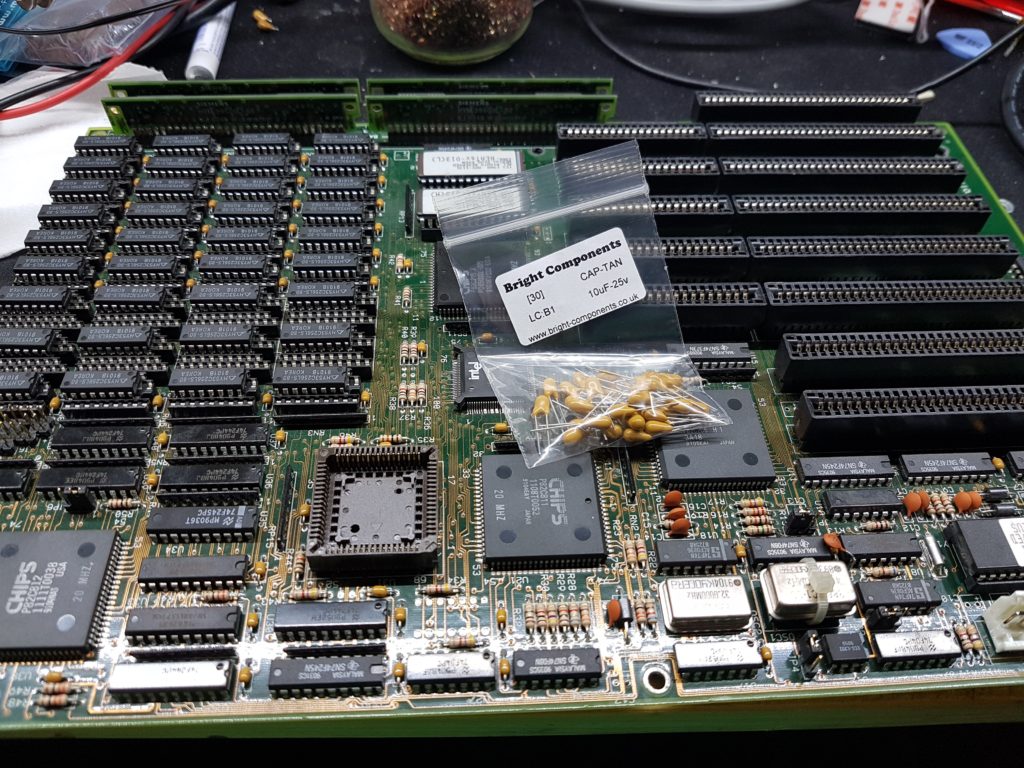
I replaced all the upright tantalums, plugged everything together and…
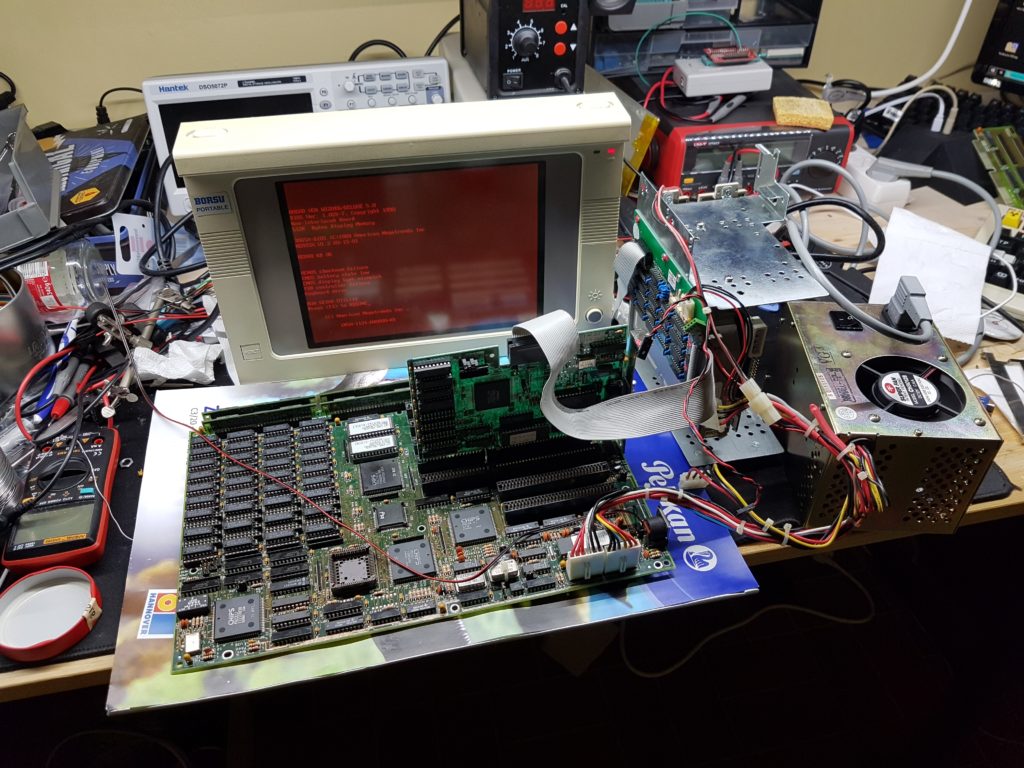
Woohoo! It booted fine! So let’s see if the hard disk works.
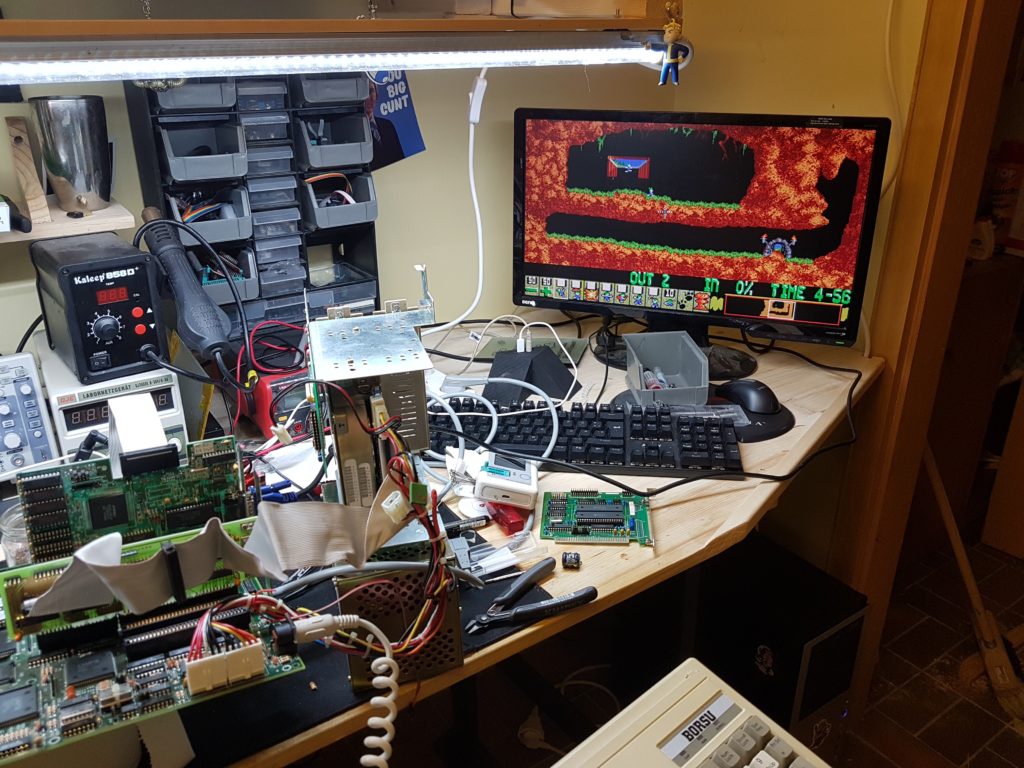
Yep, it is pretty loud but works fine. 20MB capacity full of uninteresting documents and Lemmings! Nice.
So knowing the electronics are okay I had a closer look to the casing.
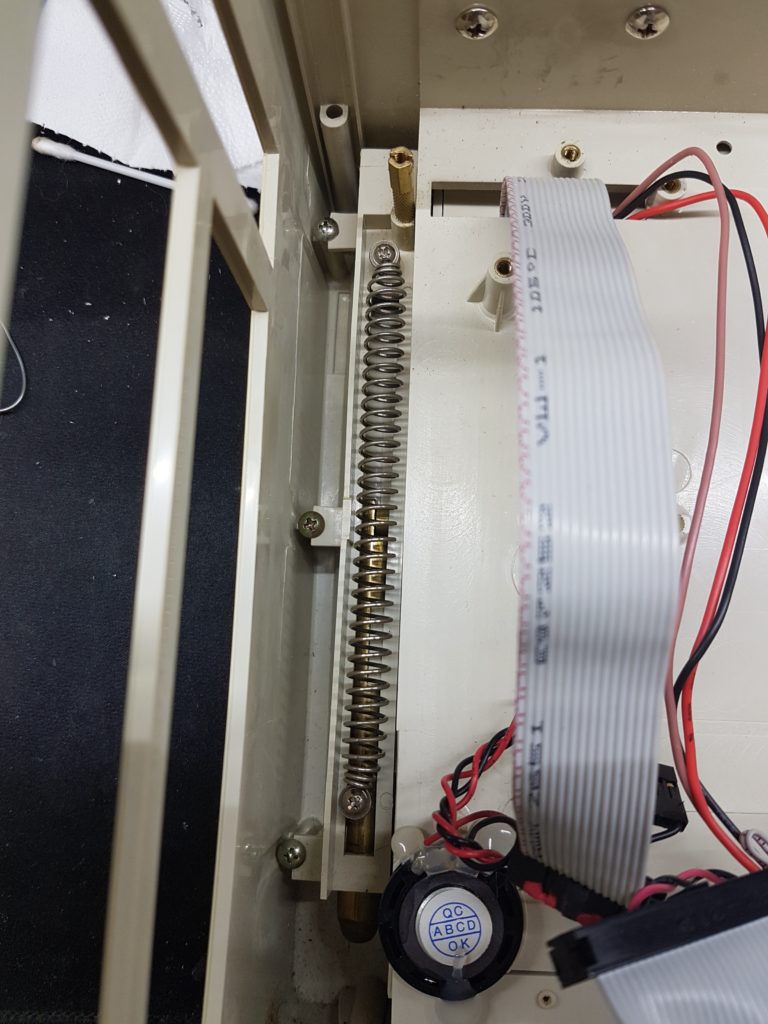
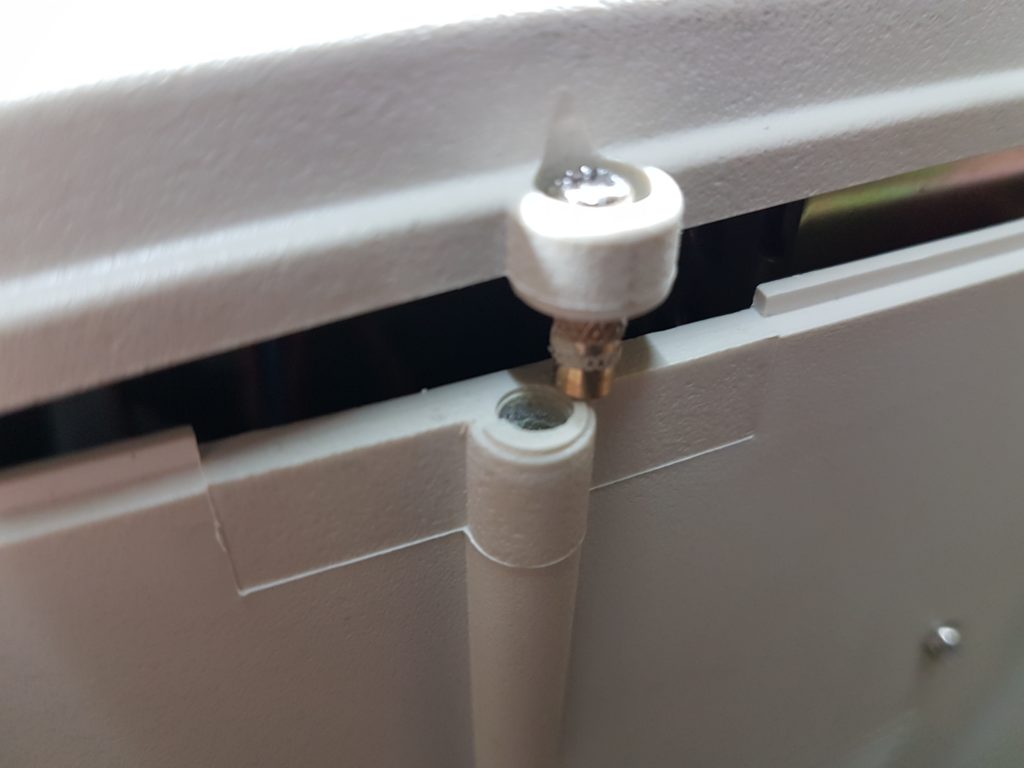
This is how the left hinge for the display looks like.
Holy smoke, what happened here? At first I thought it just snapped over time, but there are weird marks all over it – like someone tried to stab it with a knife.
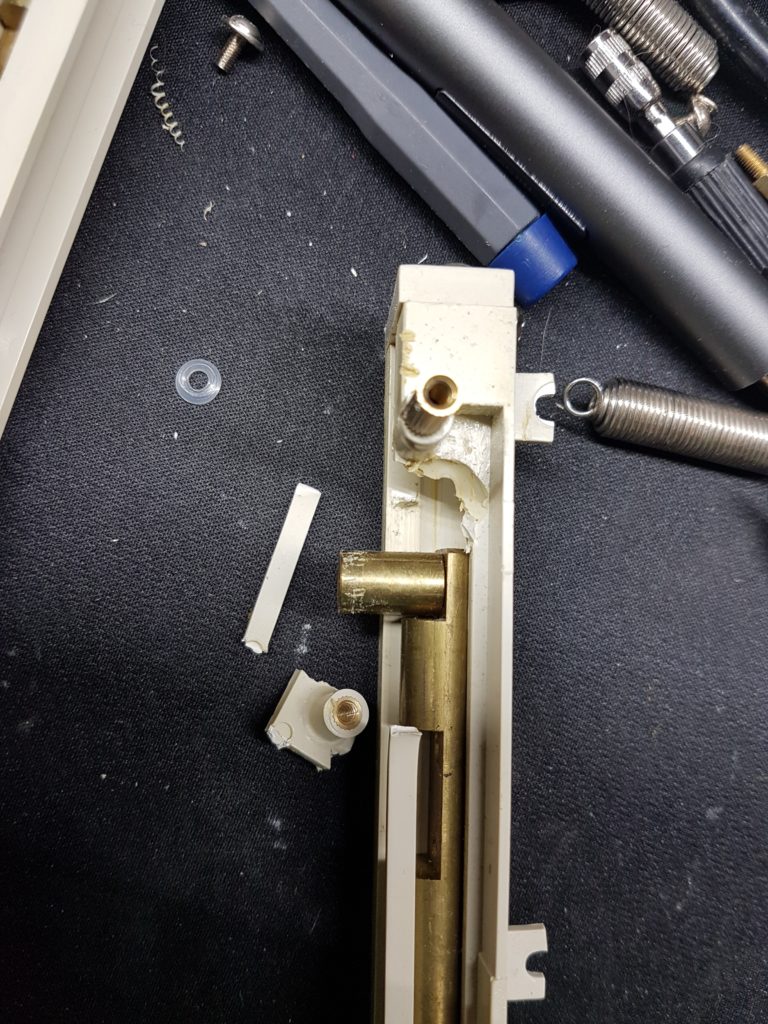
Some goes for the “brakes” of the hinges. Just have a look at them!
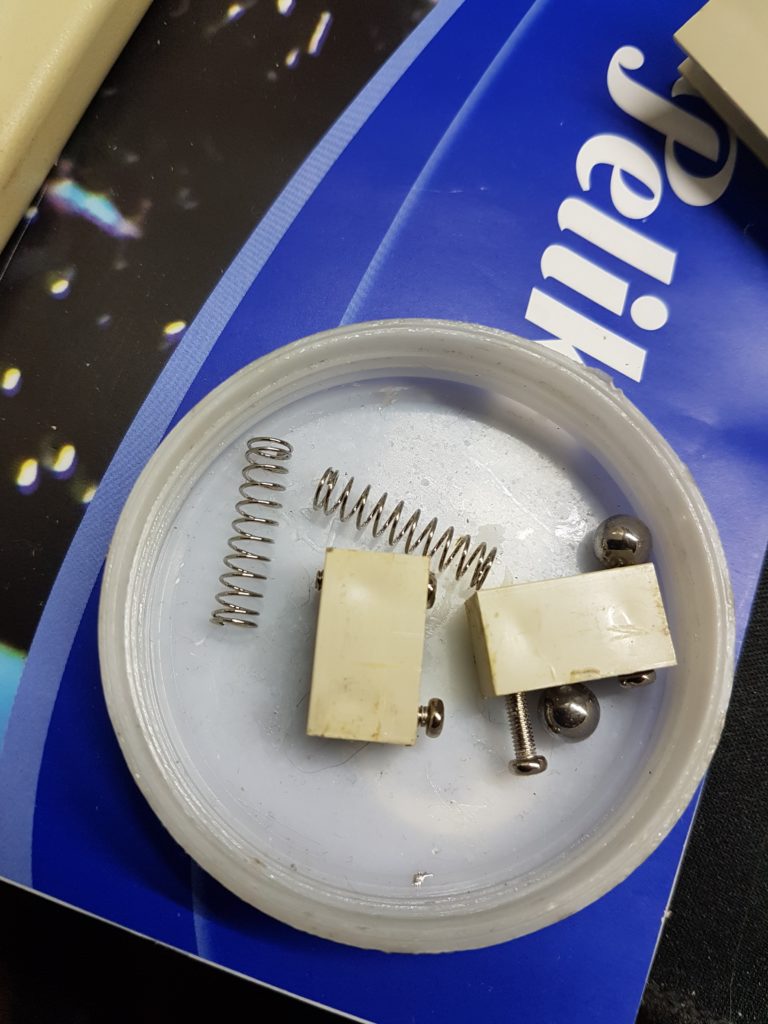
I scrubbed them clean and 3D printed the missing bit of the hinge. Unfortunatly all I had at hand was maroon resin, but you won’t be able to see the hinge anyways 🙂
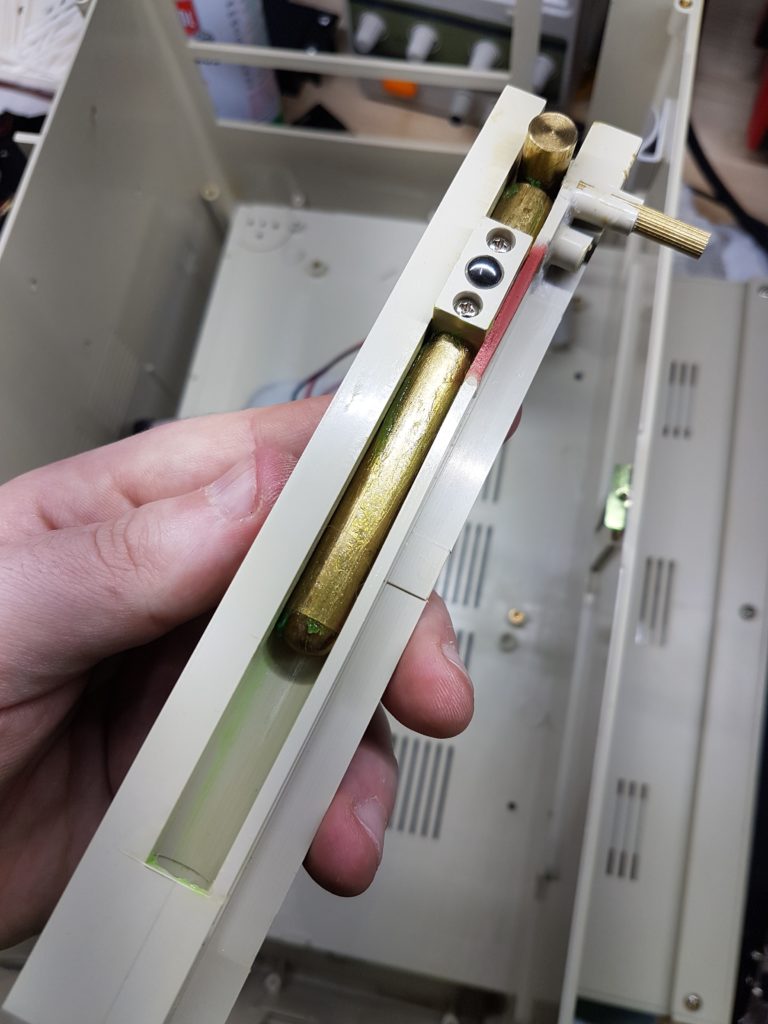
That green stuff is lithium based grease for increased hinge slipperyness, if that’s a word.
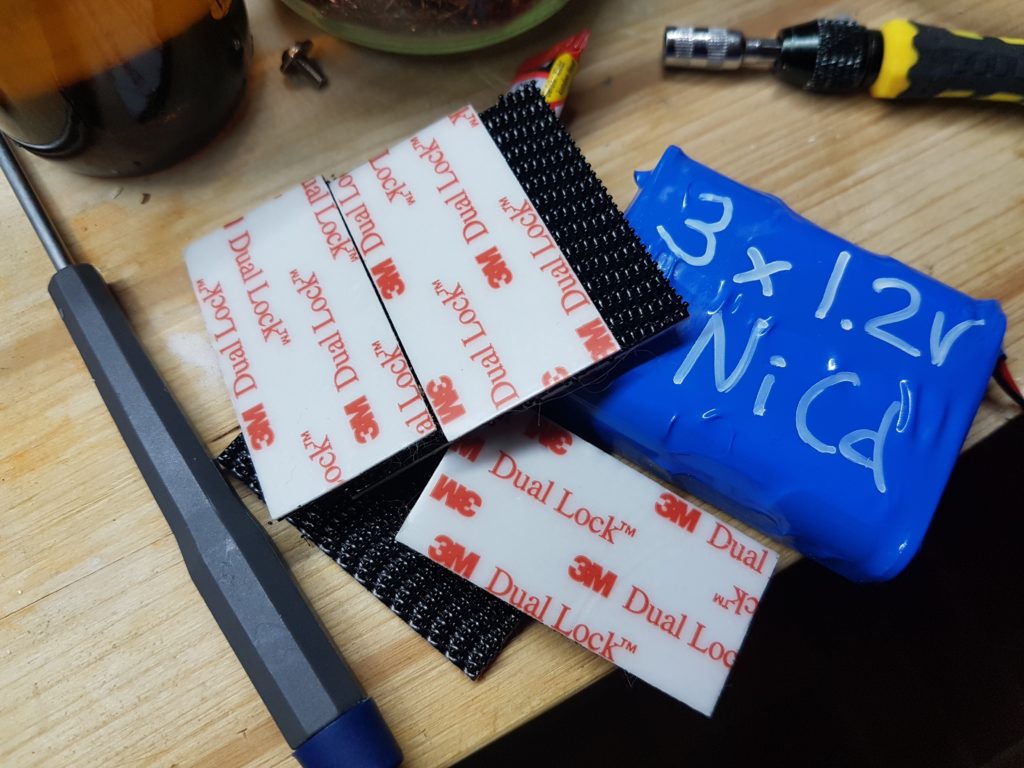
The desoldered battery was replaced with three industry grade NiCd cells and velcroed to the HDD caddy.

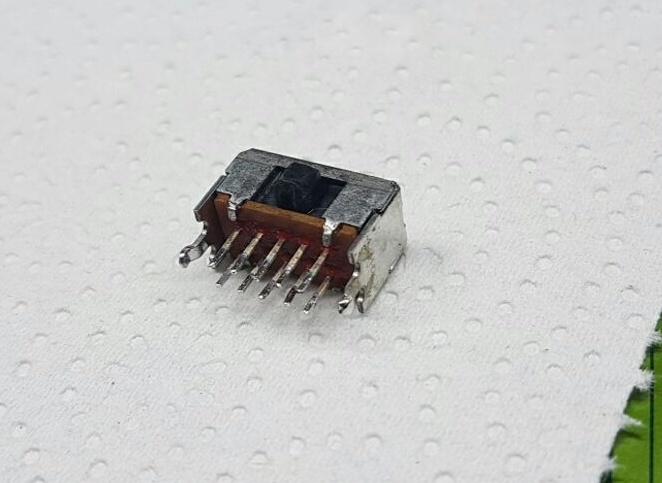
The HDD was replaced with a CF card mounted to the expansion bay for easier access.

Yeah well, the CF card is sticking out and the sliding door for the expansion cards won’t close this way. Unfortunatly I forgot to take a photo of it, but I 3D printed an adapter to move the CF card further in.
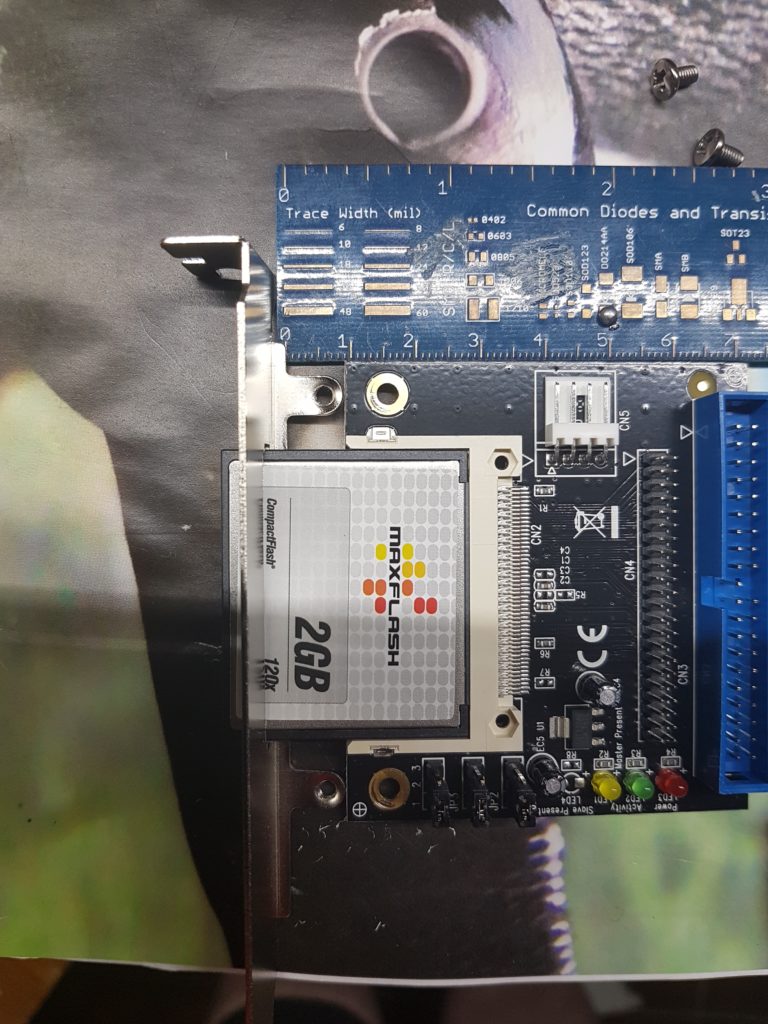
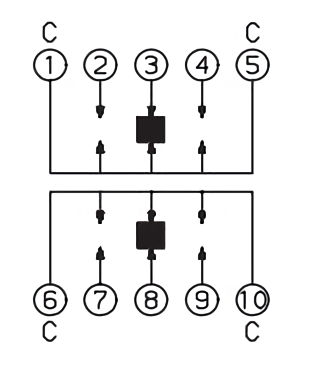
The jumpers on the CF adapter were already set correctly – to a single master disk.
So after mounting the CF card I tried to boot the machine. Well, the BIOS will detect the CF card automati.. no. No automatic detect for HDDs on this BIOS. So I googled and found “IDTHEIDE” (download here) – a tool that will find the correct cylinders/heads/sector count of an HDD.
I tried to put the program to a floppy disk and boot from it – no dice! The floppy drive was pretty much dead. So I tried a gotek flashed with flashfloppy and put an image of the floppy on it.
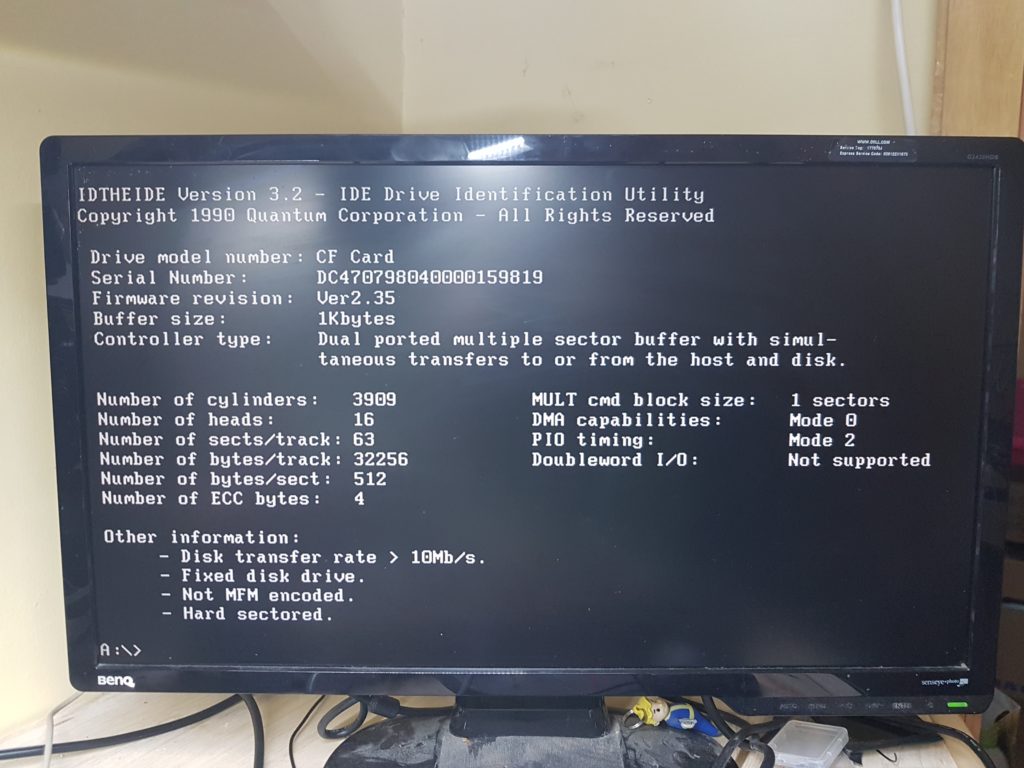
The tool worked perfectly! It detected the HDD straight away and all I had to do is to write down the values and put them into BIOS.
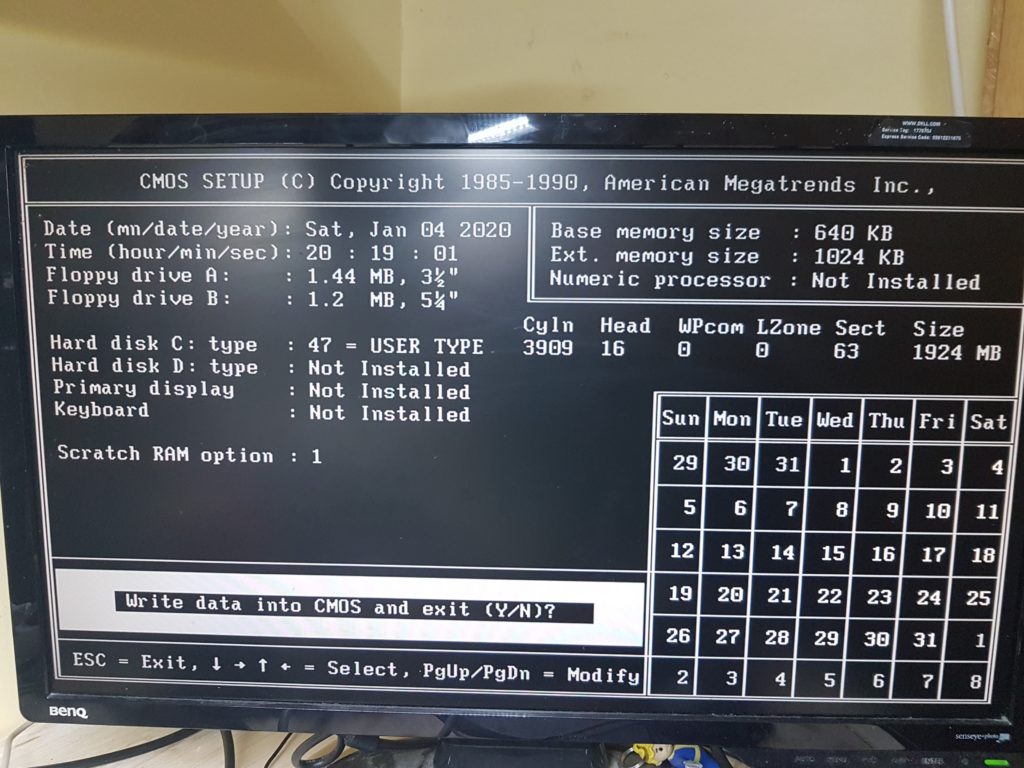
After entering the correct values the CF was recognized correctly. Next up I installed MSDOS6.22 I’ve got for free from the web archive. I backed up Lemmings from the original HDD and put it back to the CF card – it worked! But no sound, meh.
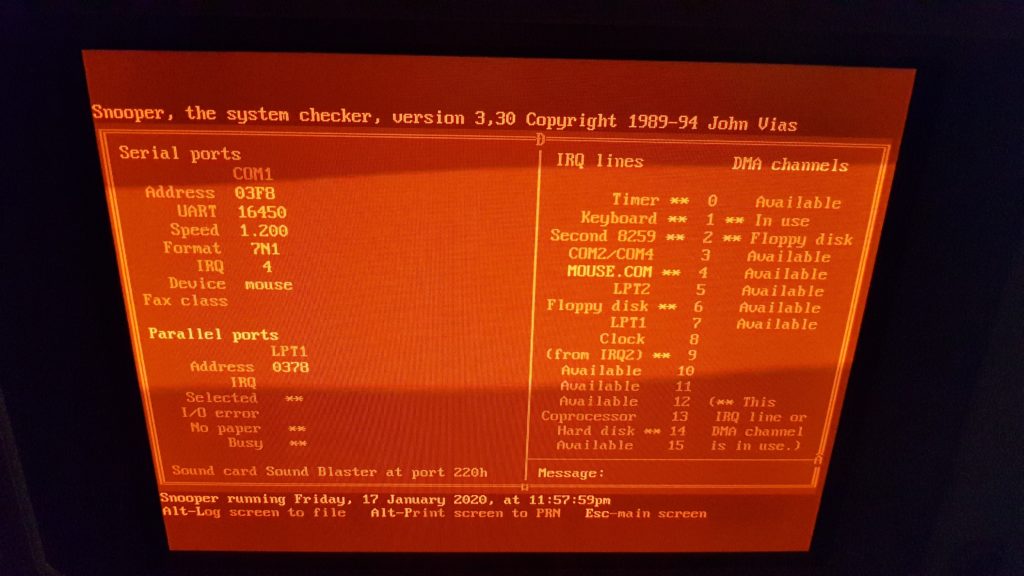
So I shuffled through my stuff and found a nice Sound Blaster 16, put it in and installed it. No problems there! Booted up Lemmings again, this time with glorious sound!
There was a serial Mouse included in the auction for this machine. Plugged it in, installed the Microsoft Mouse Driver 11 (if I recall correctly) and booted Lemmings again to test it. Worked fine!
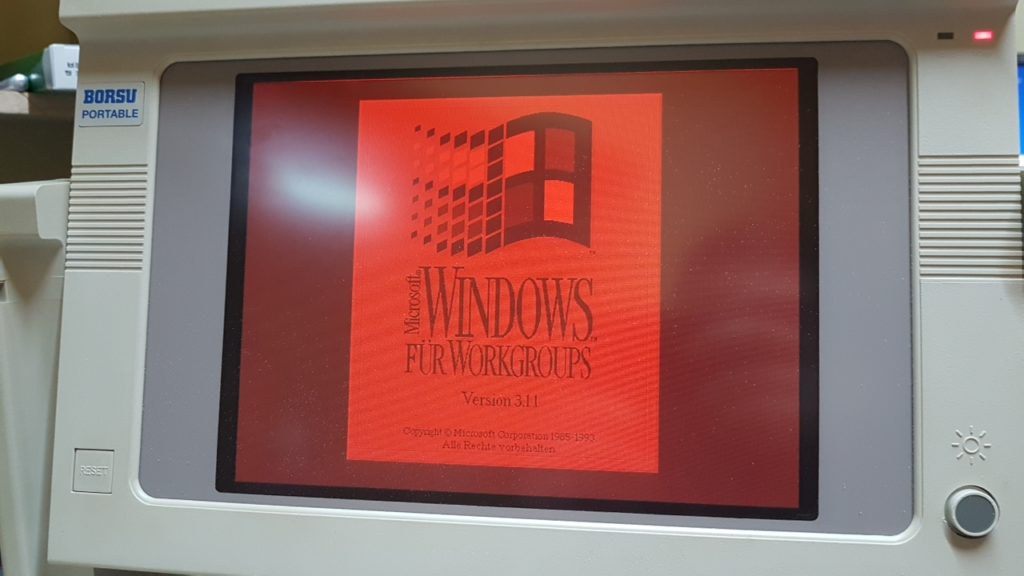
I installed Win3.11 just for fun – it runs okay but sometimes crashed. Guess it wants more than the 2MB RAM the mainboard currently has.
Lets have a last look at the innards before closing this beast:
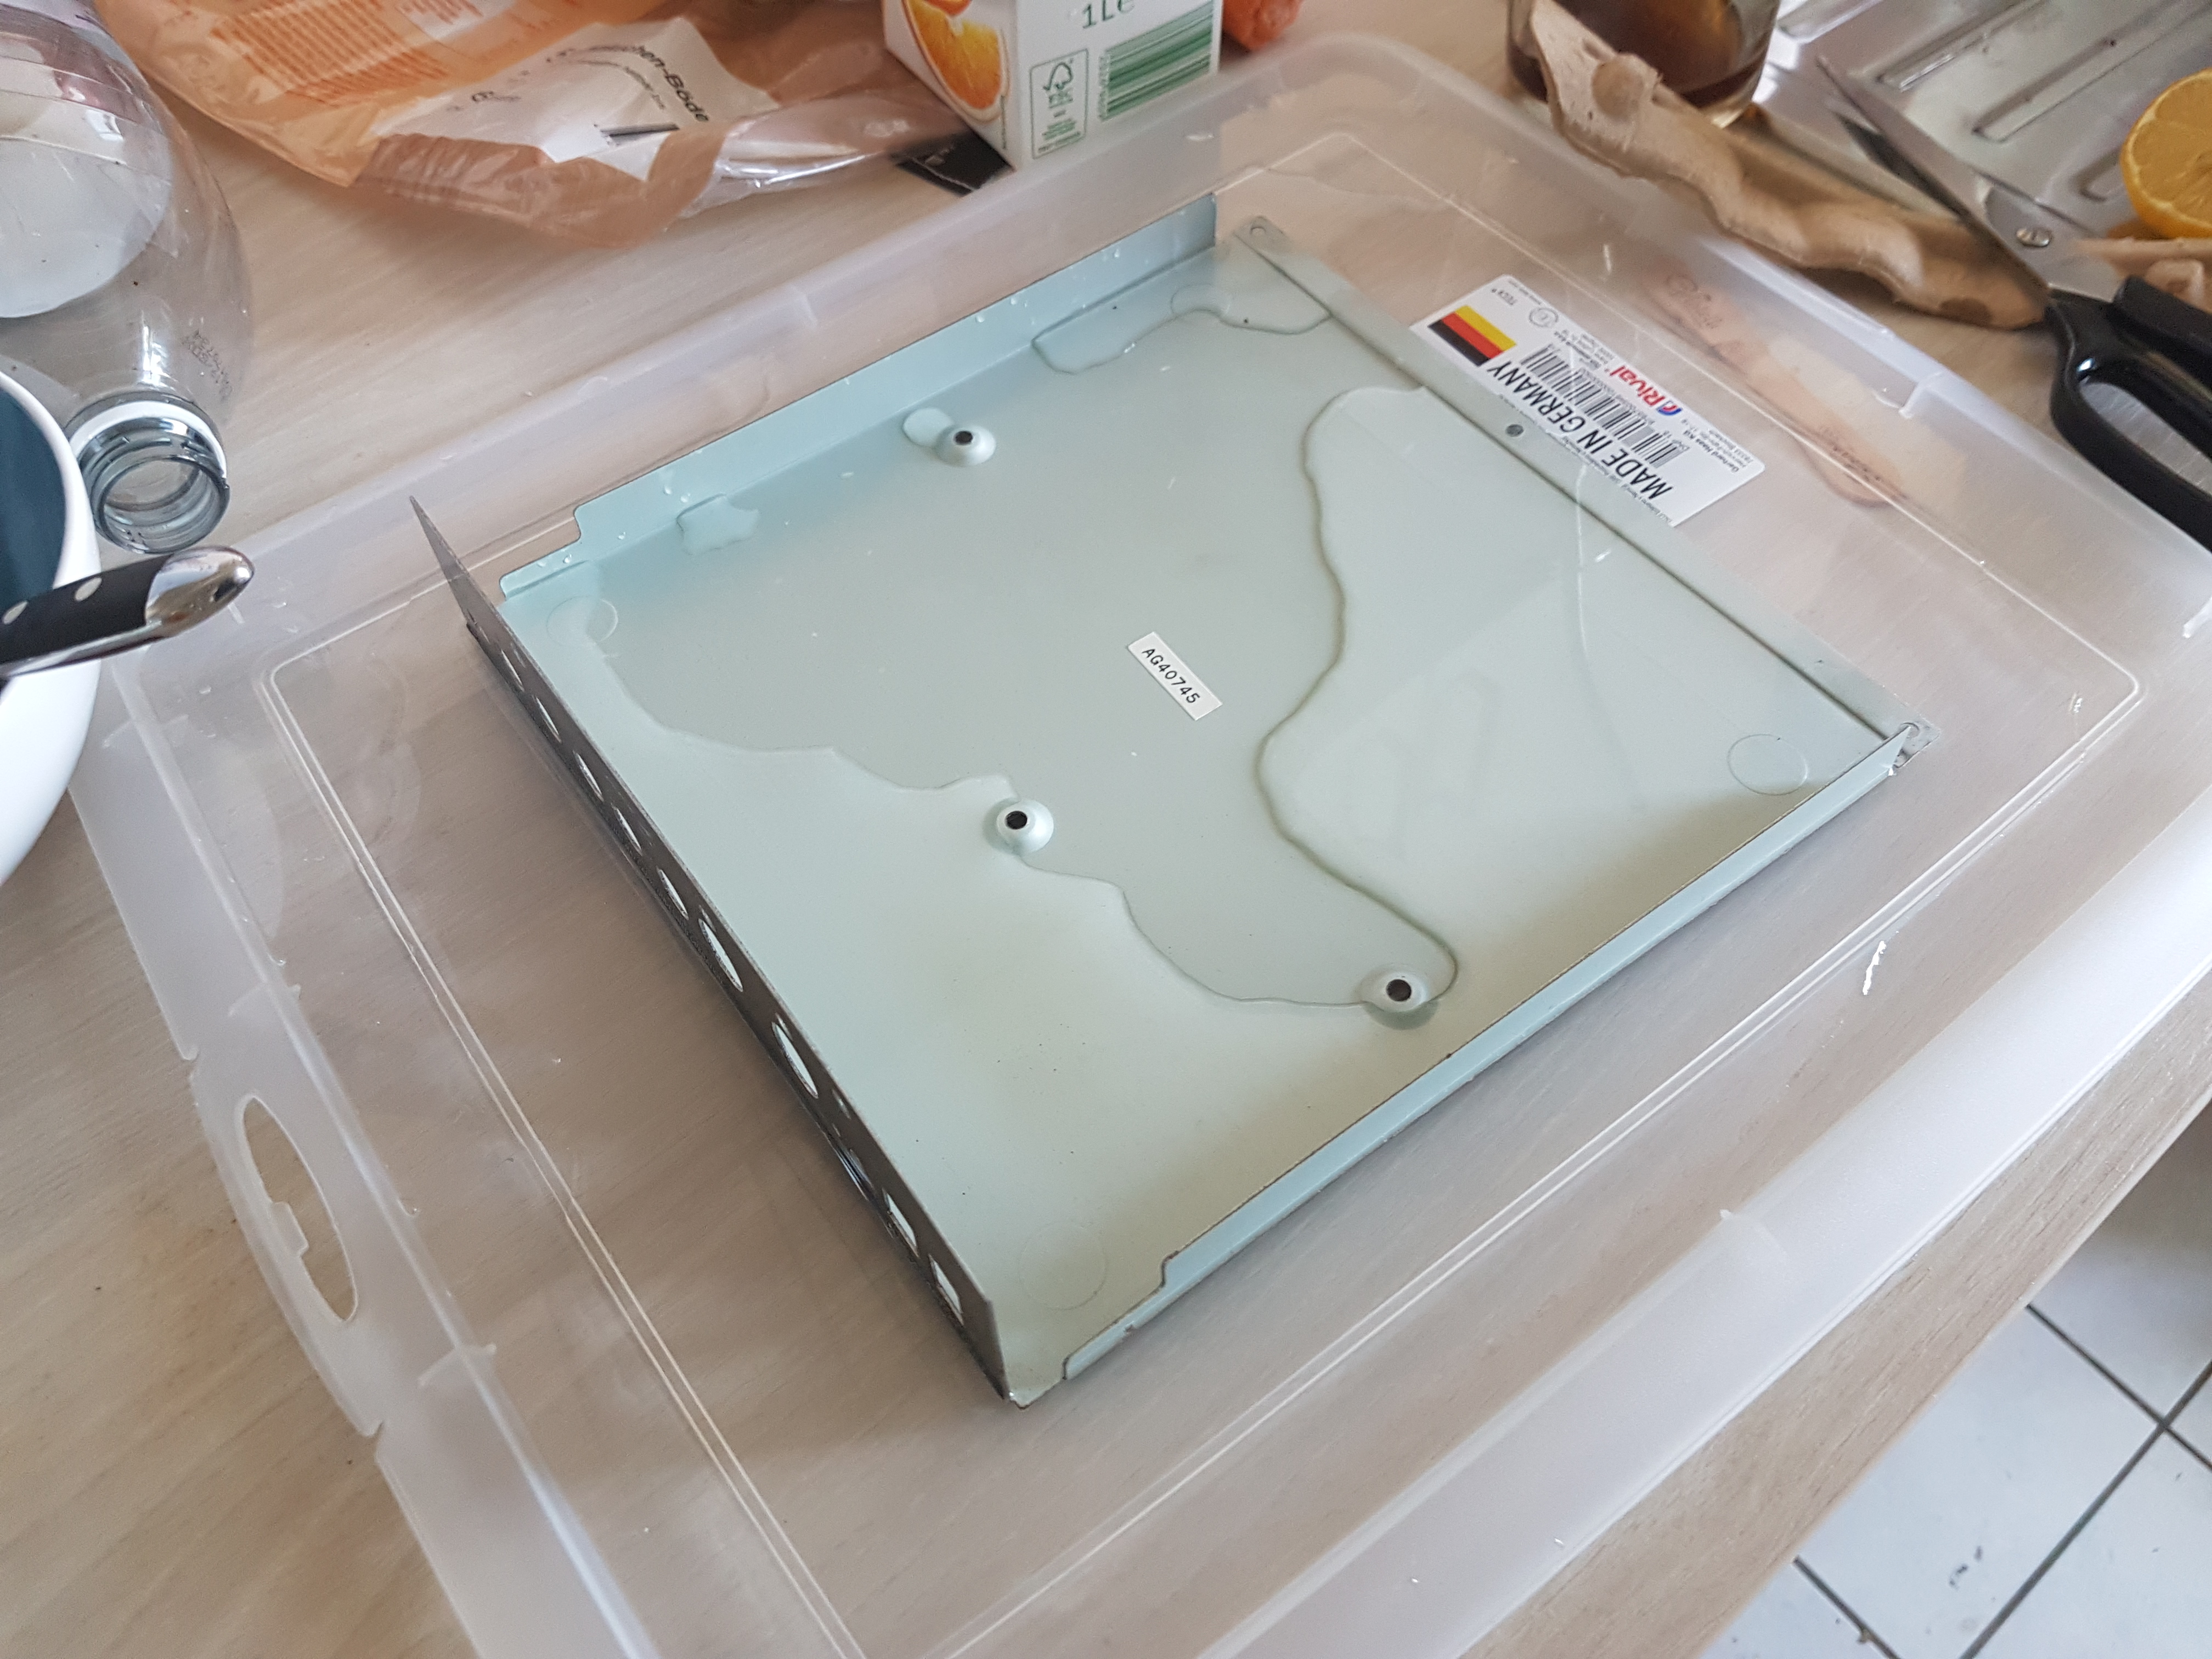
I had to install an HDD adapter plate for the now missing HDD. An installed HDD gave structural strength to the assembly to the left. If left out, the assembly to the left tends to sink down.
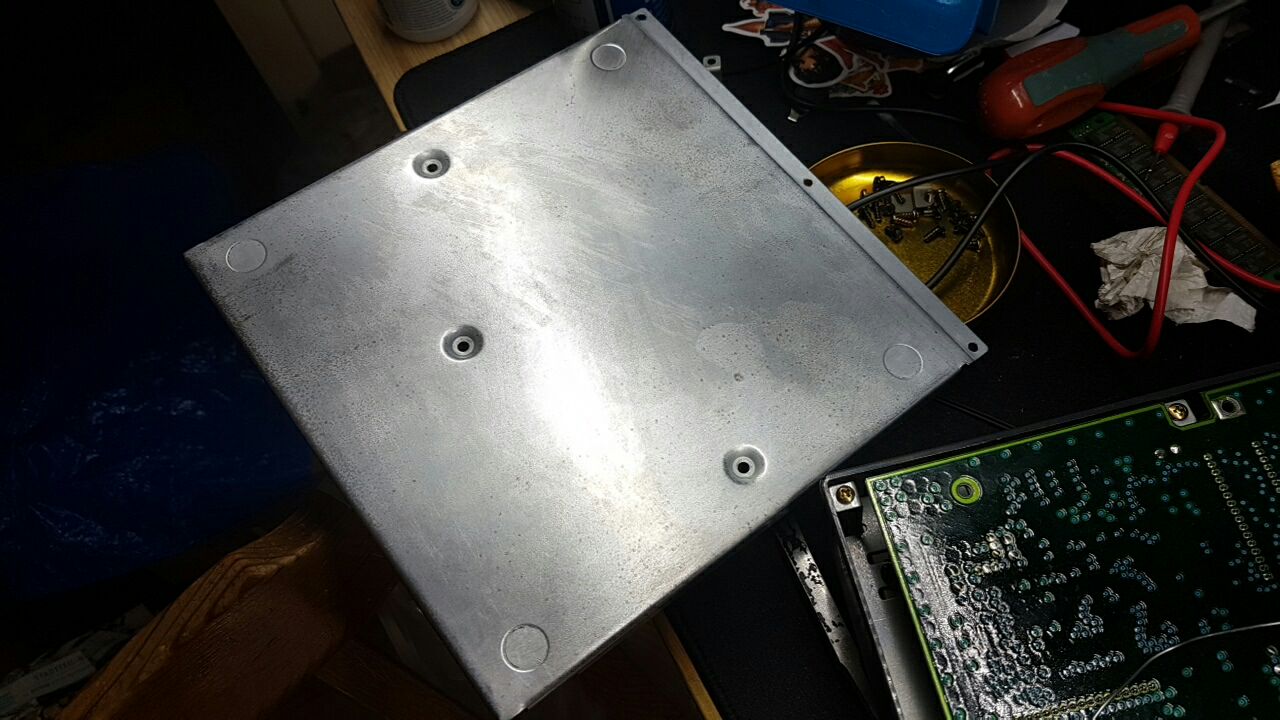
Finally I put the backplate on and screwed it down.
Sheesh. When screwing the backplate down one of the inserts lifted straight out. Glued it down with epoxy after that.
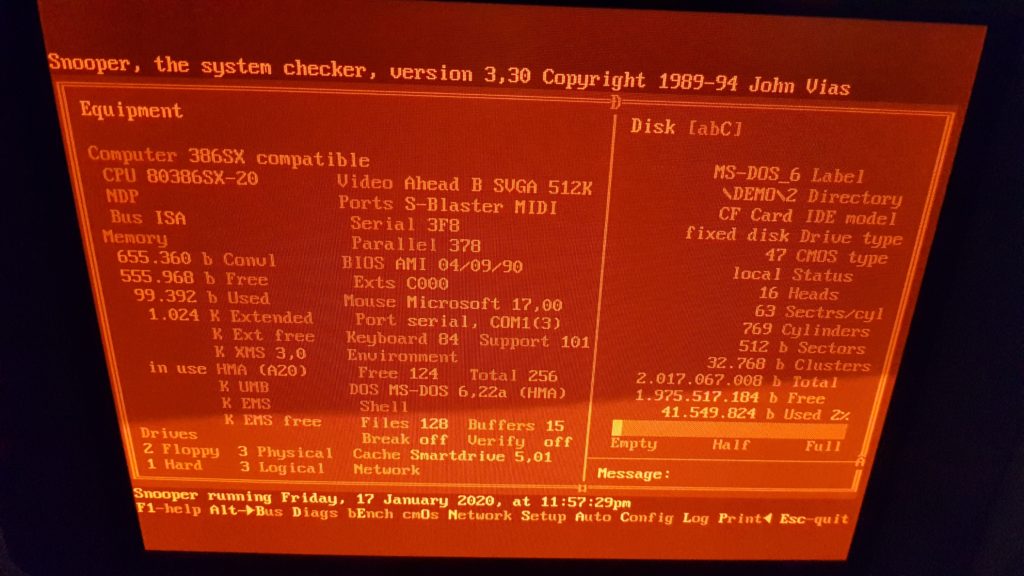
At least, this beast was finally done. Next up are some specs.
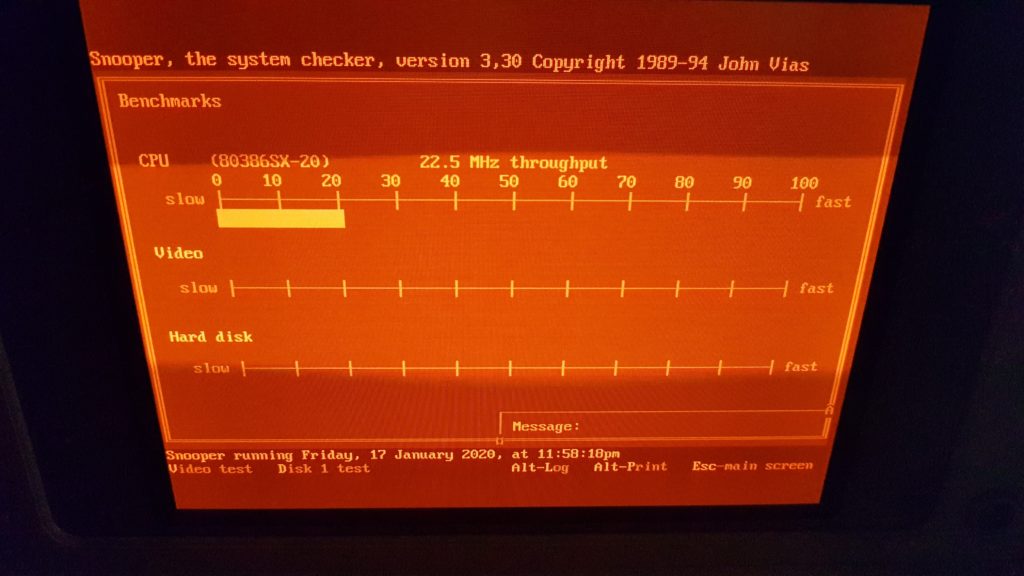
I’ll print out the BIOS settings and put them between the screen and the keyboard. Just in case.
PS: I tested tested the RAM and pretty much everything else 🙂
Thanks for reading!